In the heart of Southern California’s urban sprawl, Accessory Dwelling Units (ADUs) have rapidly grown from a curious architectural project to an essential fixture for homeowners seeking additional space and income streams. With the population density of Los Angeles ever increasing, the city’s residents are keenly aware of the necessity to optimize every square foot of property. Yet, as with any significant home improvement, preparing your property for ADU construction involves a series of meticulous considerations, ranging from privacy solutions to strategic planning. What follows is an exploration of how one can effectively navigate this construction odyssey in the urban jungle of LA.
Brief summary: This article delves into the essentials of preparing a property for ADU construction, focusing on privacy measures, strategic planning, and the juxtaposition of local experiences and trends in Southern California. It offers practical advice, comparisons, and industry insights to assist homeowners in making informed decisions.
Understanding the Value and Complexity of ADUs
Before setting off on your construction voyage, it’s crucial to understand the multifaceted appeal of ADUs. Not only do they enhance property value, but they also present versatile living solutions in densely populated areas like Los Angeles. Homeowners often use ADUs as rental units to offset mortgage costs, or as independent living spaces for extended family members. However, as alluring as these benefits are, the actual planning and execution of an ADU project require a meticulous approach and an informed understanding of regional trends. Los Angeles, in particular, presents unique construction challenges owing to its diverse architectural landscape and stringent zoning laws, which are navigated adeptly by many local homeowners through diligent research and preparation. For a deeper dive into the types of additions and their potential impact, consider exploring varieties of home expansions.
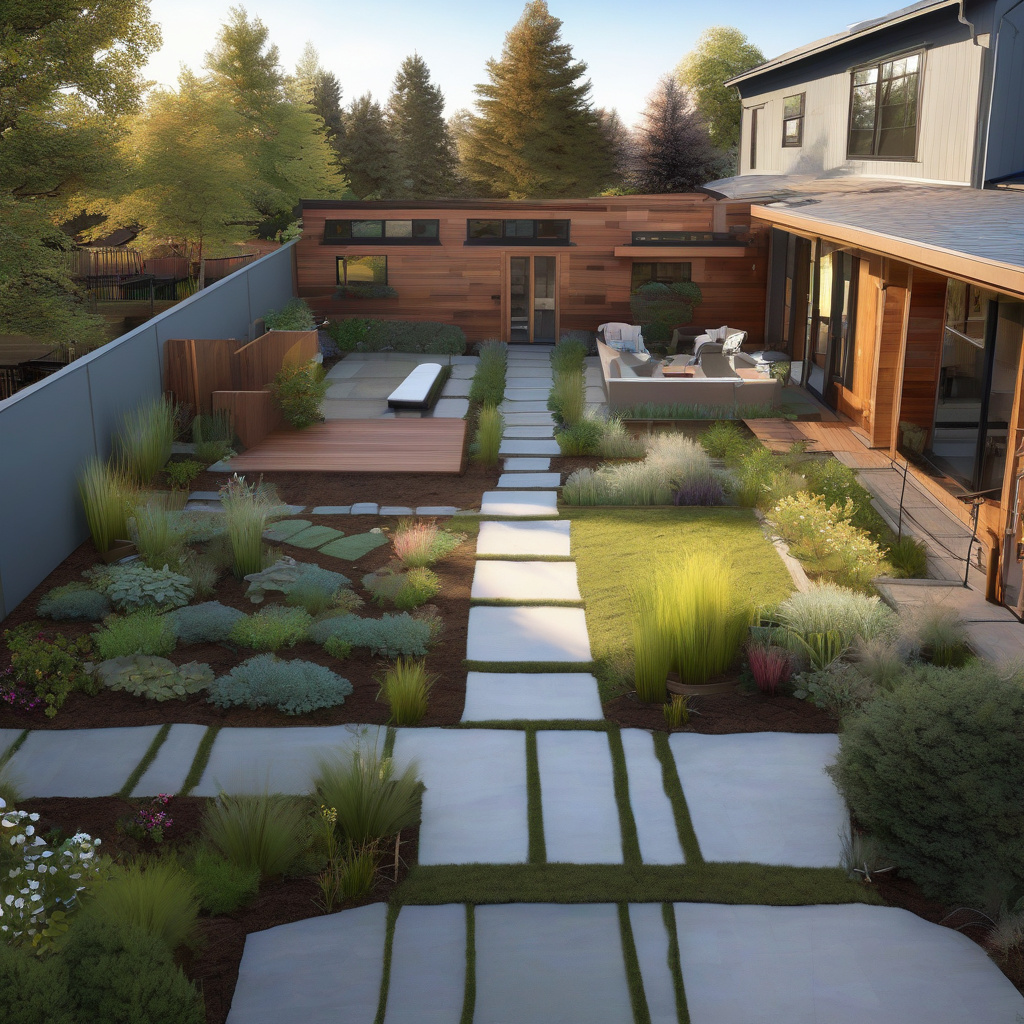
One of the pressing concerns is maintaining a symbiotic relationship between the ADU and the main dwelling, especially regarding privacy. This can be achieved through strategic landscaping, intelligent window placement, and thoughtful pathway design to minimize intrusive cross-viewing.
The lure of additional income and flexible space is matched by the thrill of enhancing one’s living environment, yet there are myriad complexities, such as utility access, that require careful pre-construction analysis. It’s imperative to weigh these factors in the decision-making process.
Successfully managing these intricacies ensures homeowners not only comply with regional regulations but also maximize their property’s potential, fostering a harmonious blend of aesthetics and function.
In the end, the journey towards creating a personalized ADU space is as much about understanding the physical building process as it is about appreciating the broader urban context.

The Art of Planning: From Vision to Reality
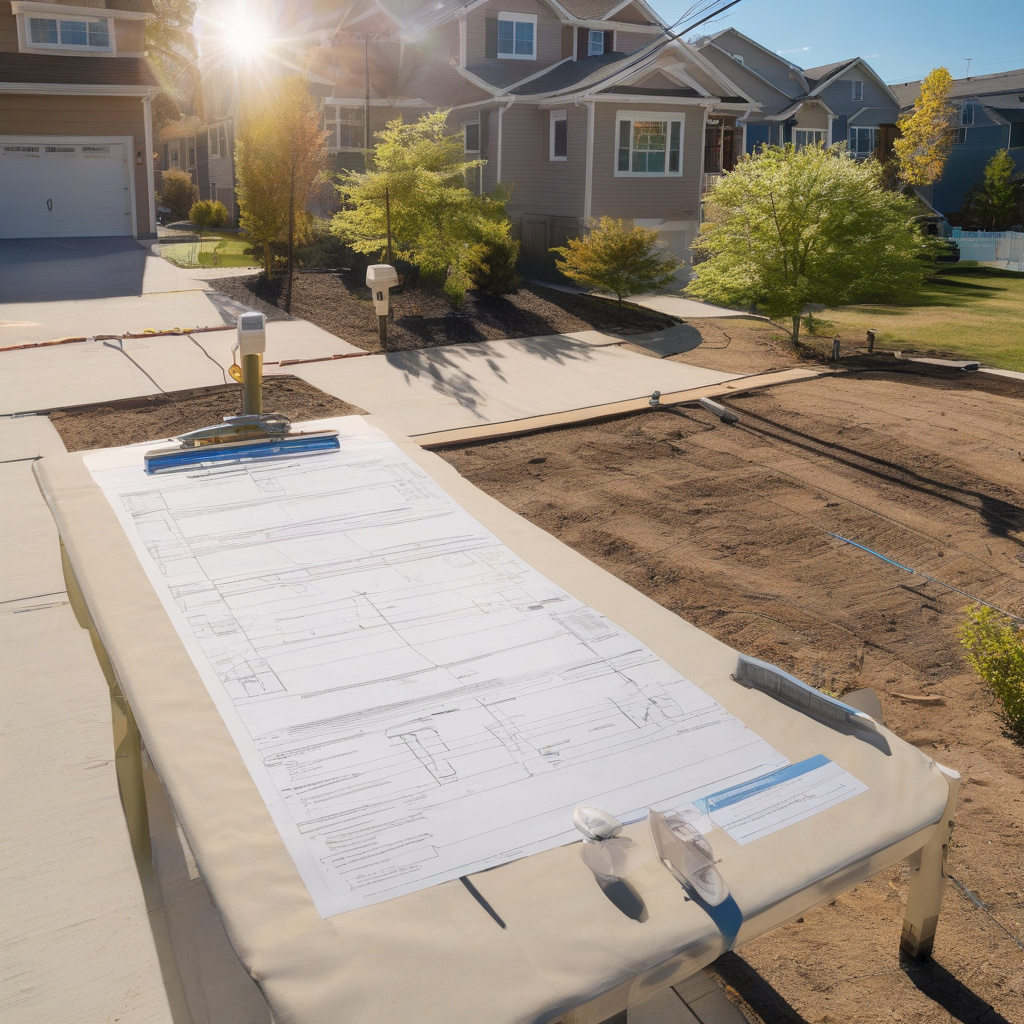
Translating your ADU aspirations into physical reality involves a confluence of creativity, meticulous planning, and regulatory compliance. As many Southern California homeowners will attest, a comprehensive checklist is invaluable in steering the project from the conceptual phase to completion. Choosing the ideal location for your ADU is the first critical decision that influences subsequent design and construction choices.
Foremost on the checklist is a clear understanding of both immediate and long-term objectives of the ADU, be it for rental purposes or as a personal studio. This initial clarity guides decisions regarding layout, access, and amenities. Connectivity between spaces must also be carefully considered; for instance, a separate entrance enhances rental desirability but may require additional permits and infrastructure investments.
Another pivotal component of planning is compliance with local zoning laws. It’s essential to verify legal requirements regarding unit size, distance from property lines, and allowable heights before finalizing design plans. Equally significant is exploring the creative uses of ADUs, which could influence design decisions.
Homeowners should also anticipate potential disruptions to their daily routine and budget for unforeseen challenges. Engaging with experienced contractors who are familiar with regional dynamics will alleviate many such concerns, enabling a smoother transition from planning to construction.
In conclusion, a well-thought-out plan ensures both aesthetic coherence and functional viability, transforming an otherwise daunting undertaking into a rewarding endeavor.
Strategic Designs for Privacy
The artful manipulation of architectural elements can seamlessly blend privacy into the overall design, ensuring both areas possess their unique character without intruding on one another. Techniques such as staggered window placement and landscape buffering serve as effective tools in delineating spaces.
As urban dwellers increasingly value personal space, these considerations grow ever more relevant, turning privacy into not just a necessity but a defining feature of well-executed ADU projects.
Material Choices: A Blend of Functionality and Aesthetics
The material selection process remains a critical stage in ADU construction, where functionality intertwines with aesthetic desires. In Los Angeles, for instance, noise reduction is a significant concern due to the city’s perpetual vibrancy. Homeowners frequently prioritize materials that offer soundproofing benefits alongside their visual appeal.
Options like insulated windows or dense materials such as concrete can mitigate external noise effectively. For detailed advice on selecting the appropriate soundproof materials, homeowners can consult resources like noise regulation guides.
Beyond noise considerations, choosing sustainable and energy-efficient materials not only reduces environmental impact but also aligns with the escalating demand for green building practices. Bamboo flooring, recycled steel, and low-VOC paints offer sustainable choices without sacrificing quality or appearance.
Resourceful use of materials contributes to both the longevity and overall comfort of the ADU, where attention to detail in material selection yields a space that is as pleasurable as it is durable.
Industry statistics reveal that energy-efficient ADUs can lower utility bills by up to 30%, underscoring the value of intelligent material selection.
To conclude, selecting materials that resonate with both aesthetic aspirations and environmental considerations will undeniably enhance the living quality of any ADU.
Navigating Costs: Budgeting for a Seamless Journey
A cornerstone of ADU construction success is transparent financial planning. Costs fluctuate widely due to factors like design complexity, material choices, and labor rates, all playing vital roles in the final financial outlay. Understanding these variables is paramount, as is the foresight to anticipate and incorporate contingency budgets.
For homeowners venturing into ADU projects, it’s beneficial to adopt a proactive budgeting stance, incorporating not just construction expenses but also ongoing maintenance costs into financial projections.
An often underappreciated yet impactful factor is the deliberation of long-term ROI. Research indicates that each dollar invested in an ADU yields considerable returns through increased property value and potential rental income. Therefore, staying informed about trends and outcomes can significantly influence positive financial outcomes.
Research by the Urban Land Institute suggests that well-planned ADUs can augment property value by as much as 34%, bolstering the economic case for their construction.
In summarizing, the prudent allocation of resources ensures that financial uncertainties are mitigated, and project execution becomes both feasible and economically rewarding.
Table: Cost Comparison of ADU Components
| Component | Material Cost | Labor Cost | Total Costs |
|---|---|---|---|
| Exterior Construction | $8,000 – $15,000 | $6,000 – $10,000 | $14,000 – $25,000 |
| Interior Finishing | $5,000 – $12,000 | $4,000 – $8,000 | $9,000 – $20,000 |
| Utilities Installation | $3,000 – $7,000 | $3,000 – $5,000 | $6,000 – $12,000 |
Understanding these financial elements enables homes to be crafted on schedule, within budget, and to exact specifications, ensuring satisfaction long after the last nail has been driven.
The Final Steps: Turning Plans into Reality
As your project approaches fruition, other practical considerations come into play, including the selection of final fixtures and flooring options. For advice tailored to your aesthetic and functional needs, you can explore various flooring materials and styles suited to your ADU.
Closing out the project involves inspection and approval from local authorities to ensure compliance with established codes and safety standards. This verification not only signifies the conclusion of construction but offers peace of mind by certifying the ADU as a secure and livable space.
Expert insight: “Ensuring compliance with all local codes guarantees that your ADU is both legally recognized and insurance-compatible,” says a leading Los Angeles contractor.
Once formalities are out of the way, a new chapter begins, replete with possibilities for rental income, private retreats, or whatever functions best serve the homeowner’s lifestyle.
The ultimate measure of success rests not only in the physical construct or the financial gain but in the satisfaction derived from creating a space that embodies personal vision and community trends.
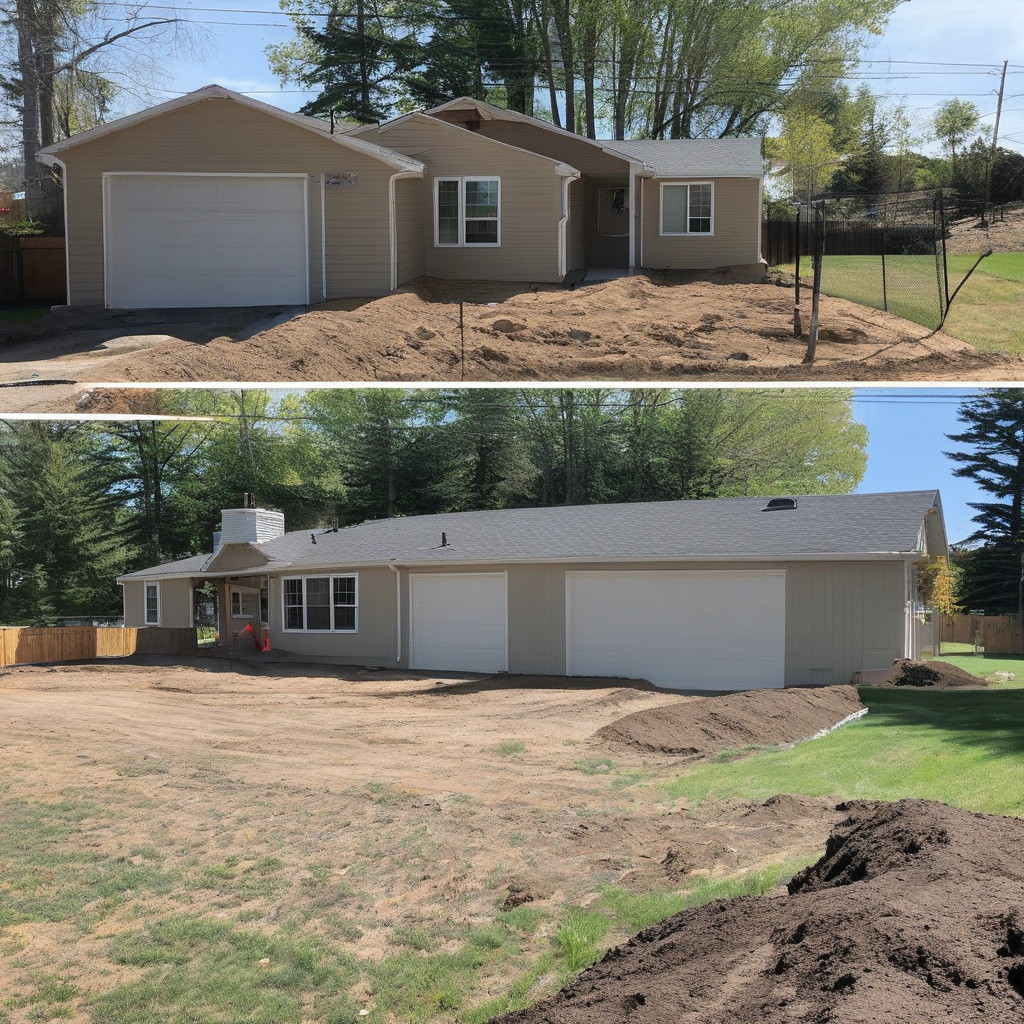
- ADUs are burgeoning as practical solutions for increased space and income in Los Angeles.
- Pre-construction planning, focusing on compliance and budgeting, is crucial for successful execution.
- Materials and design choices profoundly influence both aesthetic appeal and practical functionality.
- Mindful financial planning ensures the enhancement of property value and return on investment.
- The completion signifies a blend of personal satisfaction and alignment with urban living trends.
FAQ
What are the key considerations when preparing a property for ADU construction?
In real renovation projects, planning for an Accessory Dwelling Unit (ADU) involves more than just construction logistics. Homeowners frequently underestimate the importance of privacy, landscape buffers, and path separation. For instance, including dense shrubbery or trees can reduce cross-viewing between main house and ADU windows. Additionally, smartly designing pathways ensures daily movements don’t overlap, giving both residents a sense of independence. Many experts point out that considering these elements early can save costly adjustments later.
How should one choose the right landscape buffers for privacy between an ADU and a main house?
Selecting the right landscape buffer for your ADU construction is vital for maintaining privacy. In regions like California, native plants that require less water are ideal. Think about options like bamboo or tall hedges, which grow quickly and provide an effective visual screen. Many renovation experts emphasize taking into account the growth patterns and maintenance needs of these plants, as ignoring them might lead to a messy look over time. Moreover, the orientation of these buffers relative to window angles is crucial to minimize cross-viewing.
When is building an ADU a sensible decision for homeowners?
Building an ADU can be a smart move for homeowners looking to increase property value and gain rental income. It’s especially sensible if you have ample yard space and aim to address housing concerns by offering a rental or in-law unit. However, it’s critical to assess local zoning laws, as some neighborhoods may have restrictions. In real life scenarios, homeowners with older properties have found that retrofitting their land with an ADU can enhance their living space while generating a passive income. However, careful planning is key to ensure cost efficiency and compliance with regulations.
What are typical mistakes homeowners make during ADU construction?
One common mistake is inadequate planning for privacy; as a result, both ADU and main home residents may feel their personal space is compromised. Insufficient budgeting also poses a problem, as many homeowners do not factor in all costs upfront. Moreover, some overlook smaller details such as ensuring enough natural light, which can transform the ADU into a more welcoming environment. From real renovation insights, having a comprehensive checklist early on, including privacy, budget, and design considerations, can prevent these pitfalls.
What are the pros and cons of ADU construction?
The advantages of ADU construction include increased property value, potential rental income, and flexible living arrangements. You also contribute to alleviating housing shortages. However, potential downsides include high upfront costs and possible regulatory hurdles. In areas like California, meeting seismic safety standards can add to expenses—a detail often overlooked but crucial during planning. Balancing these pros and cons involves weighing financial readiness against future benefits and regulatory compliance. Realistically, understanding local codes and market demands helps mitigate risks and capitalize on opportunities.
What are the costs involved in constructing an ADU?
Costs for constructing an ADU vary significantly depending on location, design, and materials used. In California, for instance, expenses can range from $100,000 to more than $300,000. These include permits, construction materials, and landscaping for privacy measures. Certain decisions, like opting for energy-efficient installations, might increase initial costs but save money long-term. In practice, comprehensive budgeting that factors in these elements as well as unexpected contingencies is crucial for any homeowner considering an ADU. If you need advice on budget planning, it’s recommended to consult professional renovation services.
How can path separation be achieved effectively between an ADU and the main house?
Effective path separation is crucial to maintaining distinct living spaces. In most successful projects, pathways are designed to promote independence, often utilizing different entrance points. Materials like gravel or stepping stones can distinguish paths leading to the ADU, complemented by strategic lighting to define nighttime access. Renovators often recommend aligning pathways with natural curves of the landscape to enhance aesthetic appeal while minimizing the intrusion into private areas. This approach results in a harmonious coexistence of both properties on a single estate, without sacrificing privacy.
What are the specific maintenance requirements for ADU landscaping?
Maintaining ADU landscaping involves regular trimming of bushes and trees that serve as privacy buffers, checking for pest infestations, and irrigation system maintenance, especially in drought-prone areas like California. Many homeowners don’t realize the impact of neglected landscaping, which can lead to overgrowth that not only affects aesthetics but also blocks pathways and window views. In practical terms, scheduling seasonal maintenance helps prevent these issues, ensuring a pleasant environment for both the main house and ADU. Individual plant choices can greatly influence your effort levels—opting for low-maintenance varieties is often a wise decision.