The lingering question of achieving a perfect paint finish can play heavily on the minds of homeowners embarking on renovation projects throughout Los Angeles. A smooth paint finish doesn’t come down to sheer luck. Instead, it’s the result of employing the right tools and techniques, much like a top chef selecting the finest knives to create a masterpiece. Professional-grade tools like angled brushes, premium rollers, and efficient sprayers significantly impact the outcome, transforming rooms with an impeccable finish. For those aiming to sprucely revamp their interiors, these tools are non-negotiable.
Brief summary: This article delves into the essential tools used by professionals to achieve seamless paint finishes in home renovations, highlighting why angled brushes, high-quality rollers, and reliable sprayers are indispensable. It explores current trends in Los Angeles, emphasizes the importance of quality in achieving superior results, and offers insights on practical implementation for homeowners.
The Building Blocks of a Flawless Finish
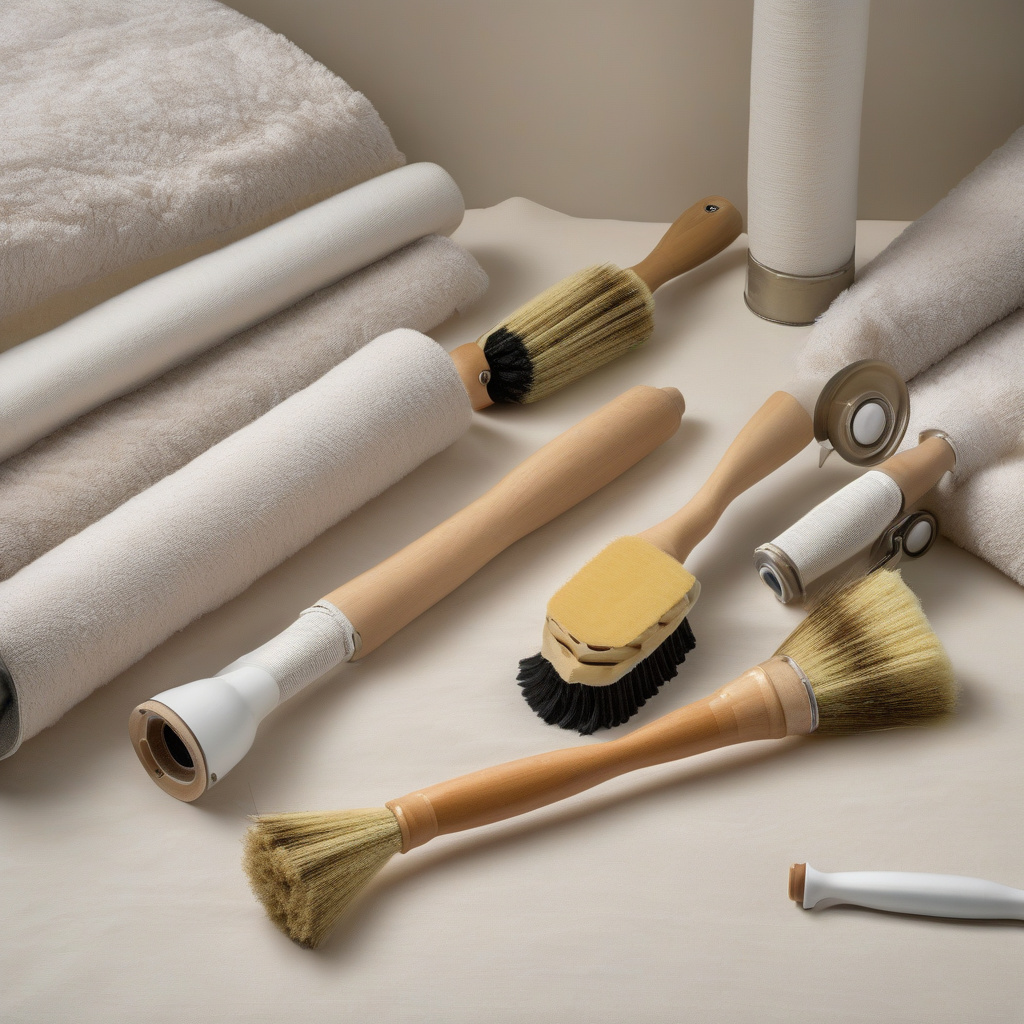
For many Angelenos, a home’s aesthetic signifies status, taste, and personality. As exploring paint solutions for a makeover is a critical first step, recognizing the right tools becomes paramount. High-end angled brushes, often composed of synthetic bristles, are favored for their precision. These brushes enable painters to achieve straight edges and corners, crucial for crisp trims and delicate detailing.
Switching to larger surfaces, premium rollers are the go-to. They are renowned for their ability to cover large areas swiftly while maintaining a uniform texture and sheen. Advanced microfibers or blends in rollers reduce shedding and ensure the uniform application of even the trickiest formulations like matte or eggshell finishes.
Complementing the skill of roller application, sprayers come into play for strikingly smooth results on expansive walls or cabinetry. Experts commend the versatility of airless sprayers, which allow for even distribution with minimal overspray, preserving the integrity of workspace environments.
Ultimately, each tool brings its unique advantage to the table, fostering outcomes that elevate a room’s aesthetics. Seasoned professionals seamlessly integrate brushes, rollers, and sprayers to maximize productivity without compromising the quality of the final result.
Navigating the Cost-Quality Spectrum
The idyllic Southern California lifestyle doesn’t come cheap, and homeowners often find themselves at a crossroads between budget constraints and quality aspirations. Angled brushes and high-end rollers don’t just cost more; they signify an investment in the longevity and appearance of a home’s paintwork.
To illustrate, opting for cheaper brushes may lead to uneven coats or unsightly strokes. Conversely, investing in a high-quality tool ensures longevity, reducing the need for frequent repainting and thus more economically savvy in the long run.
Moreover, while some may view sprayers as an extravagant addition, their efficiency justifies the upfront expenditure. High-grade airless sprayers can manage broad surfaces quickly, saving both time and money on labor costs.
An acknowledgment of these realities guides homeowners to strike a balance between cost and quality, ensuring that every dollar spent translates into tangible home improvement gains.
In essence, understanding the value that premium tools bring facilitates informed decisions that align with both budget considerations and desired outcomes.
| Tool | Cost | Durability | Finish Quality |
|---|---|---|---|
| Angled Brush | Moderate | High | Excellent |
| Premium Roller | High | Very High | Exceptional |
| Sprayer | Elevated | High | Top-notch |
Choosing quality tools can reduce repainting needs, saving significant costs long-term — insights backed by several renovation specialists.
In the Company of Timeless Techniques
While modern tools are paramount, their effectiveness amplifies when paired with time-honored techniques. Techniques like ‘wet-edge painting’ help prevent lap marks, ensuring a uniform finish. Pros in the Los Angeles area often navigate projects by maintaining consistent motion, which avoids unsightly streaks.
The art of cut and roll — a practice where one painter follows another to rectify excess or deficiencies — guarantees that no detail is overlooked. This method is an unspoken secret that effectively marries the capabilities of both rollers and brushes.
Furthermore, priming surfaces remains an indispensable step in the process. A uniform surface texture ensures paint adheres adequately, offering depth and vibrancy to the finishes. It’s no surprise that professionals lay this groundwork diligently.
A nod to traditional expertise coupled with contemporary tools curates results that not only resonate with elegance but also withstand the test of time.
Embracing both the past and present enriches the painting process, offering solutions that are robust and sustainable.
Strategic Planning and Layout Considerations
Every successful renovation is helmed by strategic planning and foresight. Understanding the spatial dynamics of a room aids in choosing the right tools and techniques. In bustling Los Angeles, where space is a premium, layout awareness can dramatically affect painting logistics.
Consideration of air quality and ensuring adequate ventilation during painting projects cannot be overstated. Proper airflow not only preserves the health of workers but also enhances the drying process, settling the paint evenly.
Layering also factors into planning. Establishing a base coat can serve as a scaffold for subsequent layers, optimizing coverage and vibrance. This systematic layering amplifies the color impact sharply.
Moreover, paying attention to the contrast of colors, the influx of natural light, and the function of the space can impact the finish quality. These elements, combined with meticulous planning, culminate in a comprehensive workflow that delivers on expectations.
As demonstrated, sound planning fortifies the foundation upon which beautiful renovations stand, affirming that every stroke and brush counts towards the final vision.
Professional techniques like wet-edge painting create superior finishes, ensuring uniform textures free of lap marks, a standard upheld by experienced painters.
Materials and Techniques: The Impact of Choice
The type of paint plays as crucial a role in the finish as the tools themselves. Delve into the choices between water-based, oil-based, or hybrid paints, and new eco-friendly formulations making waves in Los Angeles markets.
Mileage varies between these options, influencing drying times, chemical emissions, and the impact of painting methods. Exploring innovative styling with mid-century influences breathes new life into contemporary settings.
On the surface, eggshell paints present a subtle sheen favored for their resilience in high-traffic areas. This is in contrast to matte finishes that offer a chic underplayed elegance, mastering the art of subtly commanding spaces.
The interaction between these paints and the chosen tools is critically observed; certain paints perform differently with brushes versus sprayers or rollers, influencing final aesthetics.
Awareness of material choice strengthens the correlation between tools and paints, demanding a considered approach to achieve desired results.
Exploring Challenges and Solutions
While challenges in painting projects are inevitable, understanding solutions elevates efficiency. Central to overcoming issues is recognizing when to adjust strategies to combat issues like surface roughness or uneven drying patterns.
Many homeowners encounter obstacles such as incompatible paint formulations or environmental variations that affect drying and application processes. Prompt adaptation to such variables differentiates professional from amateur painters.
Furthermore, seasonal conditions like humidity or temperature fluctuations within Southern California’s vast microclimates demand flexible approaches. Precision tools and adaptive methods serve to counteract these influences. Adopting techniques to sustain darker shades without heat absorption highlights savvy environmental adaptability.
Ultimately, the key lies in not just possessing quality tools but wielding them with the insight to troubleshoot effectively.
Innovative problem-solving underscores the discipline, ensuring that quality is consistent irrespective of unpredictable elements.
Painting with Purpose: A Closing Reflection
The confluence of innovation and tradition in painting crafts a narrative where ingenuity triumphs. For homeowners eager to update their aesthetic footprint, understanding and leveraging quality tools remain pivotal. This fusion between method and material underscores a larger trend — one that encapsulates the entire Los Angeles basin and its evolving tastes.
Homeowners are encouraged not to see these tools and techniques merely as purchases, but as partnerships in their remodeling journey that lead them closer to realizing their vision. Painting, thus, shifts from a simple task to a calculated art form, precision in every stroke.
Let this discourse guide those preparing to renovate with the knowledge that investing in superior tools and thoughtful application holds the key to an alluringly polished exterior and interior space.
As painting undergoes a transformational lens, capturing both past elegance and future possibilities, it emerges as an art where skillful choices shape exquisite environments.
Research indicates that high-quality tools can transform painting into a precise craft, enhancing finish longevity and elevating visual appeal — a realization increasingly embraced by homeowners.
- The right tools are essential for achieving smooth, professional paint finishes.
- Angled brushes, premium rollers, and sprayers provide distinct advantages.
- Quality tools reduce long-term costs by minimizing repainting needs.
- Strategic planning and material choices critically impact final outcomes.
- Flexibility in techniques overcomes challenges presented by environmental variables.
FAQ
What are the best tools for a smooth paint finish?
In real renovation projects, smooth finishes are achieved through the professional use of angled brushes, high-quality rollers, and reliable sprayers. For instance, many experts recommend synthetic bristle brushes for precise control on edges and trim. Paired with microfiber rollers, these tools ensure both smoothness and consistency. Reliable sprayers can distribute paint evenly, reducing the need for repeat coats. This combination not only saves time but ensures quality, particularly when dealing with cabinetry where imperfections are most noticeable. Homeowners often overlook tool quality, but investing in high-end options truly pays off.
How do I choose the right paint sprayer?
Selecting the right paint sprayer involves considering the project size, paint type, and desired finish. In many California homes, especially those with large spaces, airless sprayers are popular for their speed and ability to handle thick latex paints. On the other hand, for detailed work such as cabinetry, HVLP (high-volume low-pressure) sprayers offer precision and minimal spray. A common mistake is choosing a sprayer based on price alone, neglecting the specific needs of the project. Testing different models and consulting with experts, such as those available on certain project consultation platforms, can guide your decision.
When should I use a roller versus a brush?
Many experts point out that the choice between a roller and brush depends on the painting surface and desired outcome. Rollers are ideal for covering large, flat walls quickly, offering a uniform finish without brush streaks. However, when working on trim, corners, or intricate molding, angled brushes are indispensable for their precision and control. Homeowners frequently underestimate this aspect and end up with uneven finishes by using the wrong tool. A practical tip is to use a quality roller for the main area, then switch to an angled brush for edges and detail work.
What are the benefits of using high-quality rollers?
High-quality rollers are crucial for achieving a smooth, even paint finish. In real-world applications, they reduce lint dispersal, which can cause imperfections on walls. These rollers also hold more paint, reducing the need for frequent reapplication and allowing for more extensive areas to be covered efficiently. They tend to have durable cores that ensure a consistent rotation and apply paint evenly. A typical mistake is opting for cheaper rollers that shed or compress over time, leaving tracks on the surface. Investing in quality is cost-effective in the long run and enhances the final appearance.
What are the pros and cons of using professional paint sprayers?
Professional paint sprayers offer speed and efficiency, especially beneficial when dealing with large spaces or entire home exteriors. They provide a smooth finish unparalleled by brushes or rollers when used correctly. However, they do require skill; many beginners struggle with over-spraying or inconsistent coverage. Additionally, sprayers involve a higher initial cost and considerable preparation to protect areas from overspray. Weighing these factors can guide homeowners to decide whether investing in a sprayer or hiring a professional painter is the smarter move for their particular project.
What are some typical paint application mistakes to avoid?
Innumerable DIY enthusiasts have faced the challenges of poor paint finishes due to common pitfalls. Skipping the primer, for example, often leads to uneven absorption, particularly on surfaces that differ in porosity. Another frequent mistake is not using painters tape for clean edges, resulting in messy lines. Also, rushing through coats without proper drying time can compromise durability. These errors might seem trivial, but they make a significant difference in outcome. Always follow the manufacturer’s guidelines for drying times and application instructions to avoid rework in future projects.
How does the cost of tools affect the quality of a paint job?
In real-world renovation, it’s apparent that the cost of painting tools directly correlates with the final quality. Investing in premium tools, such as high-end sprayers or superior bristles, may initially seem costly but pays dividends in longevity and finish. Cheaper tools often require replacing mid-project or can even damage the painted surface, leading to additional expenses for corrections. Experienced renovators suggest allocating a significant portion of the budget to quality tools to minimize future regrets or additional repairs. The lesson here is clear: initial investments save substantial future expenditures.
What maintenance is required for paint tools to ensure longevity?
Tool maintenance is critical for longevity and consistent results on any project. After each use, brushes should be thoroughly cleaned with appropriate solvents to prevent bristle stiffening. Rollers benefit from a proper wash and drying to avoid caking or mold. Sprayers need extra care; many experts suggest periodic disassembly for deep cleaning to prevent nozzle clogs. Storing tools properly—away from extreme temperatures and damp conditions—also extends their life. In practice, some neglect this aspect, shortening the lifespan of costly equipment. Consistent upkeep becomes a good habit that preserves the investment for future use.