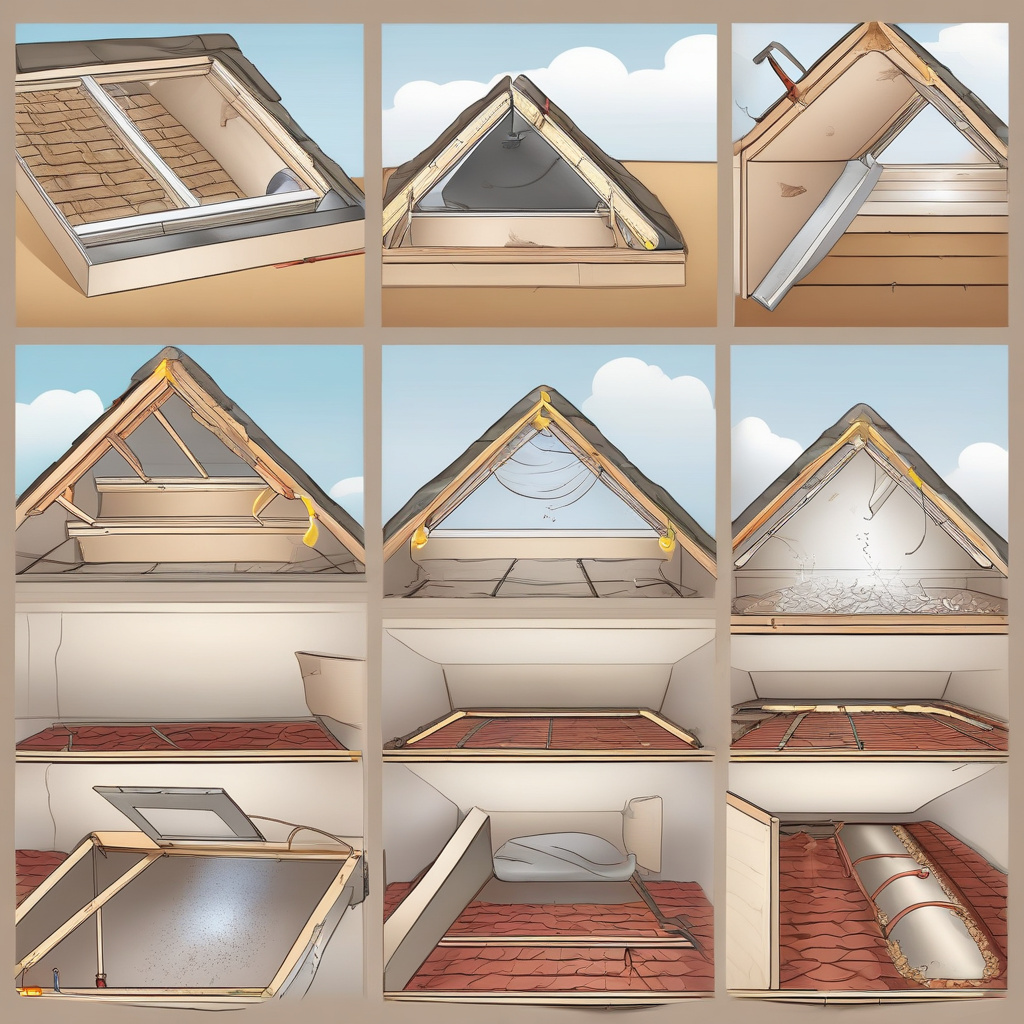
As winter’s chilling embrace looms ever closer, the need to ensure a snug, warm home intensifies. Few areas demand attention quite like that oft-overlooked entryway into the attic. Indeed, insulating your attic hatch might be the golden key to retaining precious warmth and slashing those soaring heating bills. Let’s embark on a journey to unravel three highly effective methods to insulate your attic hatch and keep Jack Frost’s icy fingers at bay.
The Underrated Impact of an Insulated Attic Hatch
In households across America, energy efficiency plays a starring role, and nowhere is this more apparent than at the attic entrance. A mere breach of unsealed hatches can siphon off warmth, much like a slow leak in a bucket you’re determined to carry uphill. Ensuring your attic hatch is properly insulated isn’t just a nifty upgrade; it’s a necessity.
Indeed, contractors often notice that homeowners overlook this very portal without realizing its impact. Why pin the blame on the windows when the warmth seeps through above your head? Experience reveals that an insulated attic hatch acts not only as a barrier to the chill but also as an ally to lower energy costs.
Statistics show that sealing air leaks, such as those around attic hatches, can result in a 15% reduction in heating and cooling costs. For those with an eye on their wallets, that’s not just a figure; it’s a rallying cry. It’s essential to comprehend how an initially overlooked task can streamline energy budgets.
The very act of addressing these stone-cold culprits transforms ‘what happens upstairs affects downstairs’ from a quaint saying into direct financial wisdom. So, without further ado, let’s delve into the methods — each of which promises a unique brand of thermal heroics.
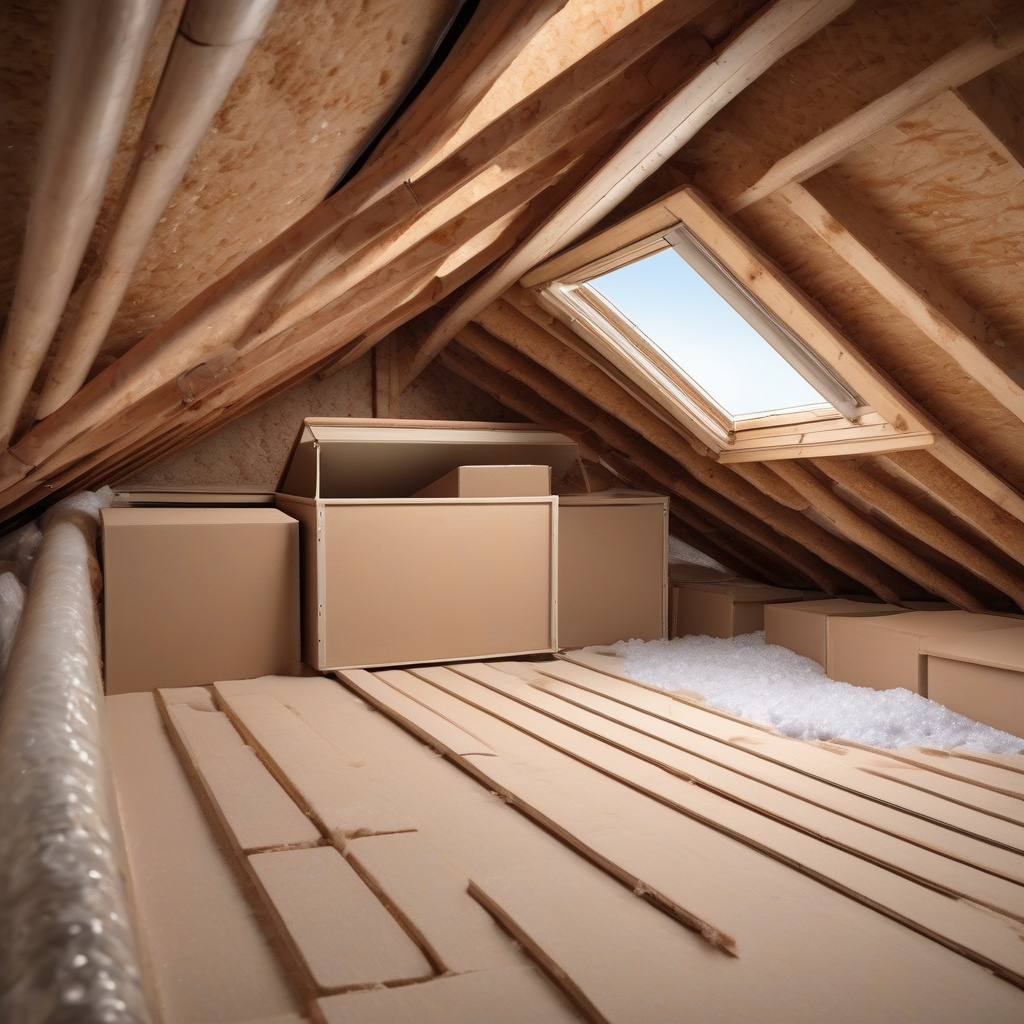
1. Foam Board Insulation: A Rigid Resolution
Foam board insulation presents a strong contender in the race to insulate attic hatches. Known for its strength and high insulating properties, foam board delivers an airtight solution that’s both commendable and cost-effective. Let’s dig deeper into how it can reinvigorate your home’s warmth.
Contractors often favor foam board due to its structural integrity paired with lightweight handling. Moreover, this insulation material offers superior R-values, making it excellent at resisting heat flow. While it may not whisper sweet nothings, it certainly keeps the warmth where it belongs.
But let’s talk pragmatics. Measure your attic hatch, carve the foam board to corresponding dimensions, and secure it evenly. The snug fit is crucial, lovingly embraced by adhesive or weatherstripping for added effect. In real situations, precision is as vital as the material itself.
Homeowners agree:
Expert Tip: “Opt for polyiso foam board; it provides a higher thermal resistance per inch compared to other types,” suggests insulation professional Jan Levenson.
- Measure your attic hatch accurately.
- Cut foam board to size.
- Fit it snugly, using adhesive to seal any gaps.
- Enhance with weatherstripping for extra security.
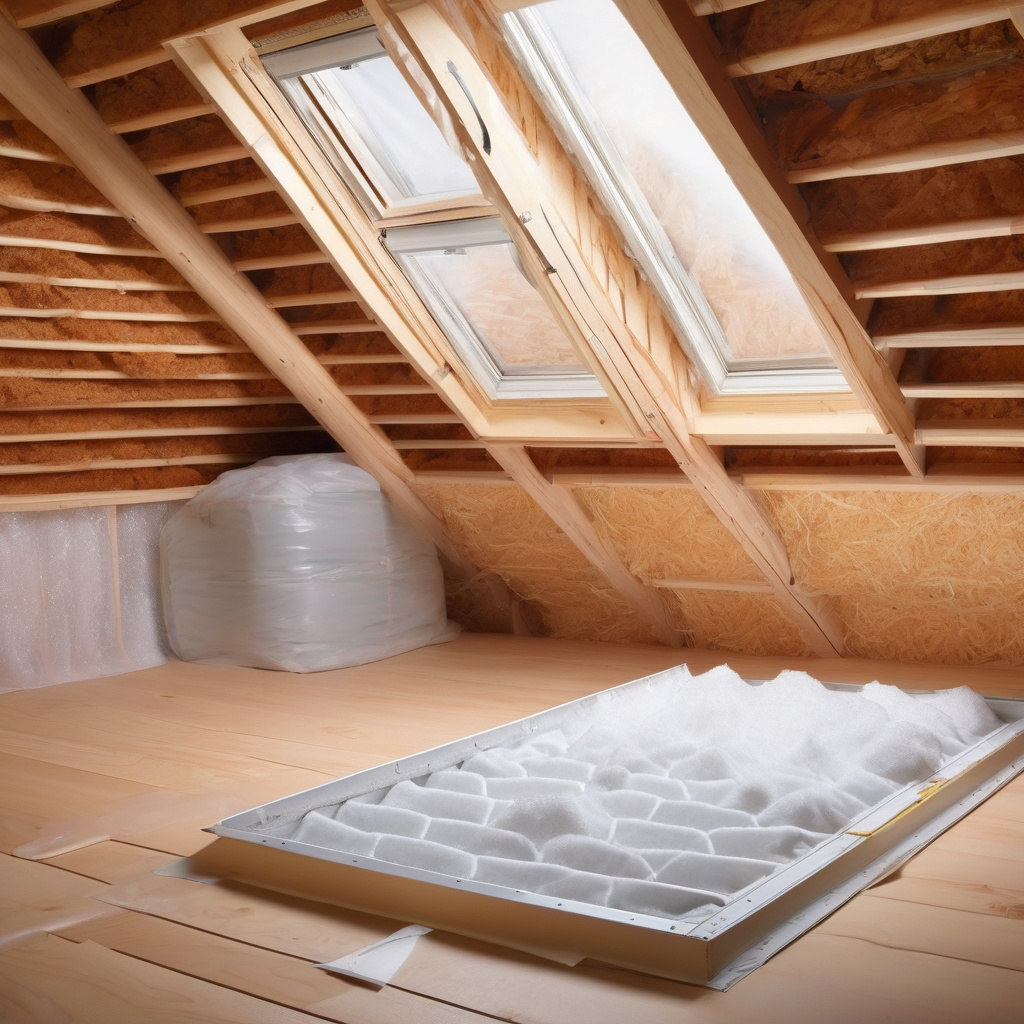
2. The Quilt Approach: Blanket Insulation
If your home needs a cozy quilt, blanket insulation unfurls with promising prowess. Famous for its flexibility and often made from fiberglass, this method molds to your attic hatch’s contours like a glove. The beauty lies not just in its effectiveness but also in its simplicity of installation.
Our era of mindfulness has welcomed back blanket insulation with open arms, due to its sustainable properties and DIY appeal. Whatever your attic hatch’s stature, blanket insulation bridges the gaps, insulating against the frigid invasion.
This method involves securing layers over the hatch, sometimes with tape or staples, to ensure they hug tightly. One must be meticulous, as practice shows; it’s the attention to detail in placement that transforms a good insulator to an exceptional one.
Don’t forget,
Statistics reveal: “Homes with adequately insulated attic hatches reduce total heat loss by approximately 25% more than those without,” according to the Energy Savings Trust.
- Choose the right type of blanket insulation.
- Layer, measure, and cut to fit the hatch precisely.
- Secure edges and corners meticulously.
- Check for gaps and adjust until they snugly fit.
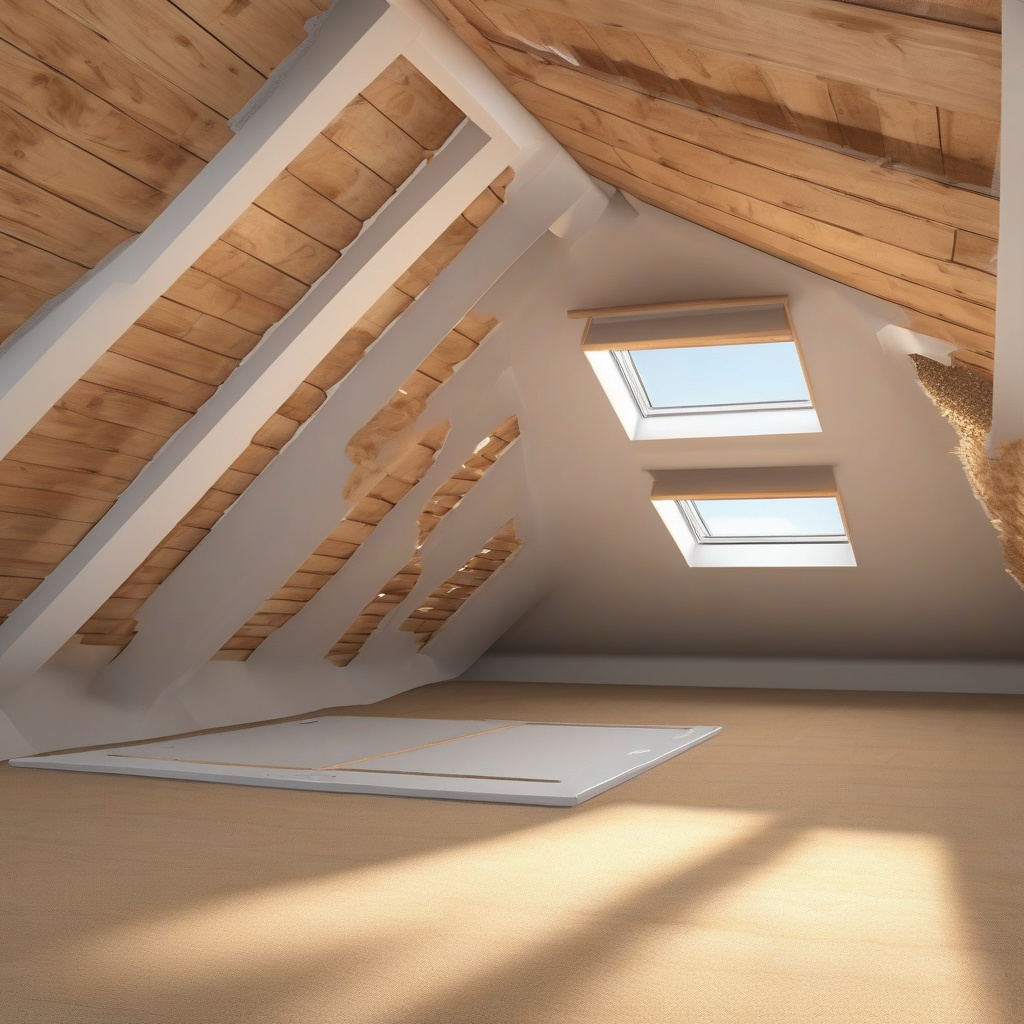
3. Batt Down the Hatches with Batt Insulation
Batt insulation, akin to blanket’s sibling, affords robust insulative properties while maintaining simplicity’s charm. Often drafted from fiberglass or mineral wool, it’s a tool beloved by DIY enthusiasts and professionals alike for its storied history of warming homes.
Contractors frequently reach into the batt arsenal for immediate insulation remedies. Where foam lends stiffness, batt offers pliability, filling voids with ease and adaptability. When installed correctly, the batt stands steadfast, defying drafts like a built-in winter coat.
Here’s where attentiveness is paramount. Cut the batt precisely, align it judiciously over the hatch, and use a firm adherence strategy. It’s simple, effective, and doesn’t demand a five-year plan.
Practical Fact: “Most mineral wool batt insulation is fire-resistant, adding an extra layer of safety to your thermal strategy,” highlights home safety expert Larry Buren.
| Method | Material | R-Value | Benefits |
|---|---|---|---|
| Foam Board | Polyiso, XPS | 5-6 per inch | High thermal resistance |
| Blanket | Fiberglass | 2.9-3.8 per inch | Flexible and sustainable |
| Batt | Fiberglass, Mineral Wool | 3.1-4.3 per inch | Pliability and fire resistance |
| Combined | Various | Varies | Customizable |
- Measure batt to the hatch’s dimensions.
- Cut following exact specifications.
- Position and secure for a tight fit.
- Ensure edges are seamless.
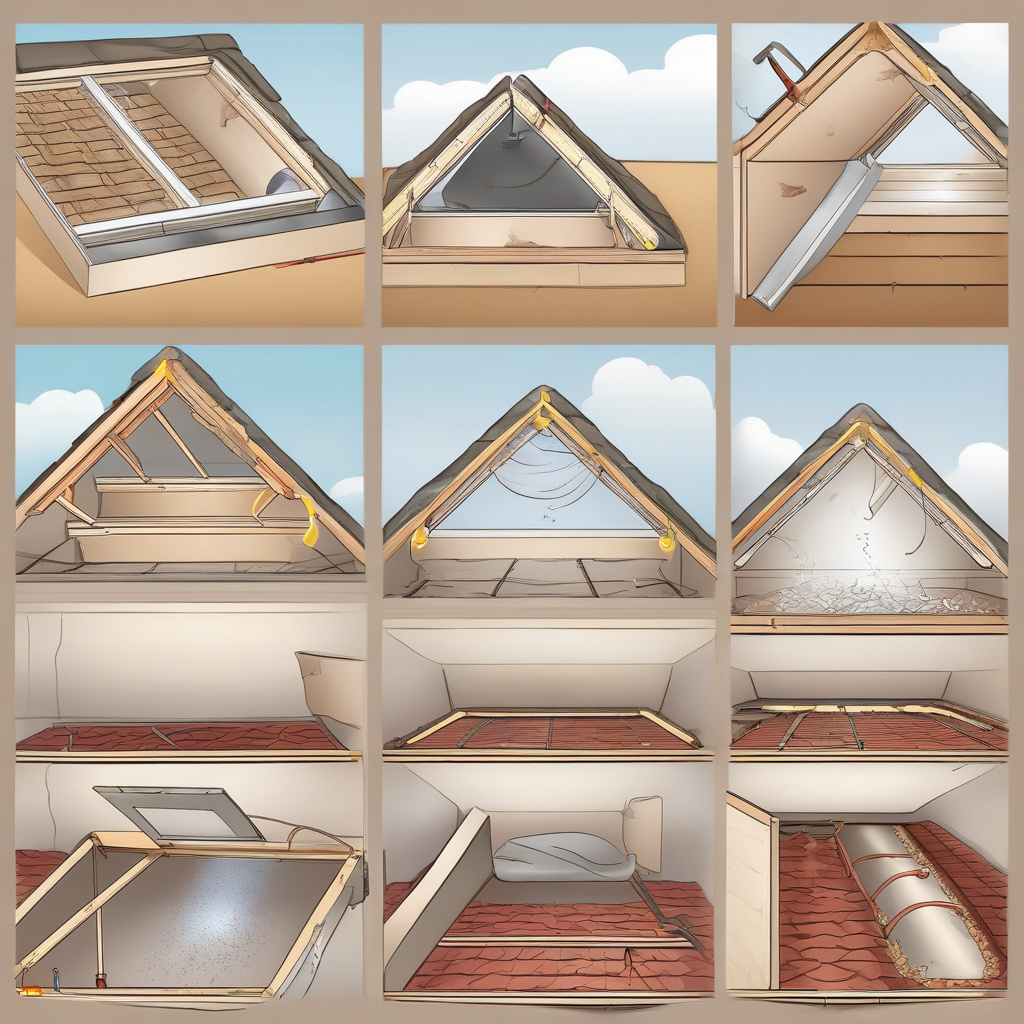
Exploring the Combined Approach
While each insulation method boasts unique strengths, there’s always a case for amalgamating efforts. By combining these approaches, one can fortify their hatch while maximizing each material’s full potential. It’s a tactical maneuver admired by seasoned DIYers and professionals alike, resulting in an enviably thermal-efficient hatchway.
Consider the advantages — foam board’s rigidity, the quilt-like nature of blanket, and batt’s flexibility — all in one strategic concoction. What you get is a barrier that bows to none, yet acknowledges each individual material’s potential shortfall.
This hybrid approach calls not for compromise, but rather an embrace of multiplicity. As practice shows, insulating bulky areas demands nuanced solutions that single-material approaches may not quite offer.
To conclude, insulating an attic hatch isn’t merely a task of the hands but a venture of the mind. Whether employing a single method or indulging the combined effort, the goal remains: safeguard the sanctuary of your home, maintain warmth, and relish in the comfort that no cold winds can breach.
“`html
FAQ
What are the most effective materials for insulating an attic hatch?
When it comes to insulating an attic hatch, the material you choose plays a crucial role in its effectiveness. Common materials include fiberglass batt insulation, rigid foam board, and spray foam. Fiberglass batt insulation is a popular choice due to its accessibility and affordability. It fits snugly over and around the hatch, providing a decent thermal barrier. Rigid foam board is another effective option, as it offers a higher R-value per inch compared to fiberglass; it’s ideal for tight spaces where you can’t afford to lose much headroom. Spray foam insulation provides an airtight seal, filling any gaps around the hatch, but it can be a more costly option due to the need for professional installation. In addition to these, using weatherstripping around the edges of the hatch can further minimize heat loss, making it one of the simplest yet essential additions to any of the main materials you select.
How can I ensure my attic hatch insulation is efficiently preventing heat loss?
To ensure your attic hatch insulation is effectively preventing heat loss, start by checking for any visible gaps or incomplete coverage around the hatch. An improperly sealed attic hatch can be a major source of heat loss in a home, negating the efforts of other insulation work. Using a smoke pencil or incense stick can help you detect drafts—if the smoke wavers or is sucked in or out at the edges, further sealing is required. Additionally, periodically inspect the insulation materials for any deterioration or compaction, which can reduce its insulating properties over time. Reapply or replace weatherstripping as it can degrade and lose its sealing capability. Ensuring a snug fit with no gaps will help maintain the integrity of your insulation. Moreover, maintaining a consistent indoor temperature will allow you to better monitor the performance of your insulated hatch, as unexplained fluctuations may indicate inefficiencies. Investing in a thermal imaging scan can also provide a comprehensive view of heat loss, pinpointing problem areas effectively.
What are the benefits of insulating an attic hatch beyond just conserving heat?
Insulating an attic hatch offers numerous benefits beyond just conserving heat. One significant advantage is cost savings on energy bills. By preventing warm air from escaping through the attic hatch, your heating system doesn’t have to work as hard, resulting in lower energy consumption and reduced heating costs. It also increases the overall comfort of your home, eliminating cold spots and drafts that can make areas near the attic uncomfortable. Furthermore, effective insulation can prolong the life of HVAC systems by reducing excess wear and tear from overuse. Additionally, for homes in humid regions, insulation can also help prevent moisture build-up, reducing the risk of mold and mildew formation in the attic space. Finally, a well-insulated attic hatch contributes to the environmental sustainability of the home by lowering carbon emissions associated with heating and cooling. All these factors combined mean that a little effort in insulating your attic hatch can substantially impact your home’s efficiency and your quality of life.
Are there any DIY methods to insulate an attic hatch effectively?
Yes, there are several DIY methods you can implement to insulate an attic hatch effectively. One common approach is to use fiberglass or foam board cut to size and attached to the attic hatch cover with adhesive. For added insulation, layer the hatch with reflective foil to trap radiant heat. Applying weatherstrip tape around the perimeter of the hatch can seal any small gaps, preventing drafts. Another effective DIY method involves constructing a box-like cover, often referred to as a hatch tent, using rigid foam board to sit over the hatch; this minimizes gaps while adding extra insulation. To install, measure the attic hatch dimensions accurately, then cut the foam board to fit these measurements, and secure the pieces using duct tape or construction adhesive. Ensure you maintain a tight seal when attaching these materials to achieve optimal insulation. DIY insulation not only helps to conserve heat but also enhances household energy efficiency at a low cost without the need for professional installation.
“`