Building Envelope and Moisture Control
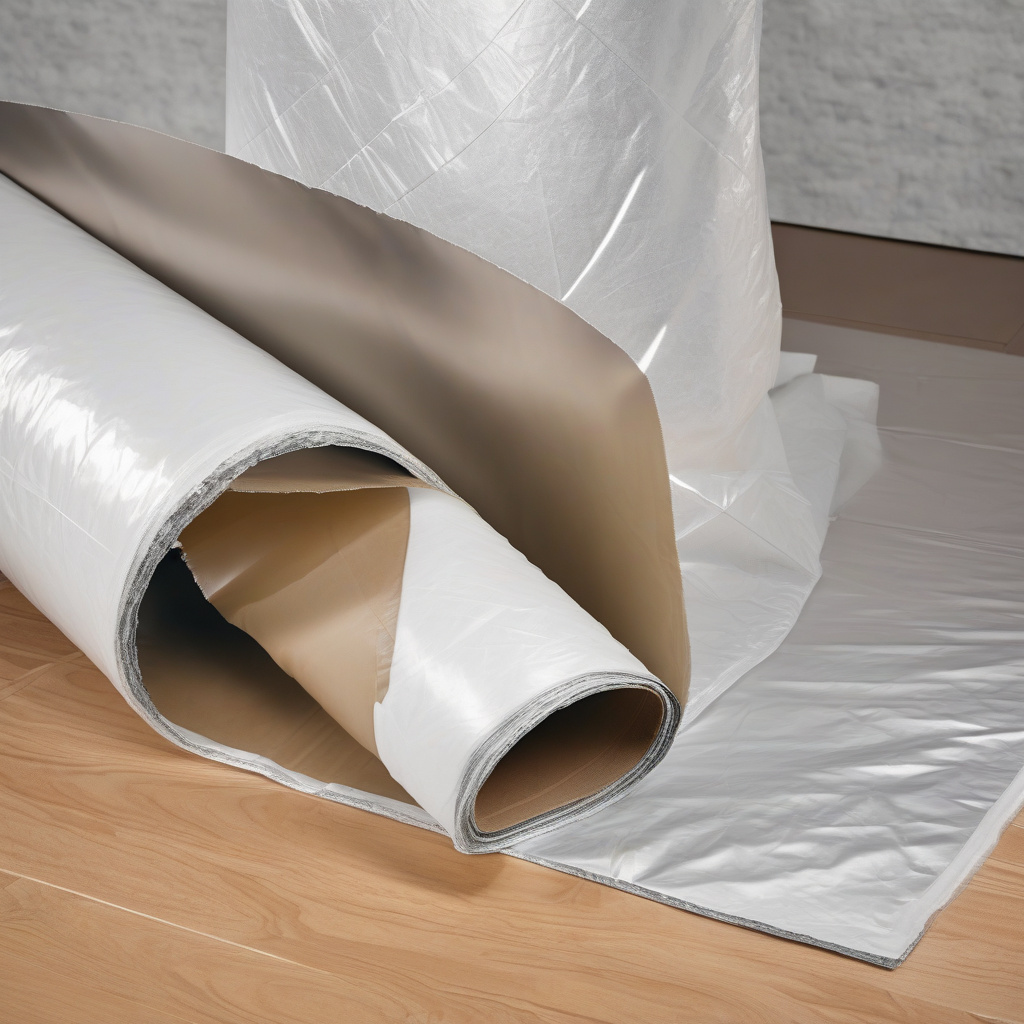
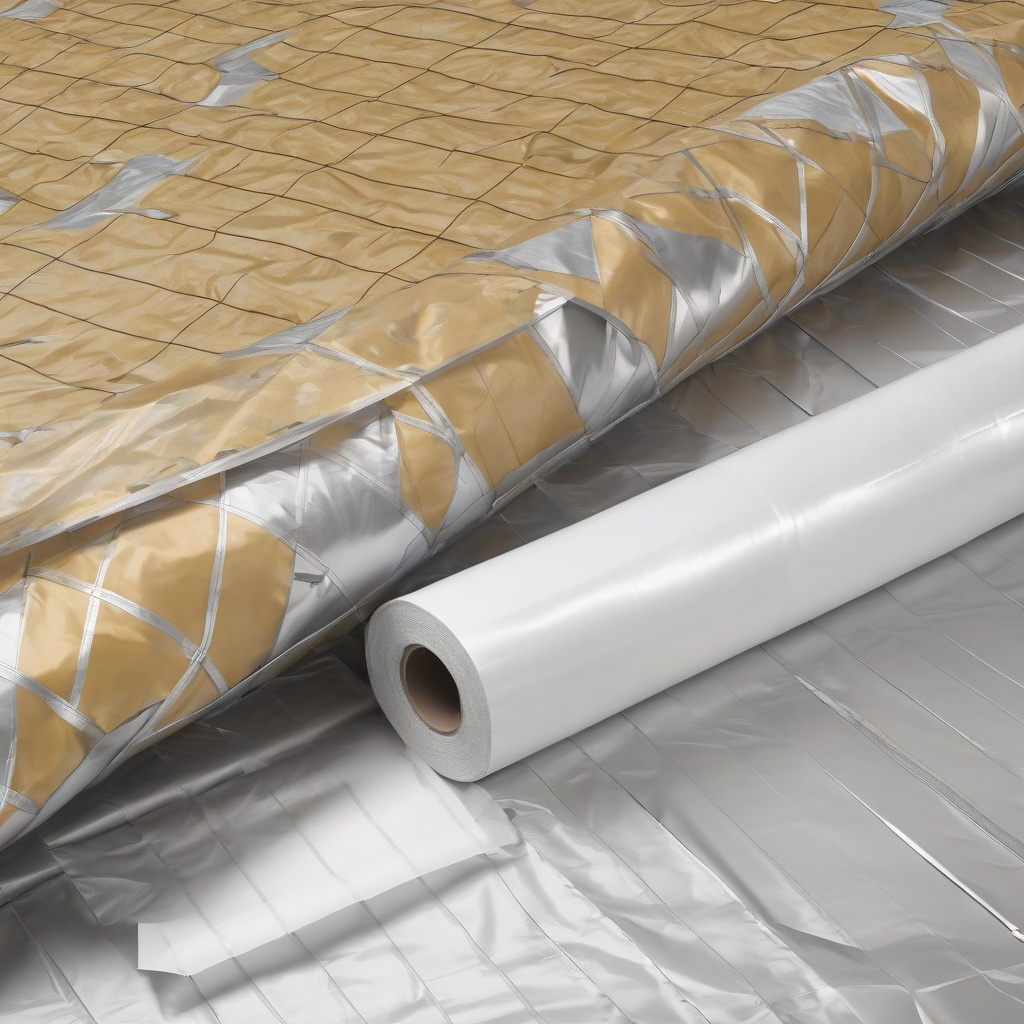
A Tyvek AirGuard membrane is intended to control air movement and water-vapor diffusion from the interior side of a compatible wall or roof assembly. It should not be confused with standard Tyvek housewrap, which is generally installed toward the exterior and is designed to resist bulk water and air while remaining vapor permeable.
The correct product and placement depend on climate zone, insulation type, indoor humidity, exterior materials and the assembly’s ability to dry. Installing a low-permeance membrane in the wrong location can trap moisture rather than prevent it, so the full wall or roof design must be evaluated before selecting a vapor-control layer.
Key distinction: “Tyvek” describes a product family, not one universal vapor barrier. Tyvek weather barriers and AirGuard vapor-control membranes serve different positions in the building envelope. Product names, specifications and regional availability should be checked against the current manufacturer data sheet before installation.

Is Tyvek AirGuard Actually a Vapor Barrier?
AirGuard products are described by DuPont as air and vapor-control layers, but their vapor behavior varies by the specific product. Some versions provide strong vapor resistance, while a “smart” membrane can change its vapor resistance in response to surrounding humidity. The exact performance cannot be determined from the AirGuard name alone.
Standard Tyvek HomeWrap is different. DuPont describes it as a water-resistive and air barrier that keeps bulk water and air out while allowing water vapor to escape. Calling every Tyvek sheet a vapor barrier therefore creates a serious specification error: a vapor-permeable exterior weather barrier and an interior vapor-control membrane are not interchangeable. :contentReference[oaicite:0]{index=0}
For a California home, the better question is not simply whether Tyvek is “good.” The useful questions are which Tyvek or AirGuard product is being proposed, where it will be installed, what materials lie on both sides and whether that combination supports drying under expected indoor and outdoor conditions.
Exterior Weather Barrier
A vapor-permeable Tyvek weather barrier is typically used behind exterior siding or another approved cladding assembly. Its job is to resist wind-driven water and uncontrolled air movement while allowing water vapor to pass outward.
Interior Vapor Control
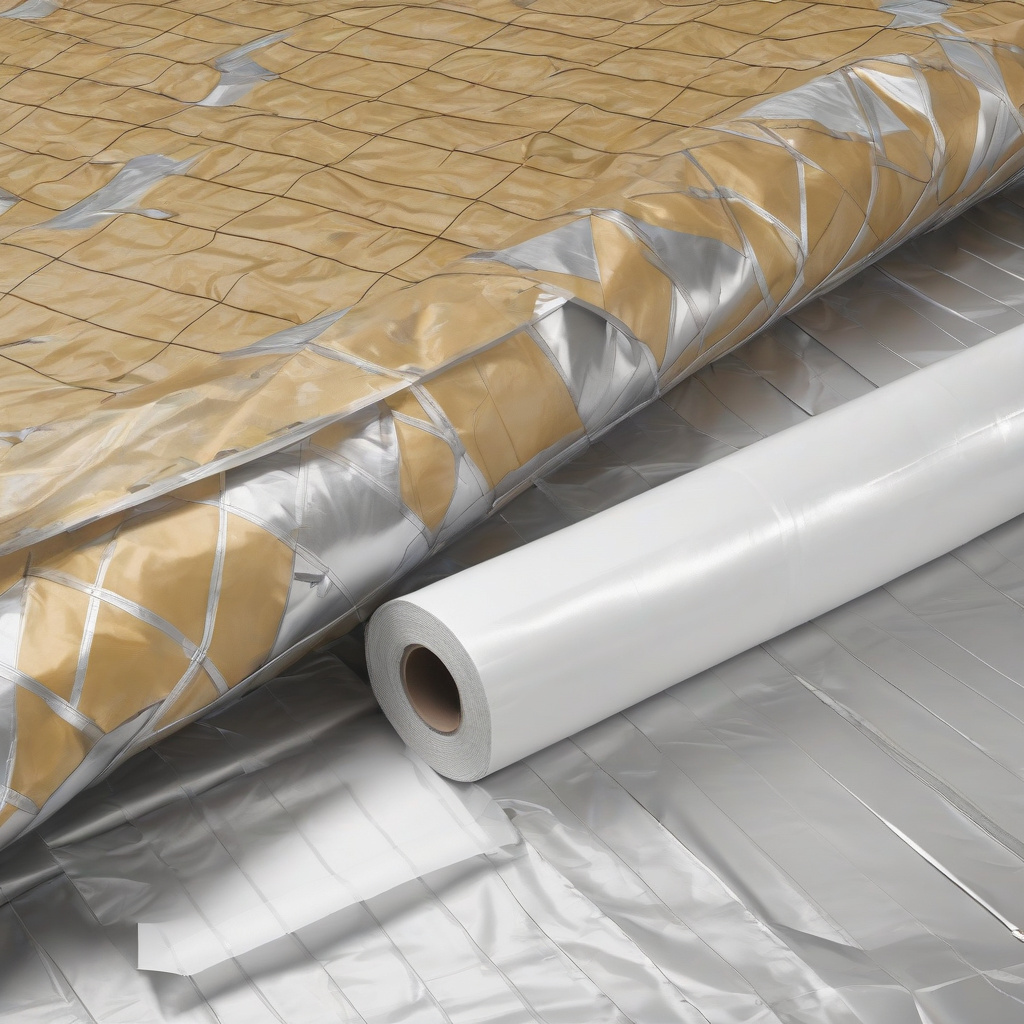
An AirGuard membrane may be installed toward the conditioned side of insulation when the selected assembly requires interior vapor resistance. Seams, edges and penetrations must also be detailed as part of the air-control strategy.
Variable-Permeance Layer
A smart membrane changes its resistance as humidity conditions change. This can support seasonal drying in a compatible assembly, but it does not compensate for roof leaks, plumbing leaks or incorrect exterior drainage.
Vapor Barrier, Vapor Retarder and Air Barrier Explained
Water vapor and air do not move through a building in the same way. Vapor diffusion occurs through materials because of vapor-pressure differences. Air leakage moves through openings, seams and penetrations, often carrying much more moisture than diffusion alone. Bulk rainwater is a third mechanism and requires exterior drainage and flashing rather than an interior vapor membrane.
A vapor retarder slows diffusion. An air barrier controls airflow through the enclosure. A water-resistive barrier helps manage water that gets behind exterior cladding. One material may perform more than one function, but only when its tested properties, location and installation details support those functions.
Tyvek Weather Barrier
Tyvek HomeWrap and related exterior products are designed to resist bulk water and air while remaining vapor permeable. Their drying ability is one reason they should not automatically be described as interior vapor barriers.
AirGuard Control Layer
AirGuard products are intended for interior air and vapor control in specified assemblies. Their resistance, fire classification, reinforcement and installation accessories vary by product, so a current technical sheet is essential.
Practical note: A membrane can be an effective air barrier only when the seams, perimeter connections, electrical penetrations, plumbing openings and transitions to adjacent materials form a continuous sealed plane.

Where AirGuard Membranes Are Installed
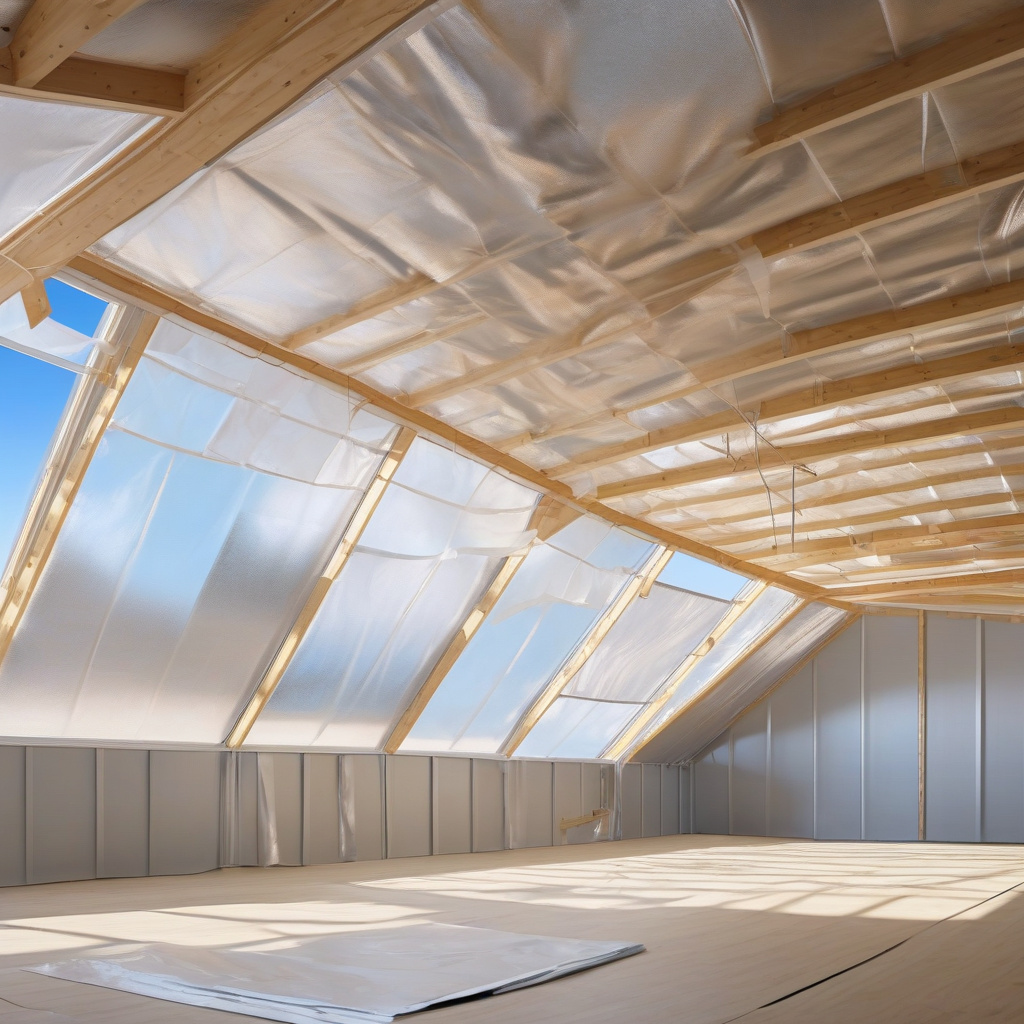
An AirGuard membrane is generally associated with the conditioned side of insulation in wall, ceiling or roof assemblies for which interior vapor control has been specified. Its location must remain continuous around floor lines, partition intersections, attic hatches and penetrations. Randomly placing sheets between framing layers without a defined air-control plane leaves gaps that can undermine the intended performance.
Roof assemblies need particular attention because several components influence moisture behavior: roof covering, underlayment, sheathing, ventilation space, insulation, interior finish and indoor humidity. Work that changes these layers should be coordinated with the broader roof insulation and weatherproofing work rather than treating the membrane as an isolated upgrade.
Walls require the same assembly-level thinking. Exterior stucco, sheathing, cavity insulation, rigid foam and interior finishes each have their own vapor resistance. Adding a highly restrictive interior layer without checking the exterior layers may reduce the wall’s drying potential.
What to Verify Before Choosing a Membrane
- The complete wall or roof assembly from interior finish to exterior covering
- The exact product name, vapor rating and approved installation orientation
- The project’s California climate zone and applicable code requirements
- How the membrane will connect at windows, doors, floors and roof transitions
- Whether existing leaks, wet insulation or damaged sheathing must be repaired first
How Moisture Moves Through a Wall or Roof
Condensation can occur when moisture-laden air reaches a surface cold enough for water to form. The location of that surface changes with outdoor temperature, indoor humidity, insulation placement and thermal bridging. This is why copying a membrane detail from another climate or construction type can produce the wrong result.
Los Angeles includes mild coastal conditions, hotter inland conditions and climate-zone differences within the wider region. California’s current energy requirements include specific vapor-retarder provisions for certain climate zones and assemblies, rather than one rule for every home in the state. The applicable jurisdiction, project type and code edition should be confirmed for the property. :contentReference[oaicite:1]{index=1}
| Control layer | Main function | What must be verified |
|---|---|---|
| Exterior water-resistive barrier | Drains incidental water behind the cladding | Flashing integration, laps and drainage path |
| Air barrier | Limits uncontrolled airflow through the enclosure | Continuity at seams, edges and penetrations |
| Vapor retarder | Limits water-vapor diffusion through materials | Permeance, climate and assembly location |
| Insulation | Reduces heat flow through the assembly | Coverage, compression, gaps and thermal bridges |
| Roof or wall ventilation | Supports drying in assemblies designed to be vented | Clear intake, exhaust and ventilation pathway |
| Interior humidity control | Reduces moisture pressure from inside the home | Ventilation, exhaust fans and moisture sources |
Installation Details That Determine Performance
The membrane should be installed according to the instructions for the exact product, not according to a generic housewrap method. The specified side must face the correct direction, and overlaps should follow the manufacturer’s required dimensions and tape system. Staples or fasteners may hold the sheet temporarily, but they do not replace sealed seams and perimeter connections.
Electrical boxes, pipes, ducts and structural members interrupt the membrane plane. These locations may need compatible tapes, collars, sealants or preformed accessories. The selected products must adhere to the membrane and surrounding substrate without creating unsupported gaps.
Attic access is a common weak point. A carefully installed ceiling membrane loses effectiveness when air bypasses it around an unsealed hatch. Planning may therefore include compatible attic access air-sealing methods as part of the same control layer.
Roof and attic moisture behavior also depends on whether the assembly is vented or unvented. A vented design needs a clear airflow path rather than isolated vents blocked by insulation. Before changing the interior membrane, compare the proposed detail with the property’s balanced attic ventilation basics.
What Affects the Cost of a Vapor-Control System
The membrane roll is only one part of the project cost. Labor and detailing increase when the control layer must pass around complex framing, skylights, ducts, recessed elements or numerous utility penetrations. Opening finished walls or ceilings can also reveal damaged insulation, wet sheathing or previous air-sealing work that must be corrected.
- Total wall, ceiling or roof area covered by the membrane
- Number of corners, penetrations and transitions requiring detailed sealing
- Removal and replacement of existing interior or exterior finishes
- Condition of insulation, sheathing and framing discovered during access
- Specified tapes, collars, sealants and compatible accessory products
- Coordination with ventilation, roofing, windows and mechanical systems
Changing the insulation system can alter the recommended vapor-control strategy. For example, some roof designs use air-impermeable insulation in a way that differs from a vented attic with fibrous insulation. Any comparison with spray foam insulation options should examine the full assembly instead of comparing material prices alone.

Common Tyvek and AirGuard Selection Mistakes
The most common mistake is treating “Tyvek” as one product. Selecting a sheet by brand recognition without checking its intended location can lead to an exterior weather barrier being specified where an interior vapor-control layer was expected, or the reverse.
Another error is assuming that more vapor resistance always means better moisture protection. A low-permeance layer can reduce drying when the opposite side of the assembly is also restrictive. Moisture trapped between two low-permeance layers may remain concealed until finishes stain, insulation deteriorates or sheathing becomes damaged.
Installation errors include unsealed overlaps, missing perimeter connections and punctures around electrical or mechanical work. Later trades may cut the membrane for wiring or fixtures without restoring the air seal. The membrane should therefore remain visible for inspection before finishes conceal it.
Do not use an interior membrane to hide an active leak. Roof openings, flashing, exterior cladding and plumbing must be repaired at the source. Air sealing around doors and operable openings may also need separate work such as weatherstripping for air leakage control.
When Professional Building-Envelope Review Is Needed
A homeowner can safely document visible staining, condensation, musty areas, damaged finishes and locations where drafts are noticeable. Photographs, indoor humidity readings and records of when the symptoms appear can help establish whether the issue is seasonal, weather-related or linked to household moisture.
Professional evaluation is appropriate when insulation or sheathing is wet, mold-like growth is visible, condensation recurs inside a roof or wall cavity, or the proposed work changes an unvented roof, exterior insulation or multiple enclosure layers. These conditions cannot be diagnosed reliably by looking only at the interior finish.
A designer, building-envelope specialist or qualified contractor may need to review heat, air and moisture control together. Permit and energy-code questions should be confirmed with the authority responsible for the specific property. Product compliance should be based on current technical documentation rather than an online description written for another region.

Questions to Resolve Before Work Begins
Ask for the exact membrane name and current technical data sheet. The proposal should identify whether the product is serving as an air barrier, vapor retarder or both. It should also state where the layer will be located and how it connects to adjacent control layers.
Request a drawing or written description for difficult transitions, including eaves, wall-to-roof joints, windows, attic access and service penetrations. Confirm whether damaged materials will be documented before replacement and how unexpected moisture conditions will affect the scope.
Finally, verify that the proposed assembly is appropriate for the project’s climate zone, insulation and exterior finish. A membrane should be selected because its tested properties complete the enclosure design—not because the brand name appears familiar.
- Tyvek HomeWrap and Tyvek AirGuard are different building-envelope products.
- Choose the membrane by permeance, assembly position and drying direction.
- Do not place a vapor-control layer without checking materials on both sides.
- Recurring condensation or wet sheathing requires professional assessment.
- Obtain the exact product data sheet before approving installation details.
Frequently Asked Questions
Is Tyvek HomeWrap a vapor barrier?
Tyvek HomeWrap is generally described as a vapor-permeable water-resistive and air barrier, not as a low-permeance interior vapor barrier. It is designed to resist bulk water and air while allowing water vapor to pass through. Its typical role is behind exterior cladding, where it supports drainage and outward drying. The product should not be substituted for an interior vapor-control membrane without an assembly-specific design.
What is the difference between Tyvek and AirGuard?
Tyvek is a broad product family that includes exterior weather barriers and other specialty materials. AirGuard identifies a group of interior air and vapor-control membranes. The products differ in vapor resistance, reinforcement, fire classification and intended assembly position. Because names and specifications can vary between markets, the current regional data sheet should be reviewed before a product is purchased or shown in construction documents.
Where should an AirGuard membrane be installed?
AirGuard membranes are generally intended for the conditioned side of insulation in assemblies that require interior air and vapor control. The exact position depends on the product, climate and materials surrounding the insulation. Installation should create a continuous layer across walls or ceilings, with sealed seams and detailed connections at floors, windows, attic hatches, pipes, wiring and other penetrations.
Does every Los Angeles home need an interior vapor barrier?
No single membrane requirement can be applied to every home in Los Angeles County. The answer depends on the California climate zone, wall or roof assembly, insulation system, project scope and current code provisions. Some assemblies require a defined vapor retarder, while others rely on different moisture-control strategies. The applicable requirement should be confirmed for the property and permit before materials are ordered.
Can a vapor barrier cause moisture problems?
A vapor-control layer can contribute to moisture accumulation when it is placed on the wrong side of an assembly or combined with another low-permeance material that prevents drying. Problems may also occur when roof leaks, plumbing leaks or wet construction materials are enclosed before they dry. Membrane selection should account for vapor movement in both directions and the drying capacity of the full enclosure.
Is a vapor barrier the same as an air barrier?
They control different moisture-transport mechanisms. A vapor barrier or retarder limits diffusion through materials, while an air barrier limits airflow through gaps and porous assemblies. A membrane may perform both functions when it has suitable tested properties and is installed continuously. Unsealed seams can make an otherwise effective membrane perform poorly as an air barrier even when the material itself has low vapor permeance.
Can Tyvek AirGuard be installed as a DIY project?
Installing a flat sheet may appear straightforward, but selecting its location and maintaining continuity through a real building are more difficult. Roof transitions, electrical boxes, ducts and wall intersections require compatible details. DIY installation is risky when the assembly has existing moisture damage, exterior foam, an unvented roof or uncertain code requirements. Those conditions should be reviewed before finishes are opened or rebuilt.
What should I check on an AirGuard product data sheet?
Check the full product name, vapor resistance or permeance, intended orientation, approved substrates and required overlap details. Review compatible tapes, sealants and penetration accessories rather than assuming any construction tape will work. The documentation should also identify temperature limitations, fire-related classifications and relevant installation standards. Confirm that the sheet applies to the market where the home is located.