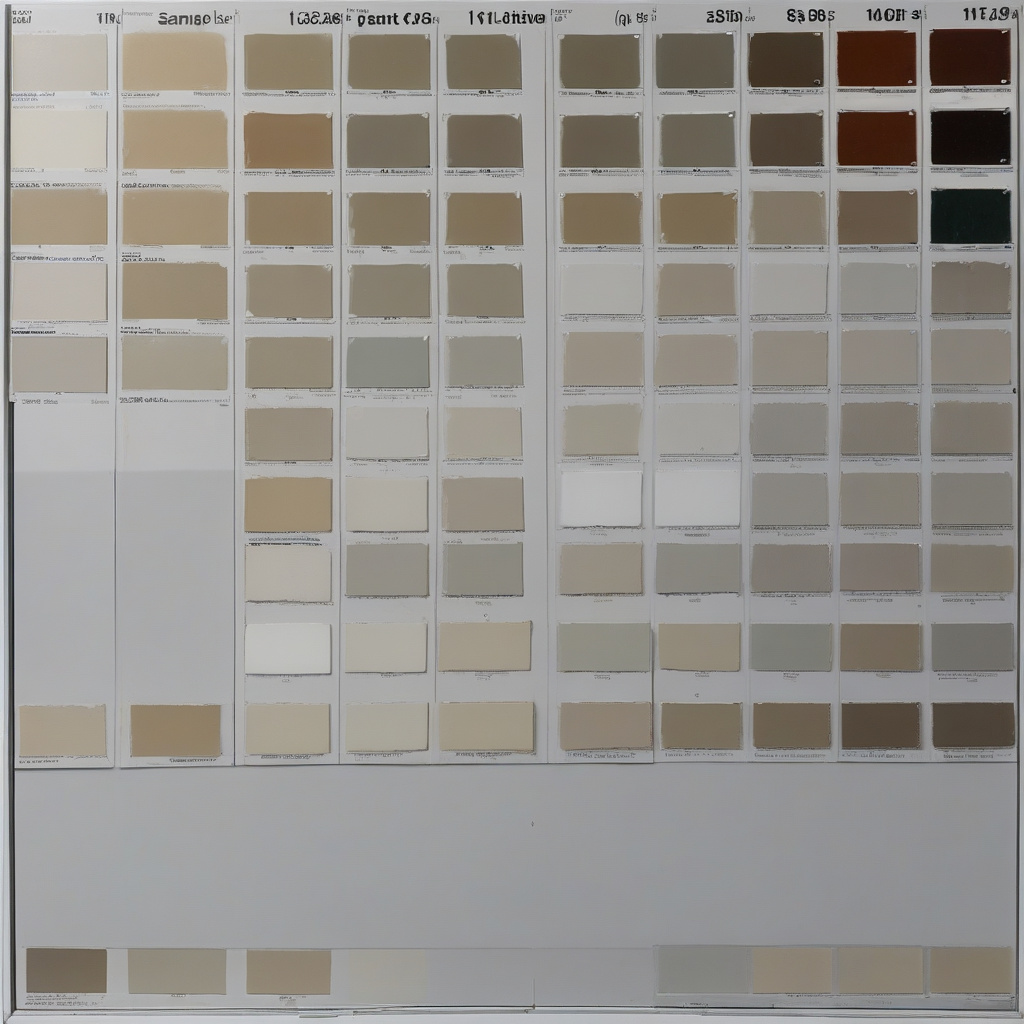
Painting kitchen cabinets might seem like a cost-effective method for instant transformation, but as many Southern California homeowners have discovered, it’s a task fraught with the potential for mistakes that can turn your chic overhaul into a shabby mess. The backdrop of LA’s bustling renovation scene is ripe with tales of triumphs and fails, particularly when it comes to mastering the art—and science—of refinishing cabinetry.
Brief summary: This article explores the common pitfalls when painting kitchen cabinets in Southern California, highlighting issues such as inadequate preparation, inappropriate product choices, and technique errors that diminish results. It offers insights into successful renovation practices and expert advice for avoiding these mistakes.
The Art of Preparation: More than Just a Clean Start
Preparation may sound like a boring prelude to the actual artistic act of painting, but ask any seasoned renovator in LA and they’ll affirm its critical significance. One of the most frequent errors is inadequate degreasing. Kitchen cabinets naturally accumulate layers of grease that can thwart any paint’s ability to adhere properly. Even the most luxurious shades cannot mask the disappointment of a blotchy or flaking finish if the surfaces aren’t scrubbed to perfection.
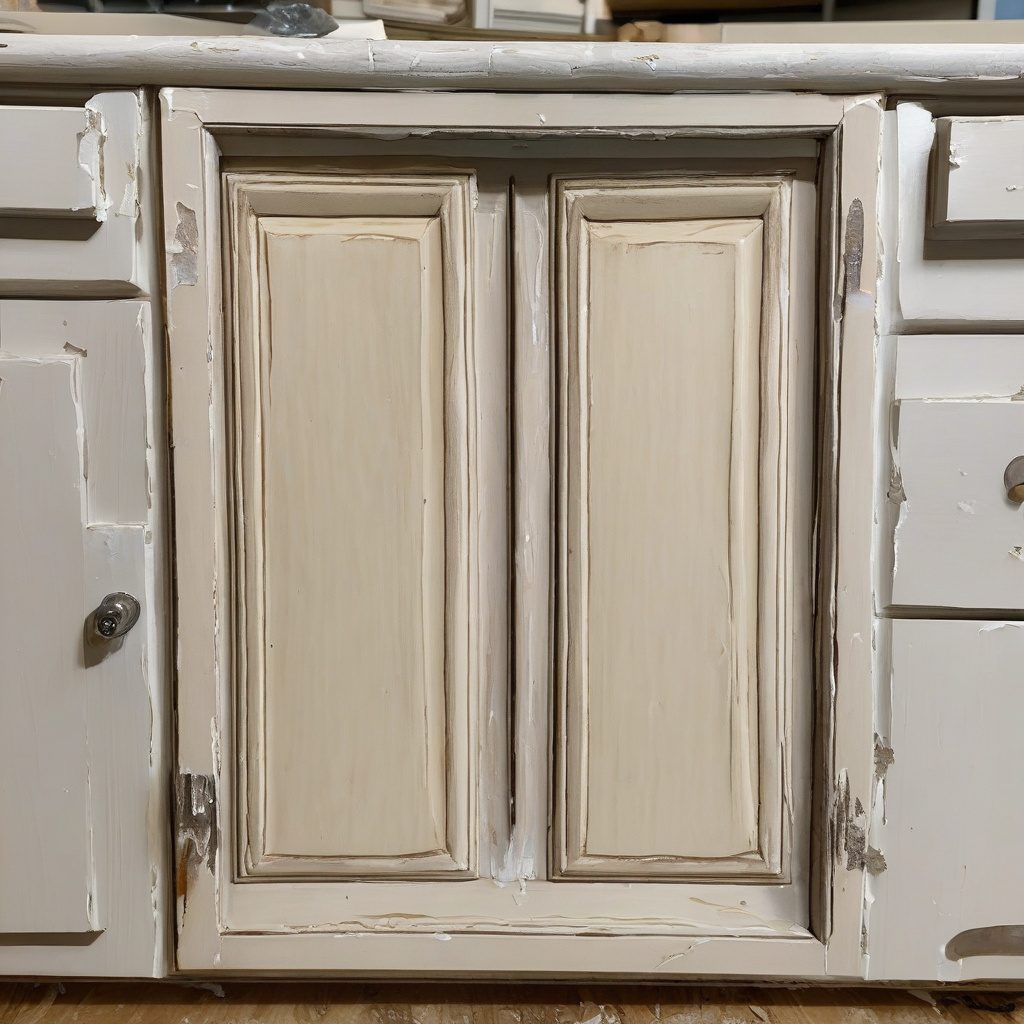
For those diving into DIY, the temptation to skip steps can be strong, yet it is here that shortcuts betray their devastating consequences. According to industry experts in the region, degreasers specially formulated for wood surfaces should top your shopping list. An unclean surface won’t just nullify the primer, but also herald the early demise of your entire paint job.
Moreover, despite the swirl of ombre shades and textured finishes that capture Instagram feeds, the humble primer is non-negotiable. It sets the stage for everything to come and ensures your chosen color truly pops and sticks. Professionals in Los Angeles never underestimate its role. Learn more about the vital preparation stages most effective for optimal results from leading experts.
In conclusion, embracing the diligent discipline of preparation lays the groundwork for a successful cabinet transformation, protecting the integrity of your finish for years to come.
Choosing the Right Sheen: A Gleam in the Wrong Cream
In the sun-drenched homes of Southern California, the gleam of kitchen cabinets is often seen as a reflection of the homeowner’s taste and aesthetic precision. The importance of sheen cannot be overstated, as it is more than just a finishing touch—it’s a pivotal determinant in the overall ambiance.
The wrong sheen can dull your design, making spaces feel smaller or less cohesive. In the context of Los Angeles homes, where natural light can flood and transform, choosing a sheen that plays well with light is as crucial as the color itself.
From high-gloss to satin and matte, each choice leaves a distinct impression. High-gloss, while luxurious, can be unforgiving in highlighting imperfections. Satin, favored by many for a classic yet versatile finish, strikes a sweet balance between subtlety and shine. As a middle ground, it’s rapidly gaining favor among those seeking practicality paired with elegance.
Ultimately, the sheen must serve the space. Consulting with professionals who understand how different finishes interact with varied lighting environments and cabinet styles can prevent costly do-overs. According to a report by the National Association of Home Builders, homeowners see an average return on investment of 60% from carefully executed renovations, where the right choices elevate the property value.
As an expert insight: “The choice between matte and satin finishes can significantly impact a home’s perceived spatial dynamics,” notes an interior designer from a top Los Angeles firm.
In summary, selecting the appropriate sheen can harmonize your vision with practical design, blending style with strategic foresight.
Common Mistakes in Products and Materials
With kitchen designs in Southern California leaning heavily towards sustainability and innovation, discerning homeowners are often tempted by eco-friendly paints. However, the selection of materials requires more than a check on the label. Incompatible products can create peeling, bubbling, or cracking, transforming your ambitious make-over into an unfortunate eyesore.
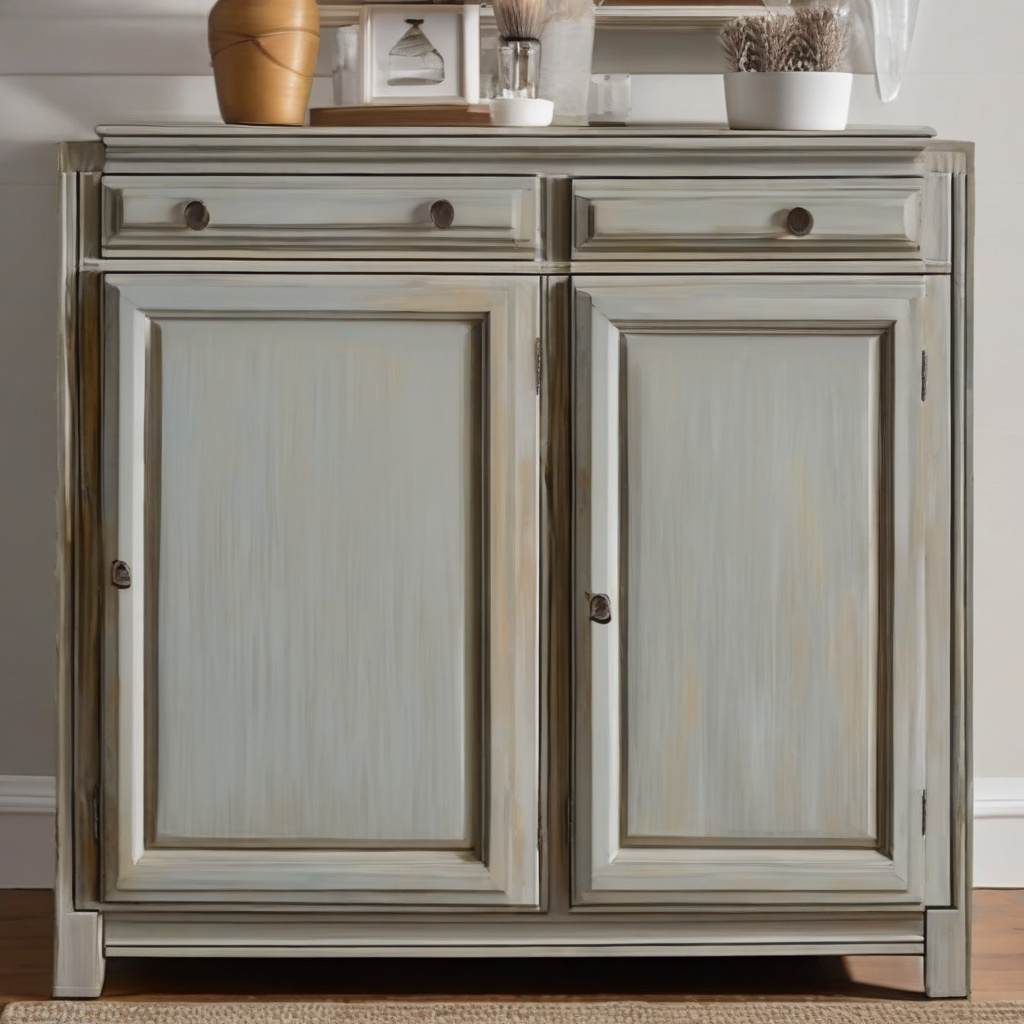
One mistake often seen pertains to choosing the wrong type of paint for cabinetry. Not all paints are created equal; opting for those designed for walls or general purposes often result in flaking finishes. Instead, opt for formulations specifically engineered for trim and cabinetry, designed to endure wipes, bumps, and heat. Enhance your renovation with paint ideas harmonizing durability and aesthetics.
Additionally, improper investigation into veneer types versus hardwood can spell disaster. Painting over different materials without considering their unique properties and preparation needs leads to disappointing results. Awareness and understanding of substrate specifics ensure longevity and professional-looking results.
Thus, scrutinizing product compatibility reassures homeowners, lending confidence to those who strive to ensure their investments meet sustainability without compromising quality.
Does Dark Suit the Kitchen? Weighing the Options
In the age where bold is beautiful, dark-colored cabinets have swept across Pinterest boards as the epitome of modern elegance. However, as any Los Angeles contractor can affirm, not all spaces welcome darker palettes warmly. Consider the implications of heat absorption and spatial perception before joining the trend.
Dark colors absorb light differently which can heat up a space—an outcome as undesirable as it is ironic in the warm Southern California climate. However, materials and paint technologies have evolved to mitigate some of these issues. Explore innovative solutions that reduce heat retention in darker shades.
Moreover, dark colors often require more maintenance to look pristine, as scratches and stains are more visible. While chic, maintaining their depth and luster frequently demands more attention and care. As a result, homeowners must balance the aesthetic appeal against the practical implications.
A credible industry statistic reveals: “Nearly 40% of homeowners regret dark finishes, citing increased maintenance and reduced resale value,” according to a leading trade magazine.
To conclude, while dark cabinetry can redefine spaces dramatically, it requires careful consideration of how it fits into your lifestyle and maintenance routine.
Timelines and Techniques: Get it Right the First Time
In direct contrast to popular media’s narrative of rapid renovations, achieving a high-quality cabinetry paint job is rarely a weekend task. Misjudging timelines is a common downfalls, leading to a rush that compromises quality. Thoroughness, patience, and professional-level techniques are must-haves, not options.
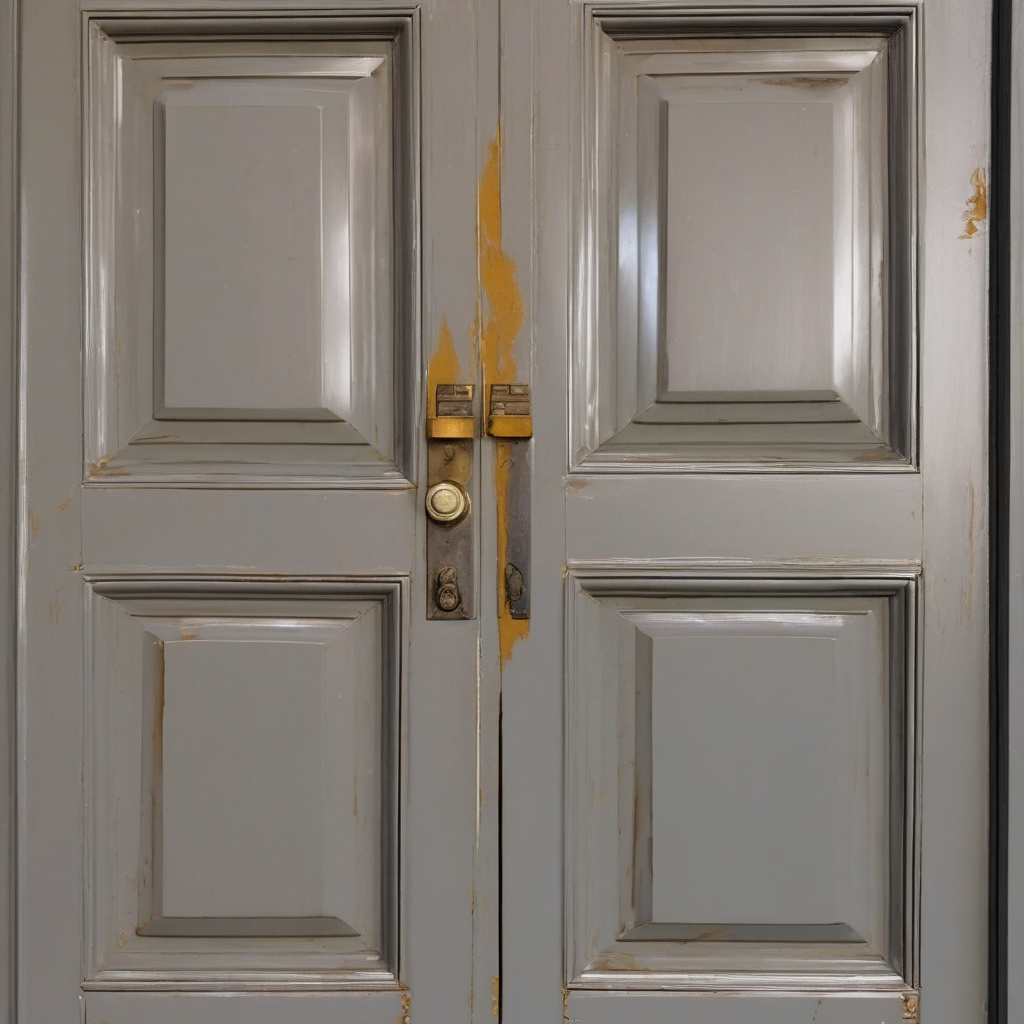
Each phase—from sanding and priming to multiple coats of paint—requires adequate drying times in the mostly mild yet occasionally humid LA atmosphere. Experts recommend venturing beyond a strategic game plan to incorporate contingency for unexpected delays.
In terms of technique, erring on the side of caution with rigorous practices can translate into timeless outcomes. Many veterans advocate for spray painting as it ensures even coverage and a professional finish. Brushes, while accessible, can leave visible strokes—an undesirable giveaway of rushed work.
An expert insight: “Proper drying times between coats significantly improve the longevity of a paint job,” says a leading Los Angeles renovations expert.
Realizing your dream kitchen look with painted cabinets is an art form—one perfected with patience. Tackling these projects systematically ensures lasting results and satisfaction.
Maintaining Your Masterpiece: Strategies Beyond the Paintbrush
After investing time and money into painting kitchen cabinets, maintaining the fresh look becomes the next challenge. Regular cleaning schedules become key, as do considerations for touch-ups and refinishing down the line. Even the best paint job won’t last forever without periodic care.
As many Los Angeles homeowners have discovered, the best approach involves preventative strategies. Schedule routine inspections to catch potential issues early, implement easy fixes when minor damage starts to show, and embrace routine care as part of maintaining the home’s value.
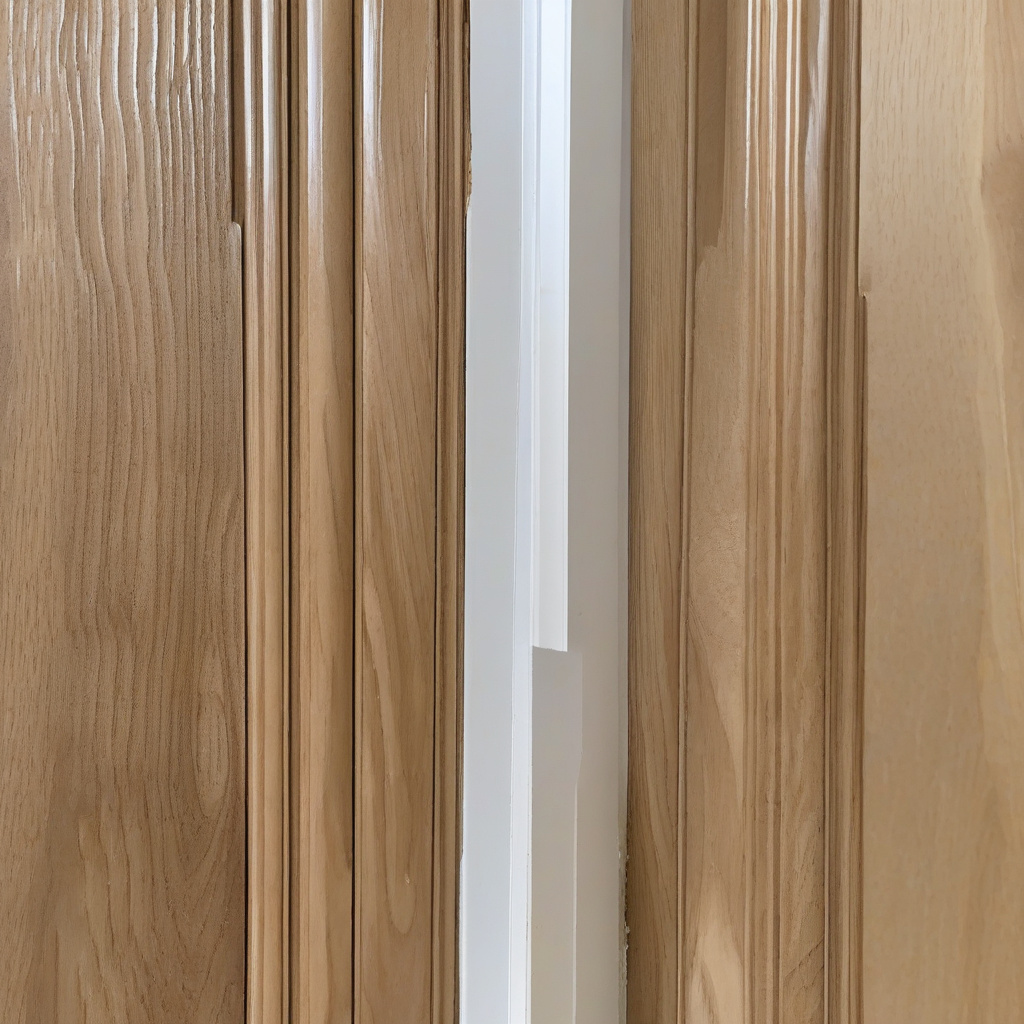
In effect, buildings and refinished spaces must be treated with respect and diligence. The avoidance of harsh chemicals in daily cleaning can preserve the finish, ensuring your hard-earned elegant look maintains its sparkle. Discover practical maintenance tips that carry over into broader home care discussions.
In summary, integrating simple cleaning, routine inspections, and damage control ensures your painted cabinets contribute to a home that remains a haven of style and function.
- Appropriate preparation is crucial for a successful painting result, including degreasing and priming.
- Choosing the right paint sheen impacts both the appearance and longevity of kitchen cabinets.
- Dark kitchen cabinets present aesthetic and practical challenges that must be carefully managed.
- Understanding timelines and using correct techniques can enhance painting outcomes.
- Maintaining painted cabinets involves regular cleaning and inspections to ensure durability.
“`html
FAQ
What are common mistakes when painting kitchen cabinets?
In real home renovations, particularly with kitchen cabinets, the most common misstep homeowners make is neglecting proper surface preparation. Many assume a quick wipe is enough, but without thorough degreasing, paint won’t adhere properly. This often results in peeling paint. Skipping primer is another frequent oversight. Primer ensures paint bonds well, especially on surfaces that endure constant wear, like cabinet doors. Choosing the wrong sheen can also lead to dissatisfaction; glossy finishes might show imperfections, while matte finishes can absorb stains. In older homes, where grease buildup is rampant, some professional painters are known to double down on cleaning agents just to make sure surfaces are truly pristine before the first coat of primer even touches the wood.
How important is degreasing kitchen cabinets before painting?
Thorough degreasing is vital. In California kitchens, where open-air cooking often leads to oily residues, even a layer of invisible grease can prevent primers and paints from sticking. Imagine trying to lay a towel over a pool of oil—it just slides around without giving grip. Cleaning agents like TSP (trisodium phosphate) or even a vinegar and water mix are preferred for breaking down this greasy film. Failure to do so almost always results in paint flaking within months, leaving homeowners facing a rework sooner rather than later. This step may seem tedious, but in practice, it can save significant time and expense down the road by ensuring a durable finish.
Why is using a primer necessary when painting kitchen cabinets?
Skipping primer may be tempting to cut costs or time, but it’s a risky move. Primer serves multiple essential purposes. It not only provides a uniform surface for paint to adhere to but also prevents wood tannins or previously used paint colors from bleeding through the new topcoat. In California’s varied climates, primers can even help in coping with humidity levels, minimizing issues like mildew. Inexperienced DIYers often find halfway through their project that without primer, the finish can appear uneven. Investing in a high-quality primer is advised; it’s an assurance against many future headaches and is a favorite amongst seasoned contractors for its reliability.
How do you choose the right paint sheen for kitchen cabinets?
Selecting the ideal paint sheen involves balancing aesthetics and functionality. Experts often recommend semi-gloss or satin sheens. Semi-gloss is more durable and reflects more light, making it easy to clean and ideal for high-traffic kitchens. However, it might highlight imperfections, so meticulous prep work is mandatory. Satin offers a softer look and hides blemishes better but may not repel stains as effectively. In Californian homes where natural light flows in generously, a semi-gloss can enhance space brightness, but one must cater to personal taste and practical needs. Try painting a small, inconspicuous area first to test the finish under your kitchen’s lighting conditions.
What are the cost considerations when painting kitchen cabinets?
Cost concerns often arise when planning a cabinet painting project. DIY can save labor costs but usually at the expense of time and possibly quality. Commercial painting services may charge anywhere from $1,200 to $7,000 depending on cabinetry size and complexity. Primer, paint, and equipment like brushes and rollers add to expenses. Economizing here can lead to buying low-quality materials, which jeopardizes the finish. In many Californian homes, especially in upscale areas, spending a little extra on premium materials or professional painters is considered wise for achieving a long-lasting finish. Finding a reliable contractor who can strike a balance between cost and quality can be invaluable; feel free to reach out to local experts for advice or a quote on your specific project needs.
What are the pros and cons of painting kitchen cabinets?
Painting kitchen cabinets offers refreshed aesthetics and increased home value without the expense of total remodeling. It’s especially appealing in older Californian homes, where solid wood cabinets can be given new life with modern hues. However, prep work is labor-intensive. Failing to sand and prime properly can lead to chipped, uneven surfaces. Additionally, while painting is more affordable than replacement, the time commitment and skill required can be considerable. Homeowners should weigh their ability to commit to these tasks versus hiring a professional, especially if aiming for a result that lasts for years without a touch-up.
How does skipping primer affect the longevity and appearance of painted cabinets?
Omitting primer can severely impact both the longevity and appearance of painted cabinets. Primer acts as a bonding agent, and without it, paint may adhere poorly, resulting in a finish prone to peeling and unevenness. In humid climates like coastal California, where moisture can infiltrate unprotected surfaces, the absence of primer exacerbates swelling or bubbling paint. While some paints claim to be self-priming, renovation experts frequently notice that they don’t perform as well as a dedicated primer layer does. Simply put, investing time in priming walls ensures a more professional and durable finish, maximizing the effort spent sprucing up your kitchen.
What maintenance is required to keep painted kitchen cabinets looking fresh?
Painted kitchen cabinets require regular maintenance to maintain their appearance. Routine cleaning with gentle soap and water is essential, especially given how frequently oils and grime accumulate in busy Californian kitchens. Using abrasive cleaners can damage the finish, leading to a dull look. It’s also important to inspect the painted surfaces periodically for any signs of wear or peeling, addressing these promptly to prevent more extensive damage. Avoid hanging heavy tiles or decorations without reinforcement as this can warp doors over time. Real experiences from homeowners highlight consistent upkeep as key to extending the beauty and lifespan of painted cabinetry, keeping the kitchen a welcoming space.
“`