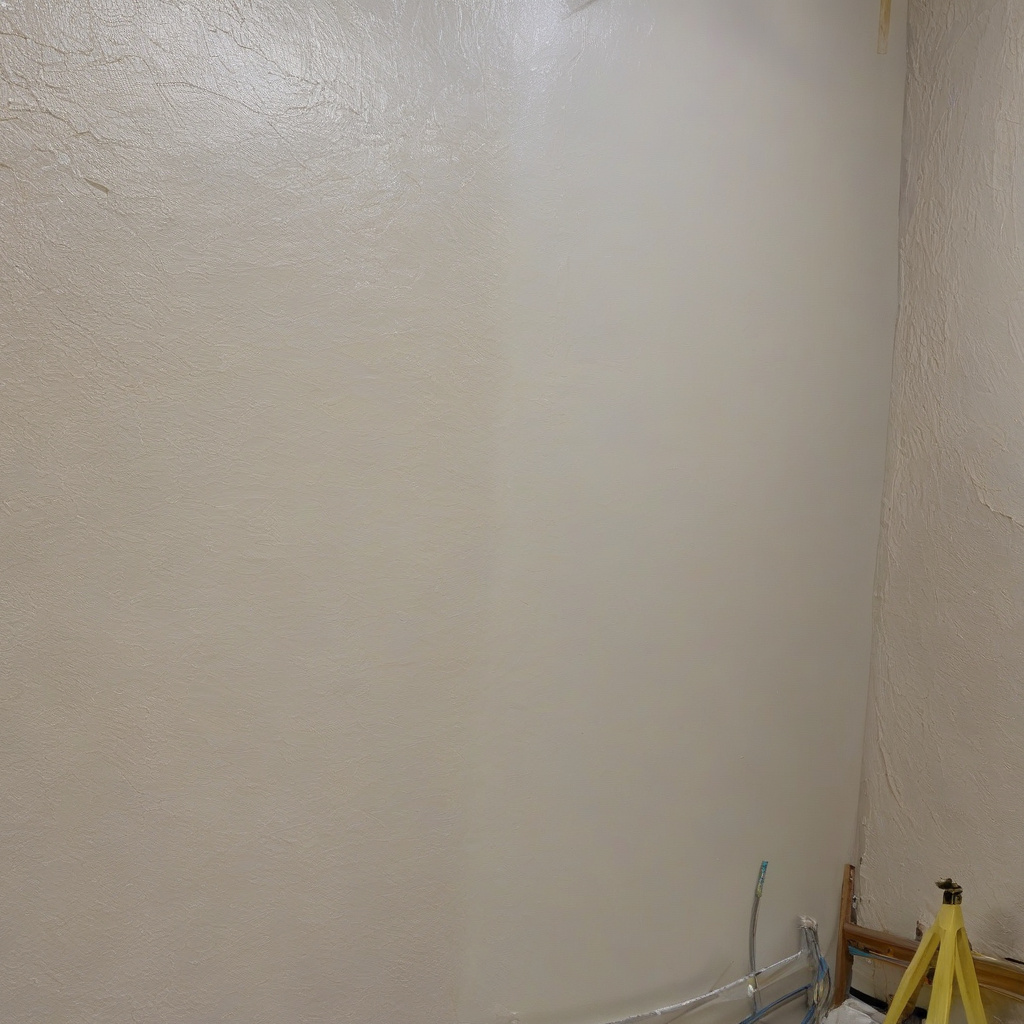
In Los Angeles and across Southern California, the art of painting is not just about the brush strokes but also about ensuring the canvas—your walls—is impeccably prepared. Before any vibrant hue graces the surface, painters embark on a meticulous journey to remedy minor drywall damage. This process is crucial, as it sets the stage for a smooth, flawless finish.
Brief summary: This article explores how painters in Southern California expertly repair minor drywall damage to ensure ideal surfaces for painting. It delves into the essential techniques such as filling, smoothing, and priming, providing insight into the renovation practices in Los Angeles. Real-life examples and professional observations are highlighted to offer a comprehensive understanding of this critical step in home improvement.
The Art of Preparation: Filling Dents and Cracks
In the world of residential painting, the importance of a well-prepared surface cannot be overstated. Many homeowners have experienced the frustration of unsightly bumps and cracks marring an otherwise perfect paint job. Hence, the first step in any painting project is addressing these imperfections.
Painters commonly use spackling paste or joint compound to fill in minor dents and holes. This versatile material fills gaps seamlessly, ensuring the surface is smooth and even. This process may require multiple applications, with each layer needing to dry before the next is applied.
Once filled, excess material is scraped off, leaving only what’s needed to ensure an even surface. As any experienced painter in the area will affirm, proper surface preparation significantly influences the final result. Residents of Los Angeles find that investing time in this step pays off in a flawless finish.
The meticulous attention to detail during this preparatory phase sets the foundation for a successful painting project, ensuring durability and visual allure that withstands time.
Seam Smoothing: The Key to Uniformity
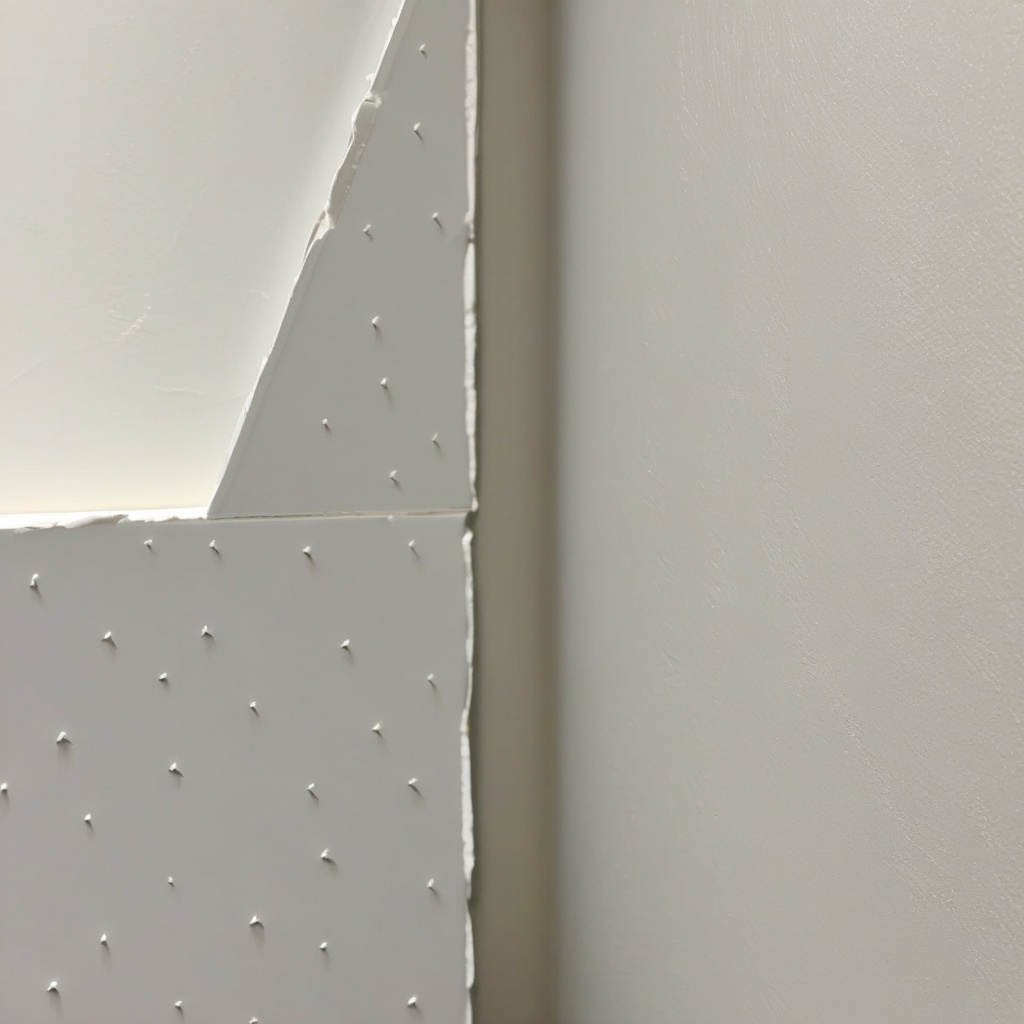
After addressing dents, the focus shifts to the seams. In drywall construction, seams between panels can be particularly challenging. These are addressed using a tape and mud technique—an art form that seasoned painters master over years of practice.
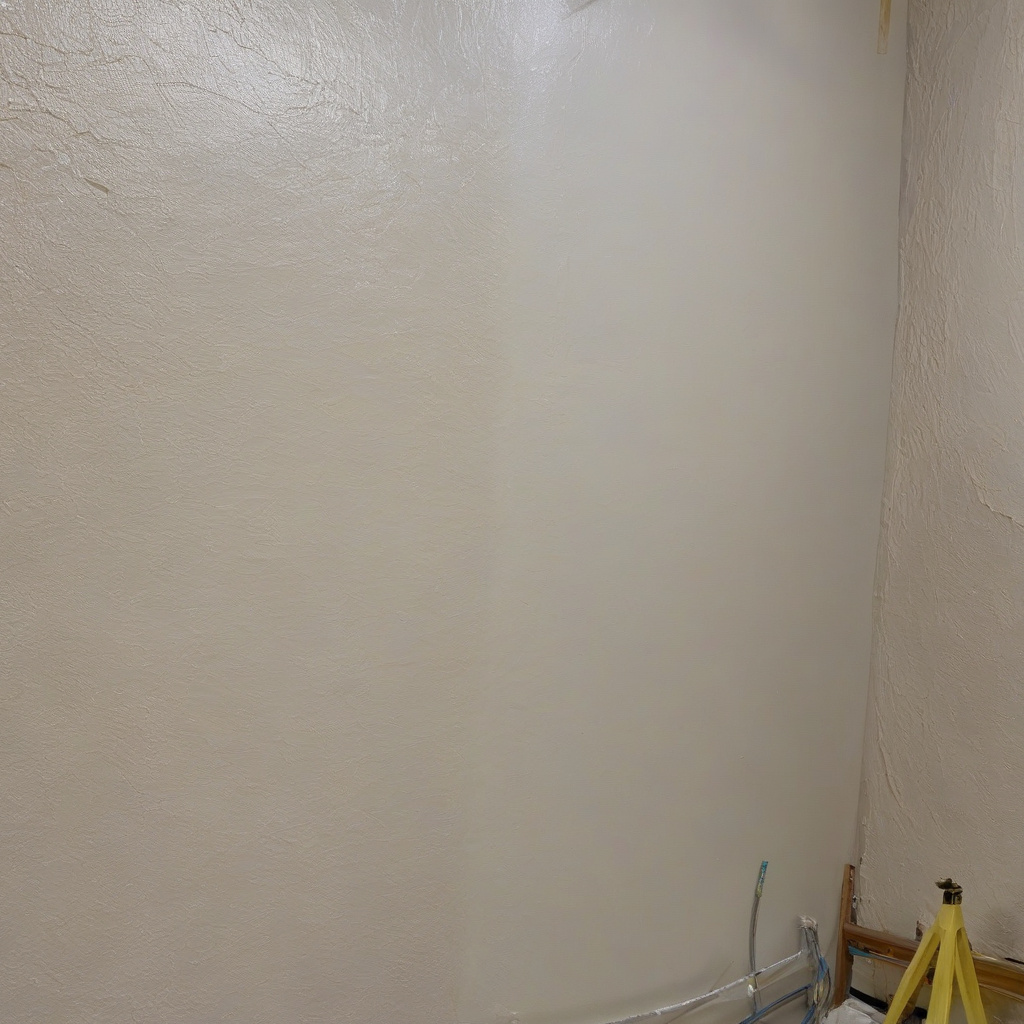
Applying a thin layer of joint compound, a mesh or paper tape is pressed into the seam, ensuring it remains invisible when painting is complete. Skilled professionals ensure that the mud is flawlessly blended into the surrounding drywall, rendering the seam indistinguishable from the painted wall.
As many local homeowners notice, taking the time to adequately smooth out seams can prevent unsightly lines and ridges from appearing post-painting. In Southern California, where the aesthetic is everything, this attention to detail is paramount.
Ultimately, achieving a seamless finish amplifies the clean, modern look often sought after in greater Los Angeles.
Many industry experts agree that investing in thorough seam smoothing is vital for a lasting paint job, enhancing both aesthetics and longevity.
Priming Patches for Perfect Paint Adherence
Beyond filling and smoothing, priming is a make-or-break step in drywall repair. Without a proper primer, the paint may not adhere correctly, leading to uneven finishes. Primer acts as a barrier and provides a uniform surface for the paint.
In Los Angeles, where the dry and sunny climate can be unforgiving, using the right primer is especially critical. This step involves applying a primer coat over repaired areas, ensuring that the final paint layer adheres mission-critical to its success.
Furthermore, priming can also prevent moisture infiltration from damaging newly painted walls. This proactive approach is employed by savvy home renovators who value durability as well as appeal.
For those planning extensive renovations or aspiring to revitalize their home’s exterior appearance, understanding the role of priming in interior preparation is crucial for comprehensive home care.
Cost and Considerations in Drywall Repair
The financial aspect of drywall repair can vary widely based on the scope of the project and the materials used. Homeowners often face the pivotal decision of doing it themselves or hiring a professional. Each choice comes with its own set of benefits and drawbacks.
DIY repairs may seem appealing due to lower upfront costs. However, this option requires a significant time investment and assumes a degree of technical know-how that not all homeowners possess. Conversely, hiring professionals ensures quality but at a higher price point.
In Los Angeles, labor costs for professional drywall repair are higher than the national average, impacting the overall budget of renovation projects. However, the expertise offered by professionals often justifies this expense, particularly in high-value areas.
For specific detail work, like adding unique finishes to stairway areas such as distinctive riser patterns, professional tools and skills are indispensable.
An interesting observation shared by renovation specialists is that professionally repaired drywall can add significant value to a property, often recouping costs during resale.
| Option | Cost (estimated) | Time | Expertise Required |
|---|---|---|---|
| DIY Repair | $50-$200 | Up to a weekend | Moderate |
| Professional Service | $200-$800 | 1-3 days | High |
Exploring Materials: Choices and Quality
When it comes to drywall repair, the choice of materials can significantly influence both the process and the end result. The most commonly used materials include joint compound, drywall tape, and primer, each offering various options and quality levels.
Joint compounds come in different forms, from ready-mixed solutions to powder varieties that require mixing. Likewise, tapes can be fibrous mesh or traditional paper, with each type presenting unique applications and benefits.
High-quality primers offer features that contribute to the durability and aesthetic of a painted surface. Opting for a low-VOC primer, for instance, is not only environmentally friendly but also ideal for maintaining indoor air quality—a subject of concern in urban Los Angeles.
A fascinating finding from industry professionals is the economic impact that investing in quality materials can have. Superior materials often lead to lower maintenance needs and increased longevity.
While selecting materials seems daunting, it becomes manageable when homeowners remember the ultimate goal of achieving a seamless appearance. By referring to guides like detailed window and door painting instructions, one can streamline decisions and seamlessly complement drywall projects with other renovation efforts.
Conclusion: Embracing the Renovation Journey
For many in Southern California, undertaking a home renovation is not just about the physical transformation, but also about enhancing their living environment. Repairing drywall, though often overlooked, is the unsung hero of any successful painting project.
The combination of techniques and materials discussed above highlights the complexities of this seemingly simple task. From filling dents to smoothing seams and priming surfaces, every step is a testament to the craftsmanship involved.
As local homeowners share their experiences, the overarching sentiment is clear: attention to detail and commitment to quality are the cornerstones of enduring home improvements. Whether it’s through investing time in learning or hiring skilled professionals, the quest for a stunning painted finish begins long before the paint is applied.
By considering everything from surface preparation to material decisions, future projects are set on a successful path, celebrating the art of transformation that defines Los Angeles living.
Research indicates that high-quality painting projects can increase a home’s value by up to 10%, underscoring the strategic importance of meticulous preparation.
- Minor drywall damage must be expertly repaired for paint to adhere smoothly.
- Preparation techniques include filling, smoothing, and priming.
- High-quality materials and professional skills ensure a superior finish.
- Drywall treatment influences both aesthetics and property value retention.
- Successful renovations start long before the first coat of paint is applied.
FAQ
How do painters typically repair minor drywall damage before painting?
In many renovation projects, professional painters begin by assessing the extent of the drywall damage. Common issues like small holes or dents are first cleaned up to remove any loose material. The next step involves applying a joint compound to the damaged area. Painters often use putty knives to make sure the filler is spread evenly. Once the compound is dry, sanding it down provides a smooth surface. Finally, a primer is applied to create a uniform base that will enhance the color quality and adhesion of the final paint. This meticulous preparation is vital; otherwise, imperfections can disrupt the flawless finish many homeowners desire.
Why is it important to fill dents and smooth seams before painting?
Filling dents and smoothing seams is crucial because imperfections are often accentuated once paint is applied. Many experts point out that even minor surface discrepancies can cause shadows or uneven paint absorption, leading to a flawed finish. During a recent renovation of a 1960s single-family home, we observed how proper drywall preparation made a significant difference. The once bumpy surfaces, after smoothing, offered an impeccable background, allowing the new paint to appear luxurious and continuous. Skipping these steps might seem like a time-saver, but addressing surface quality beforehand ensures longevity and beauty in the final result.
What types of materials do painters commonly use for drywall repair?
Painters use a range of materials depending on the damage. Joint compound or spackle is the most commonly used for minor repairs and is ideal for filling small holes and dents. For larger gaps or cracks, mesh tape may be utilized in conjunction with the compound to provide additional structural integrity. In modern homes that often have gypsum-based drywall, lightweight compounds are favored for their easy application and reduced drying times. It’s wise to choose materials suited to your wall’s existing structure, as mismatched products can lead to peeling or cracking in the long run.
What are the typical mistakes homeowners make with DIY drywall repair?
Homeowners often underestimate the importance of thorough preparation. Common pitfalls include not cleaning the area of debris before applying compound, overfilling dents, and skipping the sanding step. Each of these can result in noticeable patches after painting. Many attempt to rush the process, believing that getting paint on the walls swiftly is the priority. However, in real renovation scenarios, investing time in preparation yields better, more durable results. A practical tip, especially for larger projects, is consulting professionals before undertaking what seems to be a simple repair. For insights on when you might consider professional help, try reaching out this way.
Is professional drywall repair cost-effective compared to DIY methods?
The decision between hiring a professional versus a DIY approach often hinges on the extent of damage and personal skill levels. While DIY repair can save initial costs, professionals bring expertise and tools that ensure longevity and quality finish. In older properties, particularly those in regions with higher labor costs like California, a professional repair might seem costly upfront but is likely to prevent repeated fixes. Conversely, if a homeowner has experience and the damage is minor, DIY might suffice. However, tackling extensive repairs without expertise can lead to further damage, amplifying future costs.
What are the benefits and limitations of patching only the damaged area?
Patching specifically the damaged area is beneficial for minor imperfections. It minimizes work, reduces material use, and targets only what’s necessary—ideal for maintaining the integrity of the existing wall. However, in newly built homes, where uniform surface consistency is critical, patching might result in slight texture differences that become visible once painted. Furthermore, for larger repairs, focusing solely on the damage can lead to compromised structural integrity unless adequately supported with additional materials like mesh tape. Homeowners should weigh the scale of damage against their quality expectations when considering this approach.
How important is it to prime patches before applying paint?
Priming is a crucial step before painting, as it ensures that the paint adheres properly and that the color application is even. In real renovation contexts, unprimed patches can absorb paint differently, creating noticeable variations in sheen and color. Many homeowners skip priming, tempted by the time-saving appeal, but professionals stress its importance. For newer homes with stark color contrasts between wall paint and patches, primer acts as a great equalizer, preventing the unsightly “bullseye effect.” Thus, primer application often dictates the success of the final paint job.
What factors should be considered when repairing drywall in older homes?
In older homes, materials and construction techniques differ significantly from modern standards. Older drywall might contain materials that require careful handling, such as lath and plaster. Additionally, settling and wear over time can mean more extensive underlying structural issues are present. Homeowners should be cautious about moisture damage, as this can exacerbate problems and affect new repairs. A practical tip is to pay attention to recurring cracks or moisture marks as indicators of larger issues. Given these complexities, consulting with an experienced renovation expert in these situations is advisable, ensuring your solutions are both safe and effective.