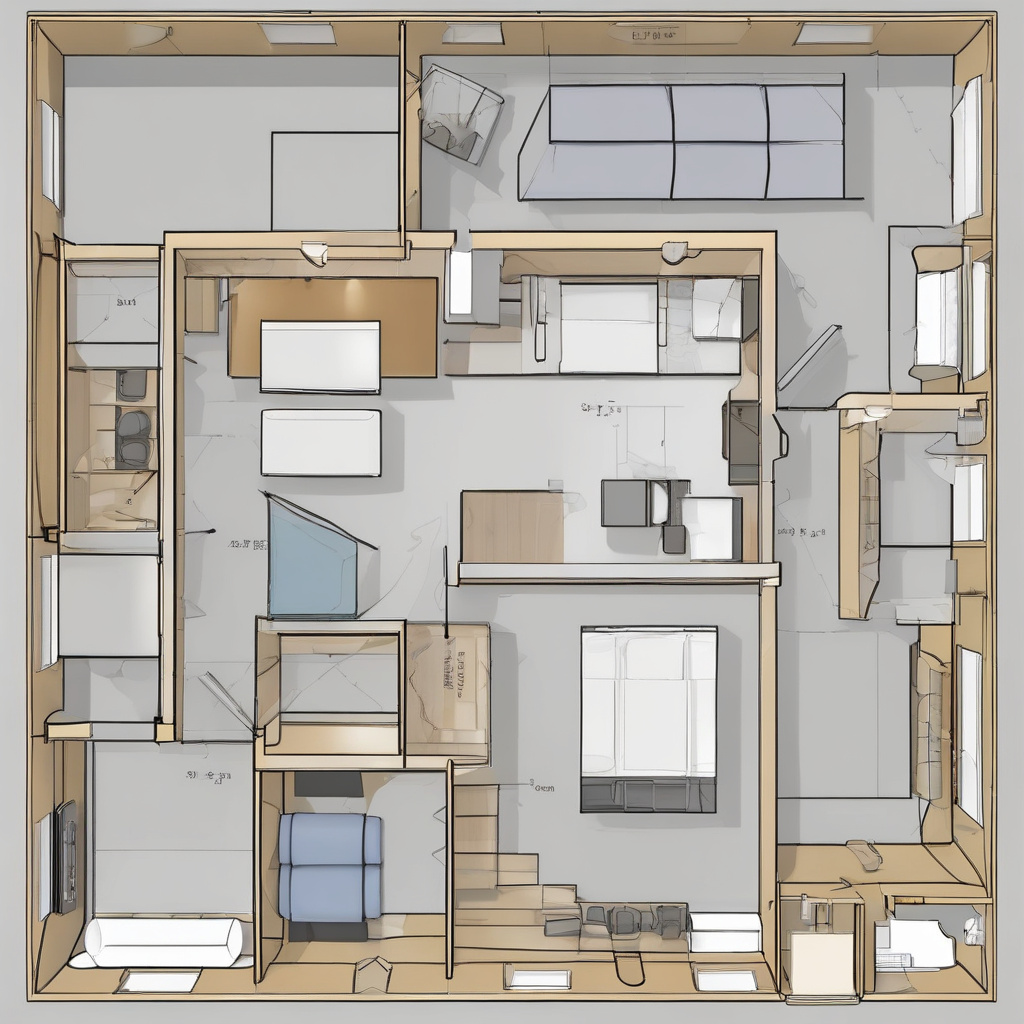
In the sun-drenched streets of Los Angeles, the vibrant colors of city landscapes are as vital as the architecture itself. Yet, when it comes to personalizing your own living space with a fresh coat of paint, the calculations can become an architectural nightmare if not approached with precision. The process of determining how much paint you need involves a careful blend of math, art, and science—each significant in its own right.
Brief summary: This article delves into the meticulous process of calculating paint requirements for home renovations in Los Angeles, emphasizing the importance of proper measurements, coat assessment, and surface porosity. With firsthand homeowner stories and expert insights, it navigates the nuances of correctly estimating paint to avoid unnecessary expenses or shortages.
The Art of Measurement: It’s All About the Angles
Every seasoned renovator knows that before you can envision your walls in the latest trending hues, you must first wield a tape measure like a sculptor with marble. Understanding the dimensions of your room is crucial, and this step goes beyond the rudimentary width-by-height calculations. Consider the Southern Californian quirks of sprawling layouts and open-space concepts that many homes boast. These characteristics can complicate simple measurements, pulling homeowners into a more complex calculus.
To avoid painting pitfalls, start by measuring each wall separately, noting any peculiarities such as alcoves or unusually high ceilings—the latter being a common feature in Los Angeles homes. Don’t forget to subtract window and door areas unless, of course, they too are slated for a color refresh. For resources on accurate measurement methods and techniques, local renovators often turn to guides that account for all these variations.
Once these numbers are crunched, they enable you to compute the total square footage. Essentially, for a typical two-coat application, you’ll need emulsions matching the coverage per gallon specified by the paint manufacturers. Remember, not all paints are created equal; premium options might stretch further, allowing for fewer purchases.
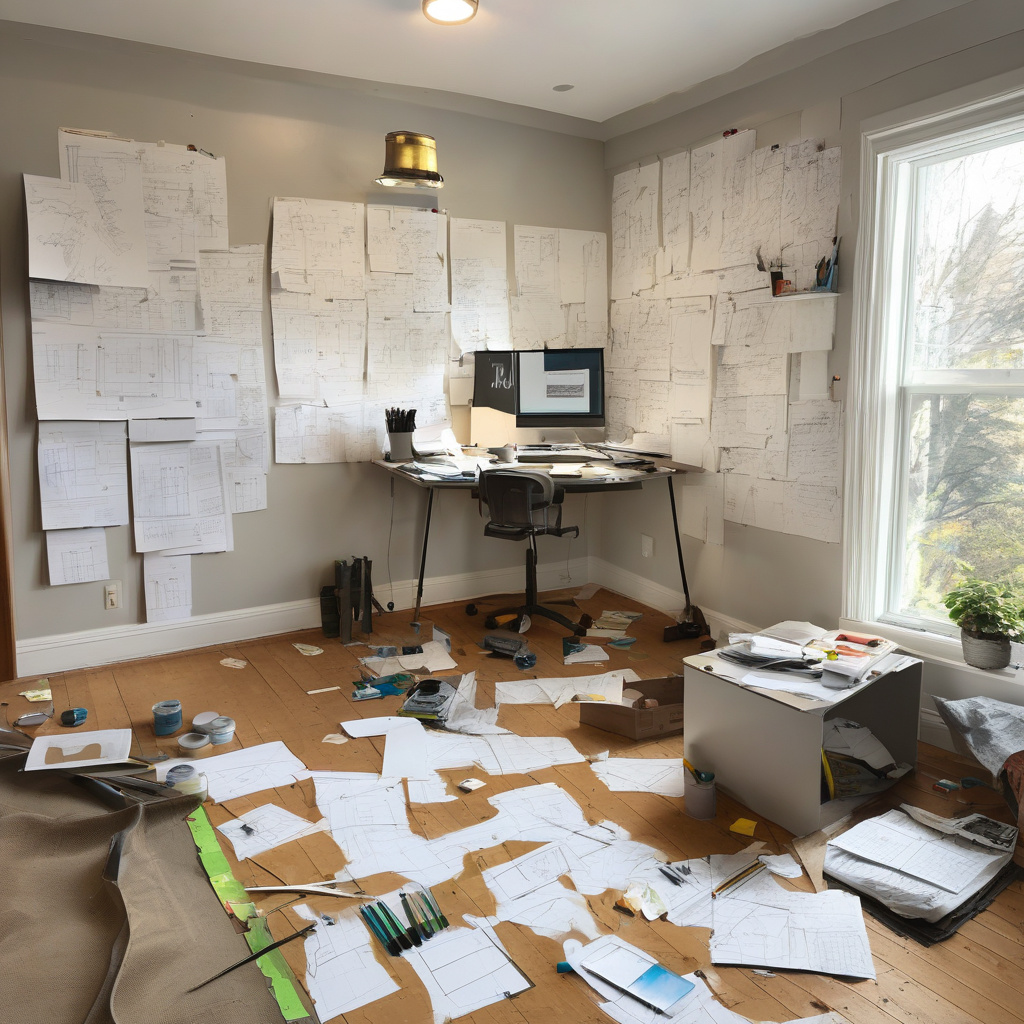
In conclusion, precision in measurement sets the groundwork. Master it early, and you’ll avoid unwelcome surprises later.
Understanding Surface Porosity: The Hidden Variable
While mathematical accuracy sets the foundation of paint calculation, the reality is that surfaces widely differ, dramatically affecting the paint consumption. Walls can be sneakily thirsty or luxuriously efficient depending on their porosity. For many homeowners in the LA area, stucco exteriors are as prevalent as sandy beaches, and this texture calls for more attention than its smoother counterparts.
To assess a wall’s porosity, conduct a simple water drop test. Drip some water on the wall, and observe its absorption rate. Faster absorption indicates a higher porosity, requiring more coats or specialized primers. These initial assessments save money in the long run by optimizing the use of each gallon.
“A stucco wall can gulp down paint,” remarked one LA homeowner, recalling their extensive project in Hollywood Hills. It’s essential to consider these deciduous details for an informed estimate rather than falling to anecdotal conjectures. This is where professional insights on detailed paint planning play a crucial role, guiding homeowners towards more efficient expenditures.
In summary, a deep understanding of wall materials alerts you to potential pitfalls, transforming potential miscalculations into confident decisions.
Coats: Much More Than a Second Skin
Unlike fashion, where the more layers, the better the look, the optimal layers of paint depend strictly on foundational intent and end use. For some, one may suffice, especially with a base coat. But for others—a vivid color transformation or working with darker hues—additional coats may be non-negotiable.
Understanding the proper application technique for each coat ensures not only aesthetic appeal but also functional longevity. It’s a delicate choreography: maintain consistent pressure, ensure even strokes, and never underestimate drying times. Check your paint type as well, as some high-cover emulsions promise miracle feats with fewer layers.
Los Angeles renovators often face unique challenges with layering due to local climatic variations. Humidity and sunlight can affect drying times and paint consistency. Such variables should inform your painting strategy.
Concluding, informed choices about coats mitigate waste, guiding projects to a seamless, professional finish.
Budget Basics: Breaking Down Paint Costs
When it comes to breaking your budget, paint should never be the culprit. Cost transparency begins with understanding the range of paint types: there’s a significant spectrum from low-end economy options to high-end premium lines. A higher price point often translates to improved durability, coverage, and lower volatile organic compound content.
To elucidate these considerations, the table below offers a cost comparison of common paint types per gallon:
| Type of Paint | Cost Per Gallon | Coverage Per Gallon (sq ft) |
|---|---|---|
| Economy | $10 – $15 | 250 – 300 |
| Mid-Range | $20 – $35 | 300 – 350 |
| Premium | $40 – $70 | 400 – 450 |
According to the Home Renovation Statistics, 34% of homeowners overspend on paint due to incorrect estimation techniques, emphasizing the need for accurate budgeting.
For those looking to extend their investment, rental options for paint tools are a policy worth exploring—an excellent balance between cost-saving and quality output. The journey of understanding which professional tools truly make a difference is invaluable for achieving a polished finish.
To conclude, budgeting accurately for paint empowers decisions, focusing funds on areas that matter most.
Environmental Considerations: Thinking Green
In a city that values sustainability, the choice of environmentally friendly paints can’t be sidestepped. Opting for low-VOC or VOC-free paints enhances indoor air quality, a critical factor in the vibrant yet occasionally smoggy Los Angeles basin.
Consider the lifecycle of your paint. From the sourcing of raw materials to the manufacturing process, and towards eventual waste management, each phase offers opportunities for greener practices.
Neighborhoods like Santa Monica and Pasadena are popular among eco-conscious renovators for their established recycling programs. For those who want to see a change, blending in eco-friendly elements can significantly enhance the property’s long-term value and environmental footprint.
Environmental Design Magazine reports that homes using green-certified paints see an ROI bump of up to 5% on resale, proving that green choices are not merely ethical but economically prudent too.
Ultimately, making environmentally informed choices reaps benefits beyond aesthetics—it nurtures a healthier home environment and demonstrates societal responsibility.
Pitfalls and Possibilities: Navigating the DIY Metro
Embarking on a painting project can be as daunting as it is rewarding. Beyond the aesthetics, a misstep in planning or execution could cost both time and resources. A common anecdote from LA’s bustling DIY community demonstrates that issues tend to arise when rushing through prep work or using inappropriate materials for the task at hand.
Claims of quick fixes and shortcuts often lead to repeated efforts and escalating costs. Experienced renovators recommend testing a patch before committing. This trial allows you to gauge the color outcome, adhesion, and drying time, refining your strategy.
Incorporating quality tools and a detailed approach is fundamental. For a comprehensive overview on avoiding painting setbacks, prioritizing preparation and mindfulness is key. Consider the context of Southern California’s climatic conditions which can influence both tools and techniques.

As noted by FinishPro Magazine, planning accounts for over 50% of a successful painting project’s total effort in DIY renovations.
Concluding, navigating DIY painting in Los Angeles demands critical observation and engagement with fundamental methods, allowing creativity to flourish alongside competence.
- Accurate measurement ensures correct paint estimation and cost-effectiveness.
- Surface porosity dramatically affects paint needs, demanding a keen pre-assessment.
- Layering appropriately prevents overuse and ensures aesthetic cohesion.
- Budgeting for quality paint options can influence long-term outcomes.
- Sustainability in paint choices aligns with eco-inclined community values.
FAQ
How do you accurately calculate how much paint you need for a room?
Calculating the amount of paint required starts with measuring each wall’s height and width. Multiply these numbers to find the square footage and add all walls together. Many forget to subtract windows and doors, overestimating what’s necessary. Consider the number of coats you’ll apply—most projects need two for complete coverage. Surface porosity plays a big role, too; newer homes may have primer, reducing paint absorption, whereas older drywall or textured surfaces can soak up more paint, necessitating additional gallons. The expertise from real renovation projects highlights that buyers often overlook the primer’s impact, mistakenly buying unnecessary extra gallons. In essence, it’s about understanding your home’s surfaces and factoring in all aspects to avoid common pitfalls.
What are common mistakes homeowners make when buying paint?
One major blunder is not accounting for surface porosity. In many cases, textured walls, typical in older California homes, require more paint. Another frequent error is neglecting proper calculations for window and door area subtractions. Many homeowners also underestimate the need for a second coat, especially on darker walls requiring lighter paint. Additionally, bulk buying without trials can lead to unnecessary costs. A pragmatic tip from seasoned renovators is to purchase slightly less initially if uncertain, as you can always buy more. This minimizes wasted paint, especially with custom mixes that are non-returnable. Moreover, not considering paint finishes for different areas—such as semi-gloss for kitchens—can see the wrong choice made, ignoring durability needs crucial in high-traffic spaces.
How does surface porosity affect paint consumption?
Surface porosity significantly impacts how much paint you’ll need. In real remodeling situations, highly porous surfaces like unprimed drywall or textured plaster walls can absorb more paint, thus requiring extra gallons. Newer homes with pre-primed surfaces utilize less paint, offering initial savings. Homeowners need to assess not just the type of wall but also its condition. For older homes, skimming with a sealant or primer is often advised pre-painting to save in the long run. Experts stress the value of patch tests, applying paint to a small inconspicuous area first, allowing you to gauge absorption rates and coverage predictably.
Why is factoring in multiple coats of paint necessary?
Considering the number of coats is vital for achieving a professional finish. A single coat seldom suffices, particularly for bold color transitions or when hiding underlying stains. In practice, a two-coat application ensures even color saturation and durability. Many real-life projects reveal that skimping on a second coat often leads to visible streaks or an uneven finish, necessitating costly do-overs. It’s also about lifecycle cost efficiency; a well-coated wall resists wear, reducing future repaint needs. This upfront investment pays dividends over the paint’s life cycle, avoiding premature touch-ups common when only one coat is applied.
What are the cost considerations when buying paint?
Cost factors go beyond the price per gallon. Buying more paint than necessary inflates your project budget wastefully. The type and finish of paint matter too; high-quality options cost more, yet they often offer better coverage and durability, thus can save you money over time by reducing the need for frequent repainting. Think about paint-specific for high-traffic areas where durability is crucial. Additionally, consider the hidden costs of poor job execution, such as needing extra tools or professional correction. Craft a detailed budget including these elements before purchasing, which experienced renovators often suggest. For personalized advice on managing costs effectively, you might consider reaching out to a local expert for detailed guidance.
How do paint finishes influence paint choice for different rooms?
Paint finishes dictate not only the aesthetic but also the function of a room. Glossy finishes are ideal for kitchens and bathrooms due to their moisture resistance, while flat paints might hide imperfections on a living room wall. In renovation scenarios, this choice impacts both look and feel dramatically. A real nuance in high-end spaces or family-heavy homes reveals how durable finishes withstand the wear and tear of daily life. On another note, many painters suggest test samples because lighting conditions can alter how a finish appears, avoiding mismatches from concept to reality. It’s all about aligning the finish with room function and design aspiration in real home settings.
What are the benefits and limitations of DIY painting versus hiring professionals?
DIY painting can be cost-effective and satisfying for the hands-on homeowner. It offers the flexibility of working on personal schedules and the option to learn a new skill. However, many encounter challenges in achieving professional-level finishes due to lack of experience, especially in preparation and clean edging. Hiring professionals ensures a high-standard finish, saves time, and includes expertise for tricky areas like high ceilings or difficult textures. Yet, this premium service comes at a higher financial cost and may involve scheduling around contractor availability. The right choice hinges on balancing budget constraints with desired outcome expectations, realistic self-assessment, and project scope.
When is it advantageous to use professional advice for calculating paint needs?
Engaging professional advice becomes especially beneficial when dealing with large-scale projects or non-standard wall structures, common in custom or older homes. Professionals bring precise measurement techniques and surface assessments, accounting for anomalies like uneven plaster or non-rectilinear dimensions. These insights are pivotal in avoiding the underestimated needs that often surface in renovations. They can help foresee factors inexperienced DIYers might miss, such as the necessity for specialized paints in specific areas. Ultimately, these consultations intervene at critical decision points, optimizing both material use and financial outlay. For personalized recommendations on your unique project scope, you can also consider reaching out for expert insight at this contact page.