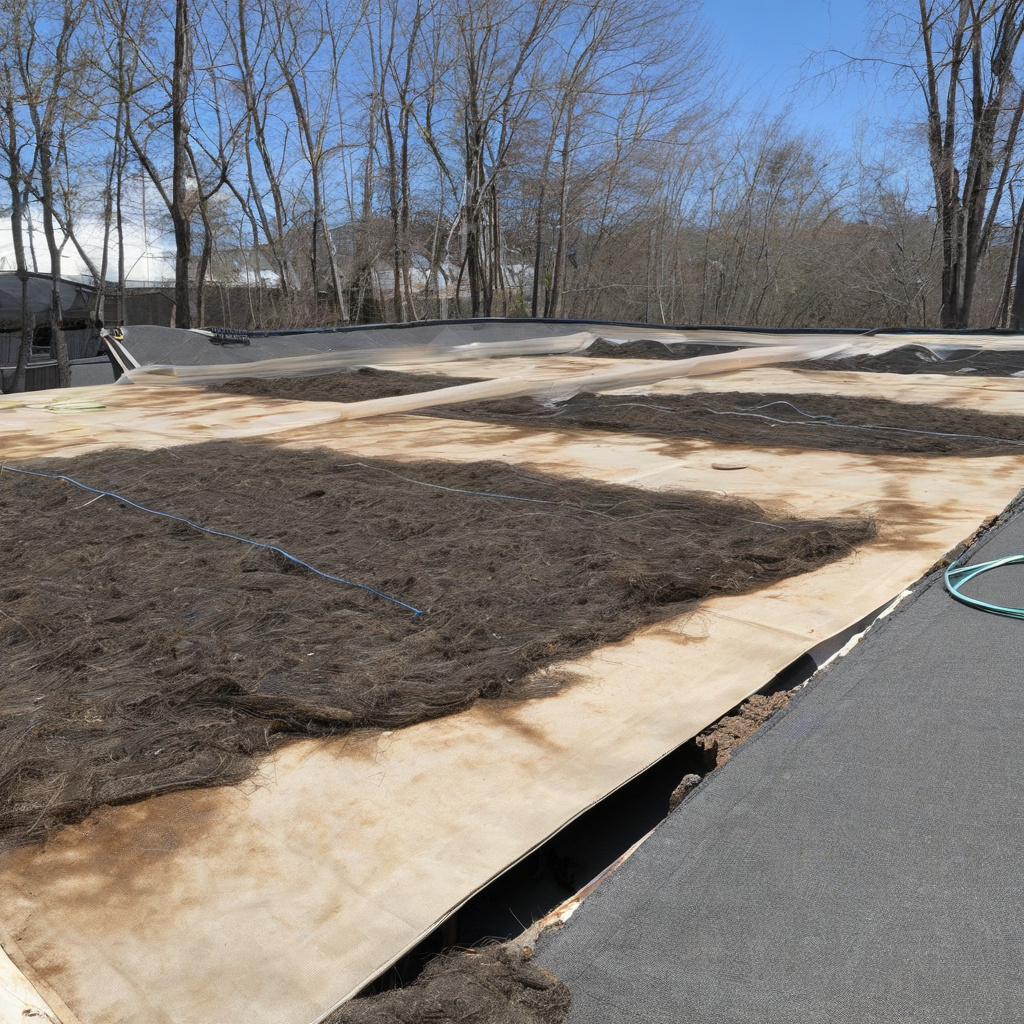
In the bustling landscape of Los Angeles, where architectural dreams blend seamlessly with practicality, tackling renovation projects comes with its unique set of challenges. One area of home improvement often overlooked, yet crucial, is the management of roofing debris—a task requiring strategic dumpster placement, diligent driveway protection, and a meticulously planned schedule for debris haul-away. It is a dance that balances maintaining a pristine job site and safeguarding one’s valuable landscape.
Brief summary: This article dives into the intricacies of managing roofing debris during home renovations in Los Angeles. Focusing on effective dumpster placement and driveway protection, it offers insights into keeping job sites clean and minimizing landscape damage. It highlights key strategies and includes practical advice for homeowners navigating these challenges.
Understanding the Intricate Art of Dumpster Placement
As any seasoned contractor in Southern California will tell you, where you place a dumpster can make or break a renovation project. Not only is it pivotal to ensure easy access for waste disposal, but it’s also crucial to consider the site’s aesthetics and functionality. Once the team gets started on a roofing project, having a well-situated dumpster can prevent logistical nightmares.
One key consideration is the proximity of the dumpster to the site. For swift disposal of roofing materials, place the dumpster as close as possible to where the work is happening. This reduces labor time and safety hazards, as workers won’t have to haul heavy debris long distances.
Equally important is to be mindful of the impact this placement might have on the surroundings. Los Angeles neighborhoods are renowned for their beautiful landscape architecture that homeowners strive to protect. Placing a dumpster on a driveway, while traditional, requires innovative protection strategies to prevent any potential damage.
Integrating these considerations helps in streamlining the debris management process, ensuring not only a clean jobsite but a happy client as well. As a general rule of thumb, prioritizing both accessibility and protection leads to a more efficient renovation project.
Ultimately, dumpster placement is not just about logistics—it’s about applying an artist’s brush to efficiency and aesthetics to ensure a seamless transition from debris to disposal.
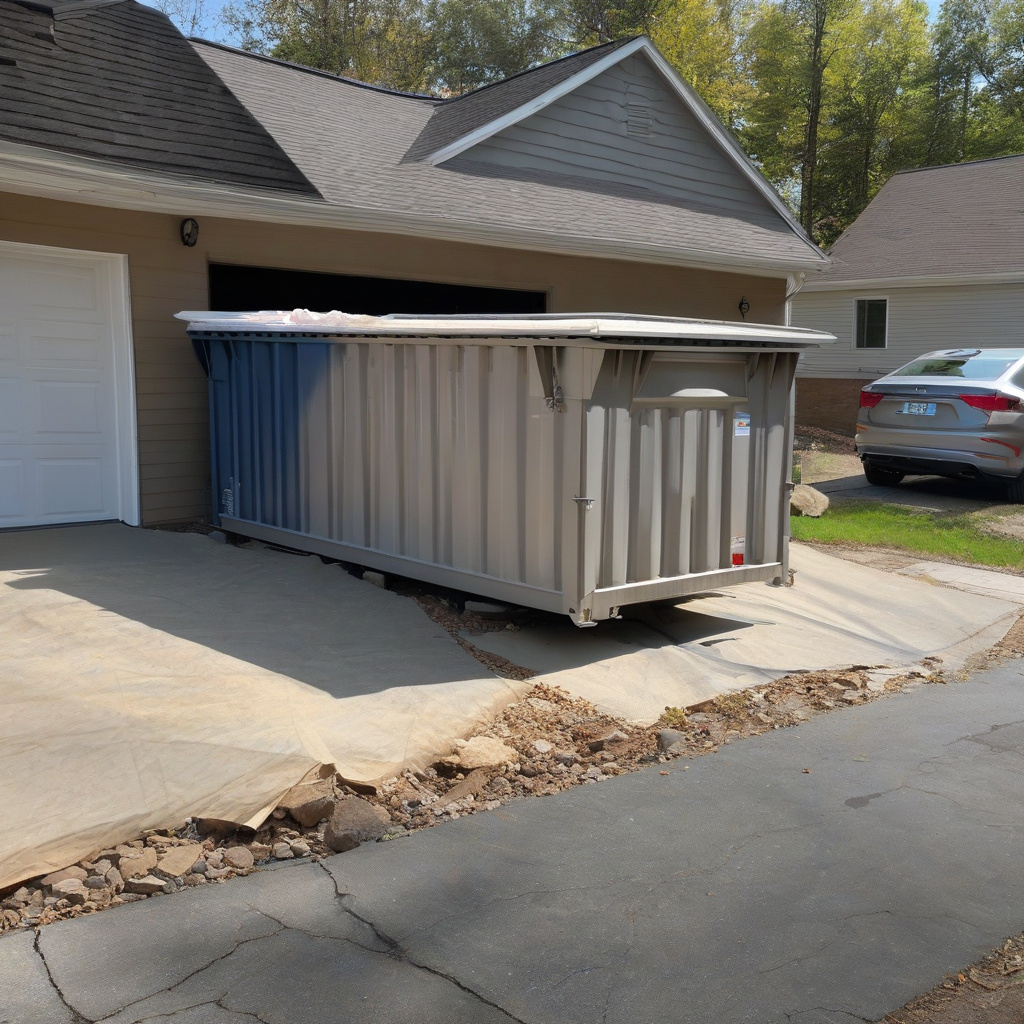
Protecting Driveways: The Unexpected Hero of Renovation
In a city like Los Angeles, where proud driveways serve as the welcome mat to architectural splendor, protecting these surfaces during a roofing project is paramount. The task, though it may sound straightforward, can quickly turn into a puzzle of weight distribution and protective layering.
The Weight Dilemma
Understanding the weight limits a driveway can handle is essential. A typical residential driveway might not be constructed to accommodate the intense weight of filled dumpsters. Consequently, using protective boards or mats under the dumpster can prevent unsightly indentations or cracks.
Contractors across the board have become avid users of protective materials—plywood being a popular choice—to shield driveways. As many homeowners in this region have discovered, such practices help maintain the integrity of their property and avoid costly repairs post-renovation.
Moreover, integrating these measures speaks volumes about the professionalism and foresight of the contracting team. For homeowners, it translates to peace of mind, knowing that their property is handled with care from start to finish.
By implementing these proactive strategies, homeowners can fully enjoy the fruits of their reroofed homes without any lingering concern for driveway damage.
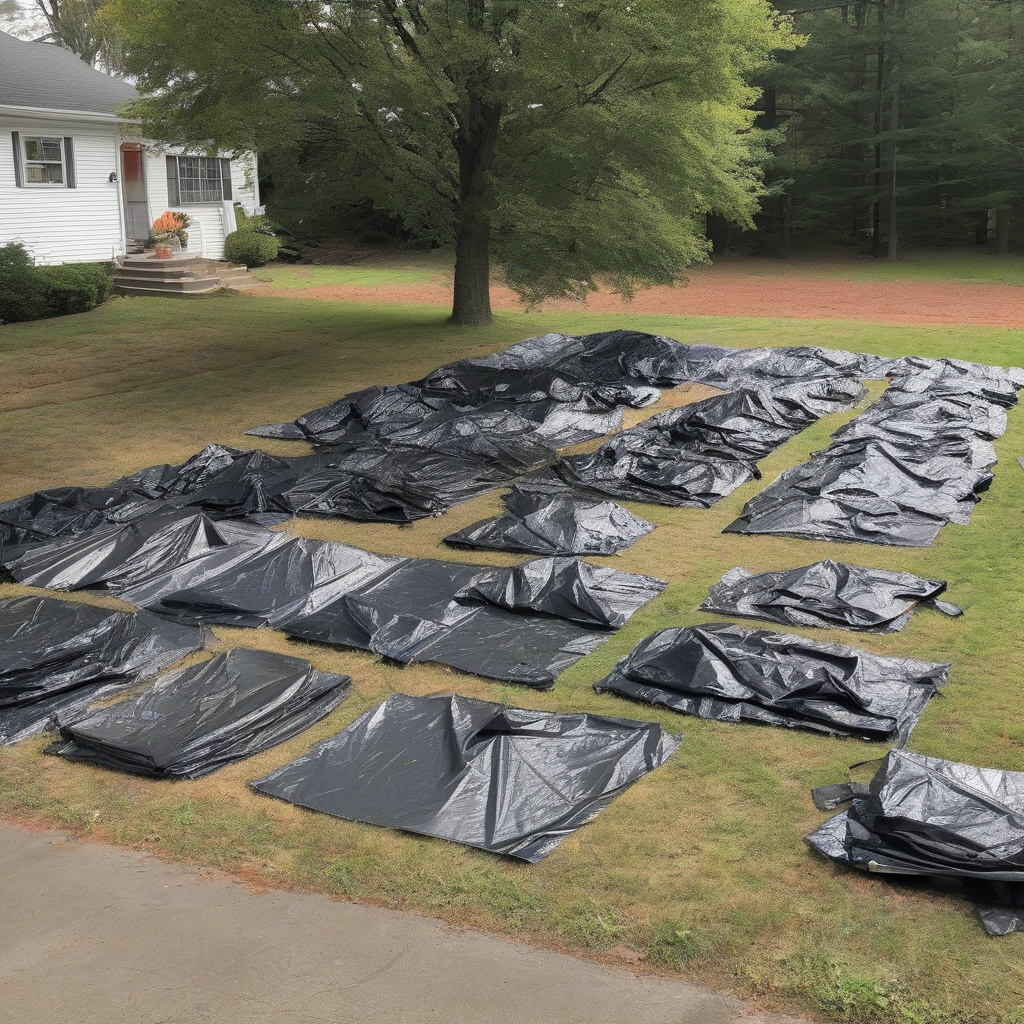
The Rhythm of Scheduled Haul-Away
The hallmark of a well-managed renovation operation is its rhythm, its predictability. Scheduled haul-aways are an essential part of keeping this rhythm in tune—a feat significantly aiding in reducing clutter and confusion at the worksite.
Adopting a consistent schedule for debris removal ensures that the work area remains tidy and hazard-free. More importantly, it boosts worker morale by providing a clear path for progress and reducing downtime caused by waste management issues.
Regular hauling also minimizes the risk of accidental damage to the landscape that the carefully coordinated placement of debris might not always alleviate. The importance of a clean, uncluttered space cannot be overstated, often transforming a potentially chaotic project into a seamless operation.
Moreover, from the homeowner’s perspective, seeing an organized process translates into a positive renovation experience. It assures them that their chosen professionals are not only invested in the task at hand but are also dedicated to maintaining an orderly environment.
Whether through weekly removals or as-needed pickups, keeping debris in check is an artful practice that aligns with the rhythm of renovation.
Exploring Material Considerations and Cost Implications
When delving into roofing projects in Los Angeles, material considerations play a pivotal role not only in the aesthetic outcome but also in the logistical choreography of the endeavor. Choosing between materials is not merely a stylistic decision but one that significantly impacts both cost and functionality on site.
For example, Spanish-style tiles are a popular choice in this region, providing that quintessential Californian flair. Yet, they come with specific handling and disposal requirements. An article discussing adapting renovation plans to include these tiles can be invaluable for homeowners looking to maintain architectural consistency.
A study conducted by the National Roofing Contractors Association underscores that selecting the right material can enhance a home’s value by up to 20%.
But what about costs? Each material has its own price tag, installation demands, and debris management needs—all influencing the overarching strategy of waste disposal. Thus, some homeowners prefer to look at the long-term return on investment when considering additional upfront costs for more durable options.
Ultimately, the interplay between material choice and cost makes for a complex decision-making process, one where careful consideration and expert guidance can make all the difference.
Creating a Harmonious Environment: Balancing Noise and Safety
While physical modifications dominate the narrative of home renovations, there’s another dimension that homeowners often confront—noise. Roofing projects can generate quite the symphony of sounds, turning residential areas into bustling construction sites.
Minimizing Disruption
As workers set about their tasks, the disruption is not only felt but often heard. Navigating these auditory challenges is as much about maintaining neighborly peace as it is about ensuring project success. According to industry vets, it’s about balancing progress with community harmony.
Utilizing quieter, modern equipment where possible and scheduling tasks during favorable hours can help reduce disturbances. For detailed suggestions on dealing with these scenarios, take a look at insights about methods to cope with renovation noise and enjoy smooth project flow.
Data from the Los Angeles Housing Department reveals that noise complaints during renovations have decreased by 15% when homeowners are properly informed in advance.
Maintaining open channels of communication with neighbors and implementing reasonable working hours can ease tensions, making these disruptions more manageable.
Balancing the soundscape is as essential as ensuring physical safety during an undertaking of this magnitude. It shapes the homeowner’s renovation journey and ensures a more satisfying outcome.
Final Thoughts: Safeguarding Beyond the Project
Handling roofing debris deftly is not just about project management; it extends into the finished product, leaving lasting impressions. Residents of Los Angeles invest in their homes not just financially but emotionally, and maintaining their sanctuaries with integrity is paramount.
As projects wind down, homeowners find practical advice about managing living arrangements during noisy renovations incredibly helpful. It underscores the commitment to a seamless transition from construction site back to peaceful abode.
Insights from the American Institute of Architects highlight that post-renovation satisfaction relates directly to how well a job site was managed during construction.
Ultimately, the end goal is to leave homeowners with a sense of accomplishment, having weathered the storm of renovation and emerged with their dreams realized. The invisible labor behind managing roofing debris thus transforms into tangible peace and satisfaction.
Here lies the true art in renovation—a commitment not just to craftsmanship but to the preservation of a homeowner’s lifestyle and wellbeing.
- Strategic dumpster placement is crucial for efficient site management and landscape protection.
- Driveway protection is essential to prevent costly property damage during renovations.
- Scheduled debris haul-aways ensure a clean and hazard-free work environment.
- Material choice affects both the aesthetic and logistical aspects of roofing projects.
- Noise management is crucial for maintaining neighbor relations and project satisfaction.
“`html
FAQ
Why is proper dumpster placement crucial for managing roofing debris?
In real renovation projects, it often becomes clear that the location where a dumpster is placed can significantly impact a jobsite. For instance, poorly positioned dumpsters can block driveways or limit accessibility, causing unnecessary delays. By contrast, strategic placement allows for efficient waste disposal without hindrance. Experts recommend placing dumpsters as close to the work area as possible while considering traffic flow and local regulations. This calculated positioning not only speeds up the cleanup process but also minimizes landscape damage and inconvenience to owners and neighbors.
What are the key considerations for protecting the driveway during a roofing project?
Homeowners frequently underestimate the potential for driveway damage due to heavy dumpsters and roofing debris. Many experts point out that using thick plywood sheets under dumpsters can distribute the weight evenly, providing a protective barrier against scratches and cracks. Additionally, ensuring that heavy equipment is not parked on the driveway for extended periods, as repeated stress can lead to structural damage, is essential. These precautions, though simple, can prevent costly repairs and preserve the aesthetic value of the property’s entrance.
How does scheduling regular haul-aways benefit a roofing jobsite?
In practice, scheduling regular haul-aways is a game-changer for maintaining cleanliness and safety on roofing jobsites. When debris is left to accumulate, it often results in cluttered workspaces, which can be hazardous. Regularly removing waste minimizes tripping hazards and ensures that workers have a clear area to operate, thereby improving efficiency. Moreover, timely haul-aways reduce the risk of pest infestations, as scattered debris makes for an attractive nesting ground. This proactive approach not only maintains jobsite integrity but also enhances working conditions.
What are the common mistakes to avoid when managing roofing debris?
One common blunder is assuming that all waste is created equal. In roofing projects, this misstep often leads to mixed waste that can complicate disposal processes. Skipping waste separation not only raises costs—because mixed loads are often more expensive to dump—but also slows down recycling efforts. Another frequent mistake is underestimating the volume of debris, leading to overflowing dumpsters and additional fees. Planning for slightly more capacity than anticipated is a prudent way to avoid these pitfalls. Lastly, neglecting driveway protection in the initial planning stages can lead to damage, as mentioned earlier.
Should homeowners be concerned about landscape damage during roofing projects?
Absolutely, and here’s why: roofing debris can cause significant landscape damage if not managed properly. In many cases, shingles and other materials falling from heights impact plants and soil, potentially requiring expensive landscaping repairs. Preventive measures like covering delicate areas with tarps or plywood and briefing the crew on debris management techniques are effective strategies. A keen eye on these aspects can save homeowners both time and money in post-project landscaping efforts, preserving the beauty and integrity of their outdoor spaces.
How do costs factored when renting dumpsters for roofing debris removal?
Cost considerations are vital when renting dumpsters for roofing projects. Prices typically depend on dumpster size, rental duration, and your geographic area. In regions like California, these factors can cause significant variation. For instance, opting for a larger dumpster may initially seem costly, but it might reduce total expenses by avoiding multiple hauls. It’s also important to account for potential overage fees if the debris exceeds weight limits. Reaching out for an expert consultation can illuminate the best choices and help balance budgetary constraints with practical requirements. For tailored advice, consider contacting a roofing expert.
What are the pros and cons of scheduling haul-aways?
The advantages of scheduling regular haul-aways include a cleaner, safer workspace and reduced environmental impact. These benefits translate into smoother operations and fewer hazards, creating a more efficient jobsite. However, the downside may include higher costs due to increased pickup frequency, which might strain tight budgets. On the flip side, delaying haul-aways to save money can result in cluttered conditions that risk safety and efficiency. Weighing these factors helps maintain balance between operational need and financial considerations, ensuring strategic jobsite management.
How can I choose the right size dumpster for my roofing project?
Selecting the right dumpster size is crucial for efficient debris management. Professionals often suggest analyzing the size of your roof and the type of materials being removed. For example, a single-family home’s shingle roof might require a 10- or 20-yard dumpster, depending on its square footage. Underestimating size can lead to incomplete removals and higher costs, whereas overestimating can cause unnecessary expenditure. Discussing your project specifics with a dumpster provider ensures a balanced choice, aligning capacity needs with project scope for a seamless and cost-effective renovation experience.
“`