Homeowners in Southern California, particularly Los Angeles, often revel in the luxury of outdoor living afforded by their wood decks. However, the sun-soaked climate that enhances these spaces can also cause significant wear and tear. Cleaning and sealing your deck isn’t just maintenance—it’s an investment in durability and beauty. Whether you’re new to the process or looking to refine your technique, understanding the nuances of wood deck care is essential.
Brief summary: This article delves into the detailed process of cleaning and sealing wood decks in Southern California. It covers methods to maintain and enhance wooden structures against harsh environmental effects, with insights into costs, materials, and practical strategies to extend deck life. Expert opinions and relevant homeowner experiences provide a comprehensive guide for successful deck maintenance.
The Essentials of Deck Maintenance: Why It Matters
It’s easy to overlook the significance of deck maintenance amidst the hustle of city life in Los Angeles. Yet, regular care can save homeowners from costly repairs. After all, your deck is exposed to relentless sun and occasional rain—elements that can lead to warping and discoloration over time. As many local homeowners notice, neglecting your deck leads to a gradual decline visible in splintered boards and faded finishes.
Foremost in deck maintenance is understanding the environmental factors unique to this area. Southern California’s mild winters and scorching summers challenge wood decks significantly. The importance of routine debris removal or cleaning to maintain deck health cannot be overstated. Dust, leaves, and other debris trap moisture, inviting mold and mildew that can compromise the wood’s integrity.
But maintenance isn’t just about preventing decay. It’s also about aesthetics. A clean, well-sealed deck enhances your outdoor ambiance, perfect for those breezy La-La Land evenings. Ensuring your deck looks stunning transforms any backyard into a living masterpiece.
In conclusion, caring for your deck protects your investment while elevating your outdoor space’s appeal. It’s a labor of love that pays dividends in curb appeal and longevity.
Understanding the Costs: Price of Proper Deck Care
The cost of maintaining a wood deck can vary widely in Los Angeles. Hiring professionals or embarking on a DIY journey each comes with its financial implications. Professional cleaning and sealing can run anywhere from $300 to $600, influenced by factors like deck size and material. Meanwhile, the do-it-yourself approach often ranges between $100 to $200 depending on the products used.
Costs also hinge on the cleaning solutions and sealants selected. High-quality products are an investment, offering longevity and protection against the sun’s relentless UV rays. We’ve seen the evolution of sealants in the market, from simple oil to advanced polymers that promise longer protection.
One consideration for homeowners involves not only the upfront costs but the long-term savings. Professional services, despite the initial sticker shock, ensure that the job’s done right, sparing you from future repairs and replacements. Alternatively, investing time in proper DIY maintenance often results in a deeper connection to your outdoor space and a keen understanding of its needs.
In summary, weighing these costs aligns with both your budget and lifestyle, ensuring you’re not merely spending money but investing wisely in your home’s longevity.
| Method | Cost Range | Timeline | Materials Used |
|---|---|---|---|
| Professional Service | $300-$600 | 1 day | Specialized Sealants, High-pressure Cleaners |
| DIY | $100-$200 | Several days | Deck Cleaners, Natural Oils |
Industry experts suggest that “regular maintenance can extend the life of your wood deck by 10-15 years, making it a wise investment for long-term savings.”
The Step-by-Step Guide to Deck Cleaning
Embarking on the journey to a pristine deck requires a clear plan. Begin by assessing the current state of your deck, noting any areas showing signs of damage or wear. Consult the comprehensive patio guide we recommend for context.
The first step in cleaning is debris removal. Sweep the deck thoroughly to eliminate leaves, dirt, and other particles. Next, rinse the deck with a garden hose, using a soft-bristle brush to tackle any stubborn spots.
For deeper cleaning, an appropriate deck cleaner should be applied evenly across the surface. Allow it to sit, following product instructions, before scrubbing gently. This will dissolve any lingering grime without damaging the wood.
After cleaning, rinse off the cleaner thoroughly and allow your deck to dry completely before applying a sealant. This ensures optimal adhesion and protection.
Finally, appreciate your labor with a moment on your refreshed deck—it’s gratifying to see the fruits of your effort manifest in glowing wood.
Sealing for Longevity: Protecting Against the Elements
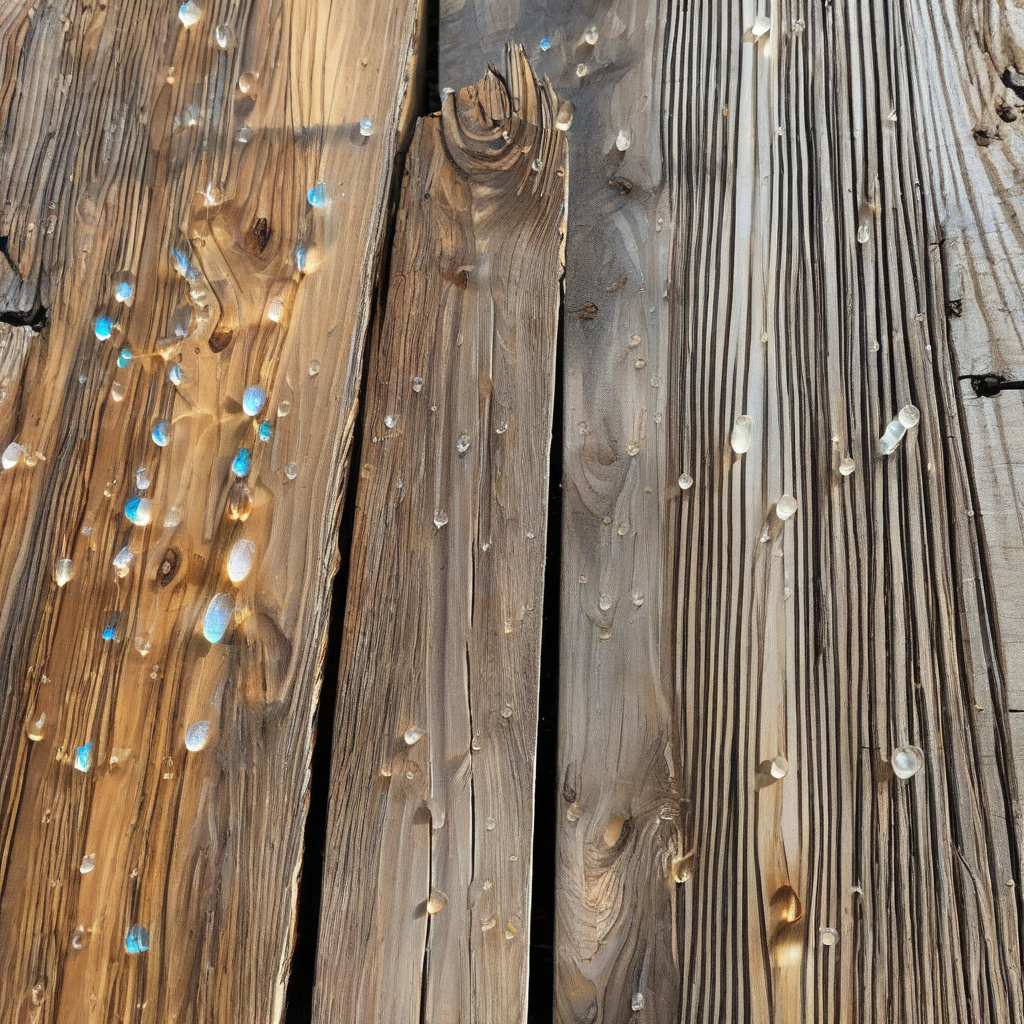
After you’ve achieved a spotless surface, sealing is the crucial next step. Sealants shield your deck from UV damage and prevent moisture absorption, both significant threats to wood longevity. Understandably, sealant selection may feel overwhelming, given the options available.
Opt for products that not only provide UV protection but also enhance the wood’s innate beauty. Consider oil-based sealants for their rich finish, though water-based alternatives are becoming increasingly popular for environmental reasons. Each offers unique benefits, depending on your priorities.
The sealing process can be a weekend project. Start on a sunny day when no rain is forecasted. Apply the sealant evenly with a brush or roller, ensuring complete coverage. It’s a meticulous task that repays the effort with enhanced durability.
Ultimately, sealing ensures your deck remains a cherished part of your home, withstanding the pressures of weather while retaining its inviting appeal.
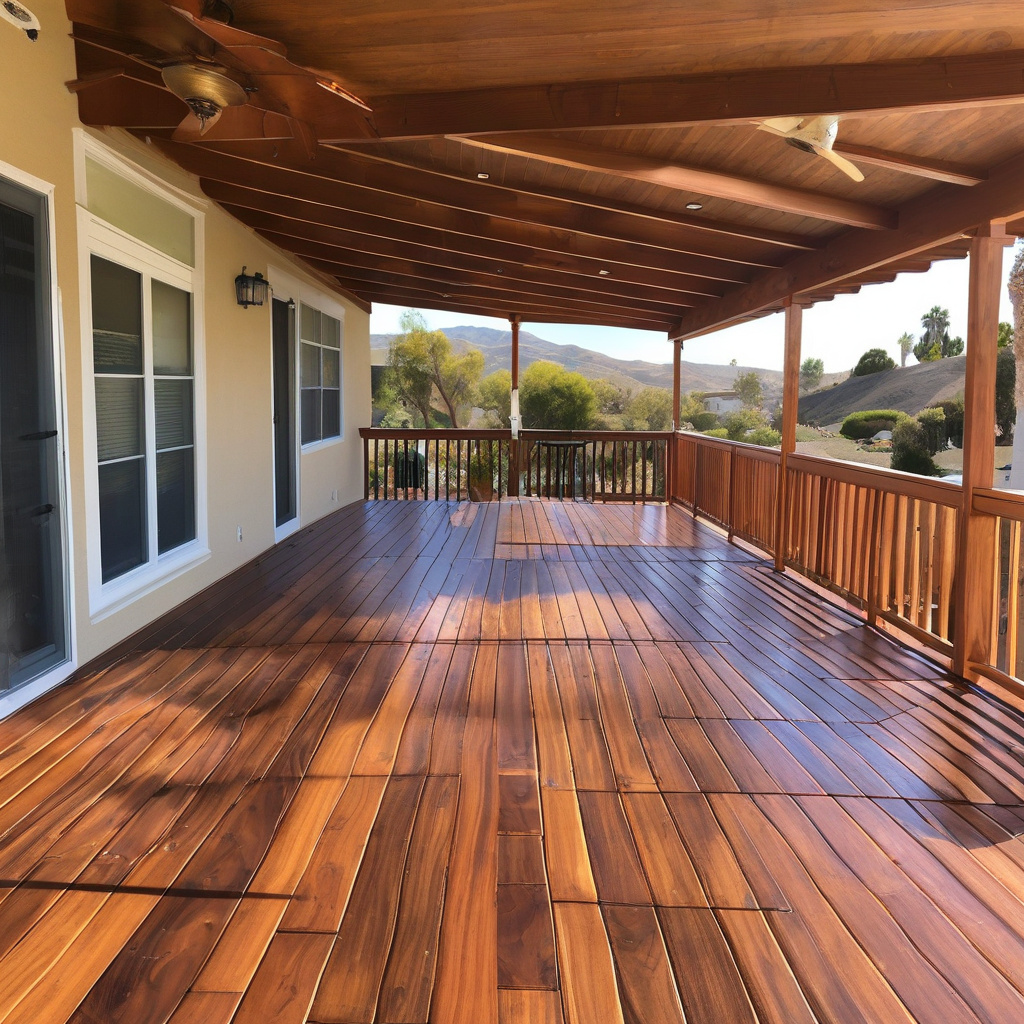
Research from the California Homebuilding Foundation highlights, “proper sealing can prevent up to 60% of weather-related wood deterioration.”
Choosing the Right Layout: Pet-Friendly and Durable Options
Designing a deck layout in Southern California isn’t only about aesthetics—it’s about functionality and lifestyle compatibility. For families considering pets, crafting a pet-friendly outdoor area is essential. A smoothly integrated layout is vital for convenience, while durable materials resist wear from paws and claws.
Incorporating elements like built-in bench seating or raised planters provides both functionality and flow. These additions create varied zones facilitating both human and pet engagement, without compromising style.
Local experts often recommend choosing hardwoods for decking, as they naturally withstand pet-related wear. Combining these materials with softer landscape touches can balance aesthetic needs with practical demands.
Mid-article, explore how planning a well-considered deck layout could revolutionize outdoor living for pet owners by reading about creative pet-friendly deck solutions.
In summary, a deck that harmoniously balances durability with design fosters an outdoor living space welcoming all members of the family.
Maximizing the Potential of Your Outdoor Space
With your deck freshly cleaned and sealed, focus shifts to maximizing this renewed space. Consider modular furniture that adapts to varying occasions, promoting flexibility and functionality. Incorporate elements like solar lighting or shade sails for enhanced usability.
Many Southern California homeowners opt for integrated garden spaces, enriching the aesthetic with native plants that thrive in the local climate. This not only supports the environment but adds a lush backdrop to your outdoor retreat.
For those with smaller patios, the opportunity to broaden your horizons might be enticing. Delve into strategies for extending your limited patio area to explore creative ways to expand your living quarters seamlessly.
Ultimately, a well-utilized deck is where memories are made—barbecues, sunsets, and cozy evenings in a space as beautiful as it is functional.
“An intelligently designed deck can enhance home value by 10-15%, reflecting both increased aesthetics and improved functionality,” according to industry studies.
Conclusion: The Reward of a Well-Maintained Deck
In the end, the efforts to maintain and seal your deck in Southern California are richly rewarding. Not only do they protect your investment, but they also enhance the quality of life by offering a polished, inviting outdoor space. The sun-drenched days and warm, inviting evenings of Los Angeles beg for enjoyable spaces, and a pristine deck is at the heart of such experience.
Reflecting on this journey, one concludes that deck care is as much an art as it is a responsibility. It involves conscientious choices regarding maintenance, layout, and lifestyle needs, all harmonizing to create an authentic outdoor haven. Armed with this knowledge, homeowners are well-equipped to navigate their deck maintenance with confidence and enthusiasm.
- Regular cleaning and sealing extend deck lifespan significantly.
- Costs range widely based on professional services versus DIY approaches.
- Proper sealants prevent weather-related wear and prolong deck durability.
- Designing pet-friendly decks enhances both functionality and aesthetics.
- Enhanced use of outdoor space augments lifestyle and home value.
“`html
FAQ
Why is cleaning and sealing a wood deck important in Southern California?
Cleaning and sealing a wood deck in Southern California is crucial due to the unique climate. The intense sun can cause fading, leading to a dull appearance over time. Additionally, seasonal winds can blow debris onto your deck, causing scratches if not removed. In real renovation projects, neglecting these elements can prematurely age your wood, resulting in costly repairs. By using UV-protective sealants, you can preserve the wood’s color and significantly extend its lifespan. Homeowners often find that a well-maintained deck not only adds curb appeal but also enhances outdoor living spaces.
What are the typical steps involved in cleaning a wood deck?
The typical steps for cleaning a wood deck start with clearing all furniture and debris. Many experts point out that this allows for an unobstructed cleaning process. Next comes a gentle wash with water, optionally adding a safe, non-abrasive cleaner designed specifically for wood. This step is often underestimated but is critical for removing dirt and mildew without damaging the wood fibers. Finally, a thorough rinse and allowing the deck to dry completely before sealing ensures the best results. For those unsure about the right cleaning agents, consulting professionals through resources like requesting expert recommendations can offer peace of mind.
How do I choose the right sealant for my wood deck in Southern California?
Choosing the right sealant involves considering both climate and wood type. In Southern California, where UV exposure is a significant concern, a UV-protective sealant is non-negotiable. Transparent sealants maintain the wood’s natural look but may require more frequent applications. On the other hand, tinted options offer added protection but alter the wood’s appearance. Homeowners frequently overlook brand reputation and product reviews, which can provide insights into a sealant’s longevity and performance. It’s advisable to test a small section first to ensure satisfaction with both protection and finish.
When is the best time to seal a wood deck in Southern California?
The optimal time for sealing a wood deck in Southern California is during mild months, avoiding the heat of mid-summer or the chill of winter. Fall and spring are ideal, providing moderate temperatures that allow sealants to cure properly. Many homeowners rush to seal their decks at the first sign of wear, yet applying during extreme conditions can compromise the sealant’s effectiveness. A common overlooked factor is allowing sufficient drying time after cleaning—at least 48 hours of dry weather is crucial to avoid trapping moisture. Planning ahead ensures the sealant adheres properly, leading to a longer-lasting finish.
What are the potential risks of not sealing a wood deck?
Failing to seal a wood deck exposes it to various environmental elements that can lead to significant deterioration over time. In Southern California, UV rays can cause the wood to dry out, leading to cracks and splinters. Moisture from occasional rain can seep into the wood, promoting rot and decay, particularly in older properties undergoing renovation. A neglected deck not only diminishes your home’s aesthetic but can also pose safety risks due to structural weaknesses. Consequently, investing in regular sealing is a preventive measure that protects both your deck’s integrity and your family’s well-being.
What are the common mistakes homeowners make when sealing their decks?
Homeowners often make the mistake of applying sealant without proper preparation. Skipping steps like thorough cleaning can result in debris sealed into the wood surface, creating unsightly blemishes. Another common error is applying sealant too thickly, leading to bubbles or an uneven finish. Experts recommend using a high-quality brush or roller for a smooth application and ensuring even coverage. Additionally, ignoring temperature and weather conditions is a frequent oversight. Sealant applied during high humidity or rain-prone days can prevent proper curing, compromising durability. Following manufacturer guidelines is crucial to achieving professional results.
How often should a wood deck be sealed in Southern California?
Many experts recommend sealing a wood deck annually in Southern California due to the harsh sunlight and occasional rain. However, the frequency can vary based on the type of sealant used and the deck’s exposure to sunlight. For instance, decks that receive more shade may not require sealing as often. In real renovation projects, it often becomes clear that a visual inspection is invaluable. Look for signs of wear like fading, water absorption, or mildew growth. These indicators can help decide if earlier maintenance is necessary. Regular upkeep not only protects your investment but also sustains your outdoor space’s usability year-round.
What are the cost considerations for cleaning and sealing a wood deck?
The cost of cleaning and sealing a wood deck can vary widely based on several factors, such as the deck’s size and condition, the type of sealant used, and whether you choose to hire professionals or undertake the work yourself. DIY projects are typically less expensive but require more time and the purchase of materials. On the other hand, professional services ensure a higher quality finish and can include warranties, adding value in the long run. Many homeowners find that attempting to cut costs by skipping these necessary steps often leads to more expensive repairs later. Balancing immediate and long-term costs is essential for maintaining both your deck’s appearance and structural integrity.
“`