In a city like Los Angeles, where the weather can oscillate from beach-perfect to desert-dry, the art of maintaining a comfortable indoor climate becomes both a challenge and an art form. At the heart of this climate control lies the uncelebrated hero of home efficiency: weatherstripping. This essential line of defense not only regulates your home’s temperature but also plays a pivotal role in cutting down those creeping energy bills. But how exactly does weatherstripping work, and when is it time to refresh this unsung guardian of your sanctuary?
Brief summary: This article delves into the importance of weatherstripping in maintaining energy efficiency and comfort in homes, especially in areas like Los Angeles. It outlines the mechanics of weatherstripping, identifies symptoms of its failure, and provides guidance on when and how to replace it, ensuring optimal indoor conditions.
Understanding the Mechanics of Weatherstripping
Weatherstripping acts as the first line of defense against the outside elements. Typically made from materials like rubber, vinyl, or foam, it forms a tight seal around doors and windows, effectively blocking drafts, moisture, and dust from entering your living spaces. This sealing capability not only contributes to a stable indoor temperature but also significantly reduces the workload on your heating and cooling systems.
For many homeowners, the performance of their installed windows is directly impacted by the state of their weatherstripping. When functioning optimally, weatherstripping can be one of the most cost-effective solutions to enhancing energy efficiency without the need for high-budget renovations.
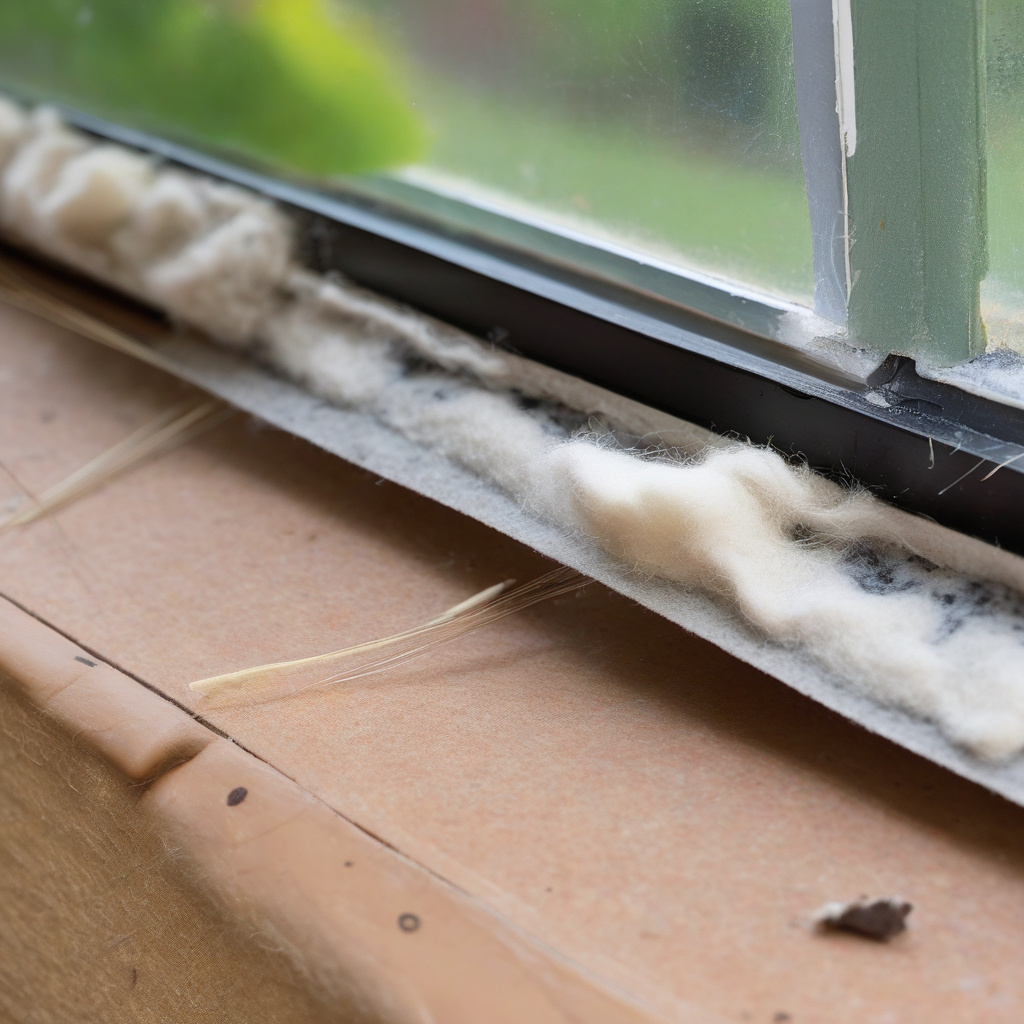
As with any protective measure, the effectiveness of weatherstripping can dwindle over time. Natural wear and tear, exposure to harsh weather conditions, and even basic usage like opening and closing windows can gradually degrade its sealing ability.
This principle not only applies to older homes but also to recently constructed properties where inferior materials might have been used during rapid urban developments, a common case in the Los Angeles housing market.
Understanding the specific type of weatherstripping appropriate for your home can save substantial costs associated with excessive energy consumption.
The Functional Lifecycle
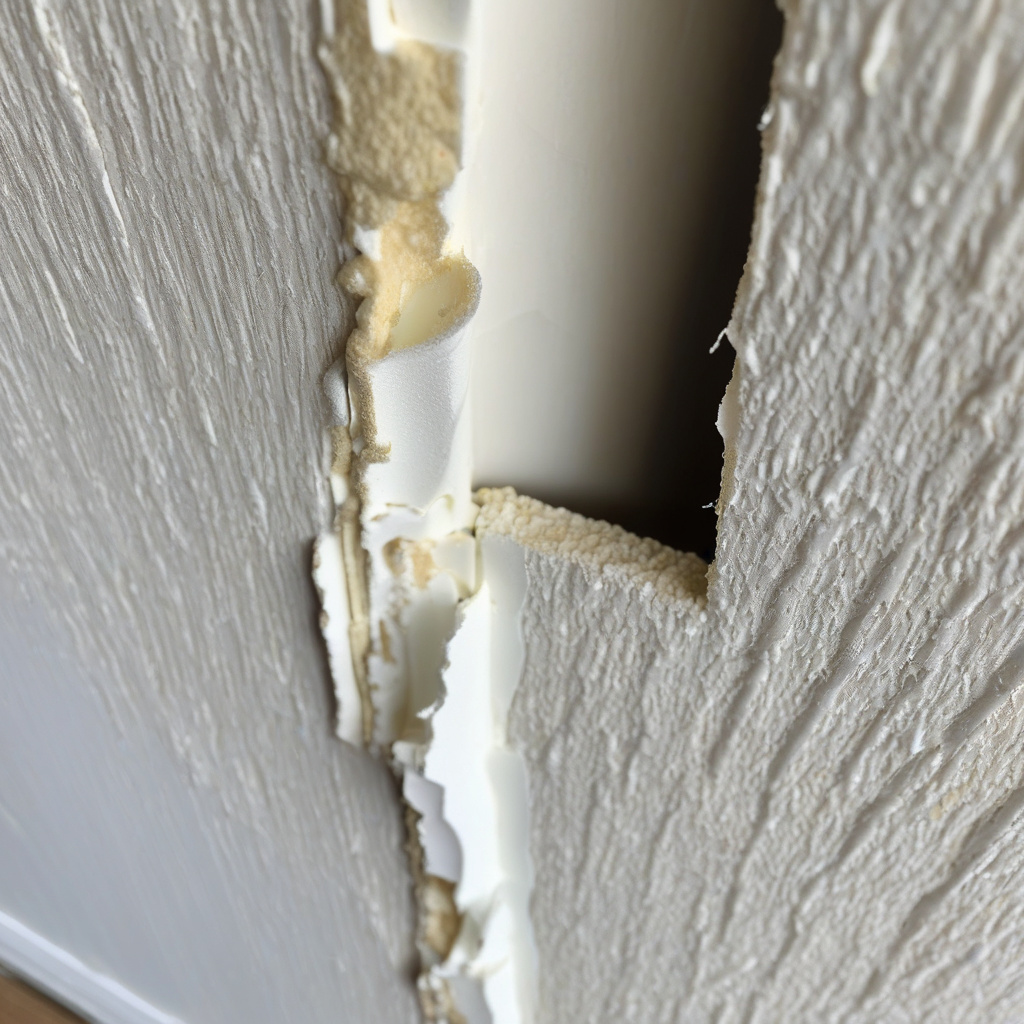
Just as any other product, the effectiveness of weatherstripping diminishes with use. Most materials exhibit peak performance for approximately 5 to 10 years, after which visible signs of crippling start to appear, indicating the need for examination and potential replacement.
Indicators That Your Weatherstripping Needs Replacement
Before the energy bills rudely alert you to an issue, a sharp-eyed homeowner can observe several tell-tale signs that it might be time to replace weatherstripping. Firstly, a noticeable draft creeping through windows and doors is a major red flag.
Second, if during your monthly inspections you spot visible wear and tear such as cracks, gaps, or loosening of the material, it is crucial to act sooner rather than later. These gaps can allow conditioned air to escape, thus forcing your HVAC system to work overtime.
Surface condensation or frost buildup on windows during cooler months may also signal that the weatherstripping is failing its purpose.
Homeowners might examine their interiors and wonder why particular areas feel colder or warmer than others, potentially due to compromised weatherstripping.
Each of these indications not only affects your comfort but, when left unattended, can contribute to premature deterioration of windows and doors, compounding the overall maintenance costs.
Choosing the Right Type of Weatherstripping
In the market for weatherstripping, choices abound, each with its distinct materials, costs, and benefits. The decision at this junction will need to weigh initial expense against longevity and performance. Los Angeles homes, battling with unique climate challenges, necessitate specific choices and comparisons.
| Material Type | Cost | Durability | Ease of Installation |
|---|---|---|---|
| Foam Tape | Low | Medium | Easy |
| Vinyl | Medium | High | Moderate |
| Metal (e.g., aluminum) | High | Very High | Difficult |
Vinyl and aluminum options stand out as weatherstripping materials offering great resilience against the extremes—both in temperature and lifetime wear. For a comprehensive understanding of material benefits, examining the strengths of vinyl versus aluminum in other residential applications can be a prudent move.
DIY Weatherstripping Replacement and Maintenance
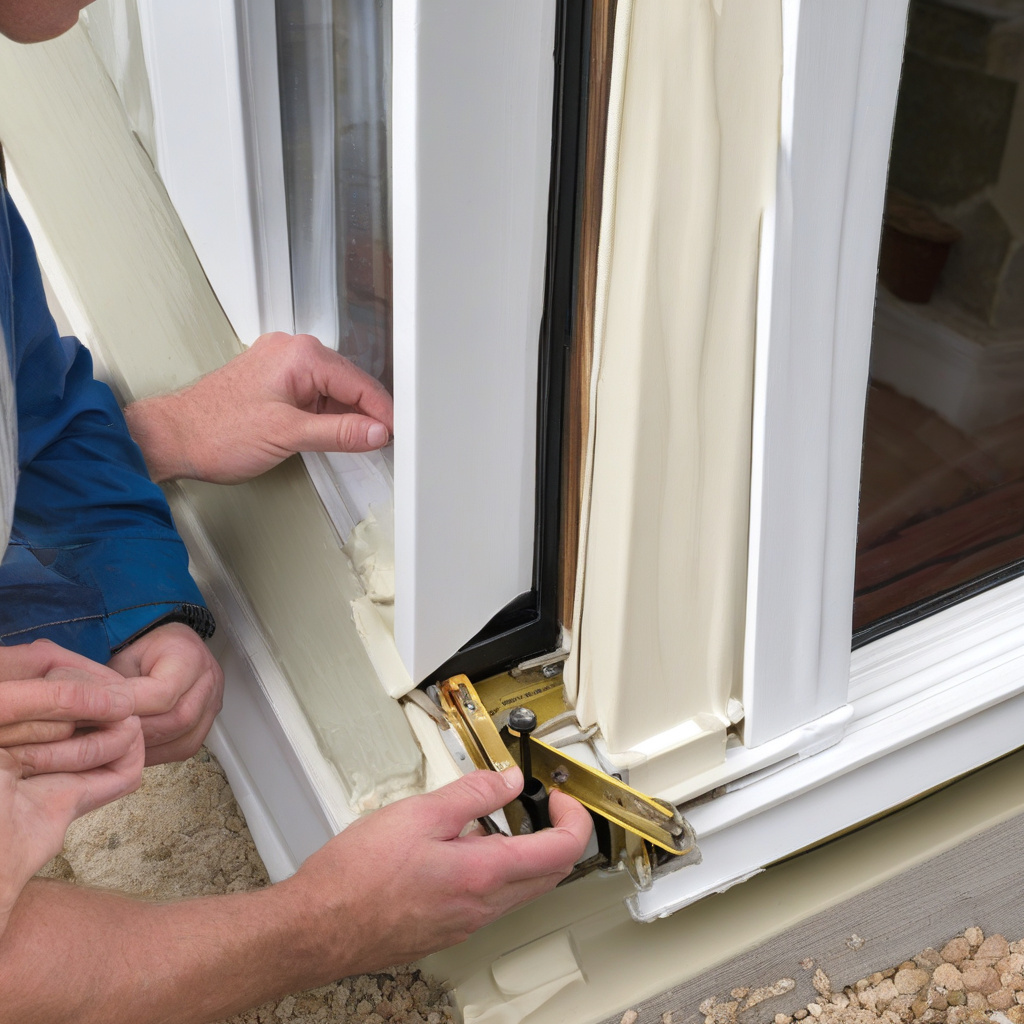
A diligently planned out DIY weatherstripping project can save a few hundred dollars and the satisfaction of self-sufficiency. However, successful weatherstripping requires precise execution, especially around various architectural designs and styles noted across Los Angeles homes.
Begin by thoroughly inspecting existing weatherstripping around all entry points in your home, documenting the state of each. This physical audit aids in determining not only the type but quantity of material required.
Once materials are obtained, clean all surfaces where the new weatherstripping will adhere, ensuring they are dust and moisture-free to promote longevity.
Considering the inherent skill required, even the most enthusiastic DIYer might find consultation with a contractor beneficial, especially when addressing architectural complexities among these unique window arrangements.
While replacing weatherstripping can be a manageable weekend project, some instances might require more experienced hands, especially to maximize long-term efficiency.
According to energy experts, effective weatherstripping can reduce annual energy costs by up to 15%, especially in climates with high variation between seasonal temperatures.
Professional Installation: Convenience and Assurance
Opting for professional weatherstripping installation might seem like an indulgence at first glance, but when factoring in the potential hassle of self-implementation—especially in properties with unique designs—the choice may indeed pay dividends.
Professionals offer the experience-backed knowledge of selecting optimal materials tailored to specific architectural needs and possess the technical expertise to navigate around intricate geographical variations seen through Southern Californian topography.
In leveraging professionals, homeowners are also securing peace of mind; proper installation extends the lifecycle of their weatherstripping, ensuring its effectiveness for years beyond that of amateur attempts.
Experts can additionally provide insight into reducing ambient noise—a prevalent concern for properties situated under flight paths, necessitating research into effective soundproof window solutions.
With an understanding of how to effectively use weatherstripping and other soundproofing methods, these contractors can transform a property plagued with drafts into one of sealed sanctuary.
Risks and Rewards of Timely Weatherstripping Replacement
The risks of ignoring deteriorating weatherstripping cannot be overstated. Beyond spiking utility bills, symptoms appear in subtle yet significant forms, developing into broader structural issues when left untreated.
The eventual wear of such elements challenges homeowners to choose between continual discomfort and the appeal of a comprehensively managed environment.
Upon weighing the risks, the rewards of timely investment into new weatherstripping prove indispensable. Dollar for dollar, this simple upgrade enhances not only thermal efficiency but contributes significantly to equitable home value increases amidst an increasingly competitive Los Angeles market.
As many local homeowners notice, the seamless blend of modern utility with aesthetic charm elevates the appeal of properties, enticing potential buyers with the promise of an energy-efficient lifestyle.
Ultimately, the conscientious homeowner understands that diligent management of their property’s envelope—one capable of navigating seasonal dynamics—serves as a robust foundation upon which their tangible comforts reside.
In reflecting modern consumer sentiments, the real estate market in Los Angeles has seen a 20% increase in home valuations attributed to energy efficiency upgrades, including precise weatherstripping applications.

“Investing in quality weatherstripping ensures not only savings on utility costs but enhances overall property comfort,” notes a Southern California based real estate appraiser.
- Weatherstripping significantly impacts energy efficiency and comfort.
- Signs such as drafts and increased energy bills indicate the need for replacement.
- The choice of materials can influence performance and lifespan.
- Both DIY and professional installation have distinct benefits and drawbacks.
- Timely replacement boosts property value in competitive markets.
“`html
FAQ
What is weatherstripping, and how does it work?
Weatherstripping, in its essence, serves as a barrier against the elements, creating a seal around doors and windows. It’s akin to snugly fitting pieces of a puzzle together. In many older homes, particularly those undergoing renovation, the original weatherstripping may have deteriorated, letting drafts seep through. By forming a tight seal, weatherstripping prevents air and water leaks, thereby enhancing your home’s comfort and energy efficiency. It’s like ensuring your home wears a perfect coat, defending against weather fluctuations.
How do I know when to replace weatherstripping?
In real renovation projects, it often becomes clear that weatherstripping is past its prime when you can feel a draft or notice increased energy bills. If you hear rattling windows or see daylight peeking through closed doors, those are tell-tale signs. Moreover, many homeowners frequently underestimate the impact of moisture; if you notice condensation around your windows, it might be time to consider replacement. Regularly checking for visible wear or gaps can prevent minor issues from becoming costly repairs.
What are some common mistakes when choosing weatherstripping?
One of the most common pitfalls homeowners face is not selecting the right type of weatherstripping for their specific needs. Different materials suit varied climates and spaces. Foam tape, for instance, is affordable and flexible but might not hold up well in high-traffic areas. Conversely, tubular rubber or vinyl products offer durability in those situations. Another oversight is neglecting to consider the door or window material; this can lead to mismatches that impact adhesion and effectiveness.
What are the cost considerations for weatherstripping replacement?
Costs can vary significantly based on the material and the extent of the project. Basic foam weatherstripping might only set you back a few dollars per window, but more durable options such as silicone or metal-backed products can climb into higher costs. In California, where energy efficiency adds value, many experts point out that investing in quality weatherstripping pays dividends in the form of reduced utility bills. Nonetheless, labor costs might arise if professional installation is needed for more complex situations.
What are the benefits and limitations of weatherstripping?
Weatherstripping offers the distinct advantage of improving energy efficiency, which is crucial for comfort and cost savings. Additionally, it can significantly reduce noise pollution, an often overlooked benefit for urban California residents. However, one limitation is that improper installation can lead to ineffectiveness. It’s also essential to balance the temporary versus permanent solutions; while adhesive options are easy to apply, they might not last as long as interlocking metal solutions, which require more initial effort.
How can I maintain my weatherstripping effectively?
To ensure longevity and effectiveness of weatherstripping, regular inspection and cleaning are critical. Remove dirt and debris to prevent wear. For instance, using warm soapy water to clean vinyl or rubber seals can extend their life. Periodic adjustments or replacements of compressed or loose weatherstripping will prevent those pesky drafts from sneaking in. A pro-tip: involve weatherstripping checks during your routine seasonal maintenance, much like inspecting your HVAC system.
Is DIY installation of weatherstripping viable?
For the handy homeowner, DIY installation is often a feasible project. Foam tape and vinyl strips are generally easy-to-apply options suitable for self-installation. The key is attention to detail; clean surfaces, precise measurements, and firm application ensure the weatherstripping will perform as intended. Yet, if faced with a situation involving unconventional door frames or older properties where gaps are irregular, seeking guidance from renovation experts may be beneficial. For personalized advice, feel free to reach out to experts who can provide insights tailored to your home’s needs.
Are there risks if weatherstripping is ignored?
Ignoring weatherstripping might seem negligible until the consequences accumulate. In older properties, particularly, negligence can lead to increased energy consumption due to drafts, causing costly utility bills. Moreover, unsealed windows and doors can allow moisture ingress, potentially leading to mold development, a serious health hazard. Many experts emphasize the risks of long-term neglect, which can ultimately degrade structural integrity and lead to expensive repairs—an avoidable plight with proactive upkeep.
“`