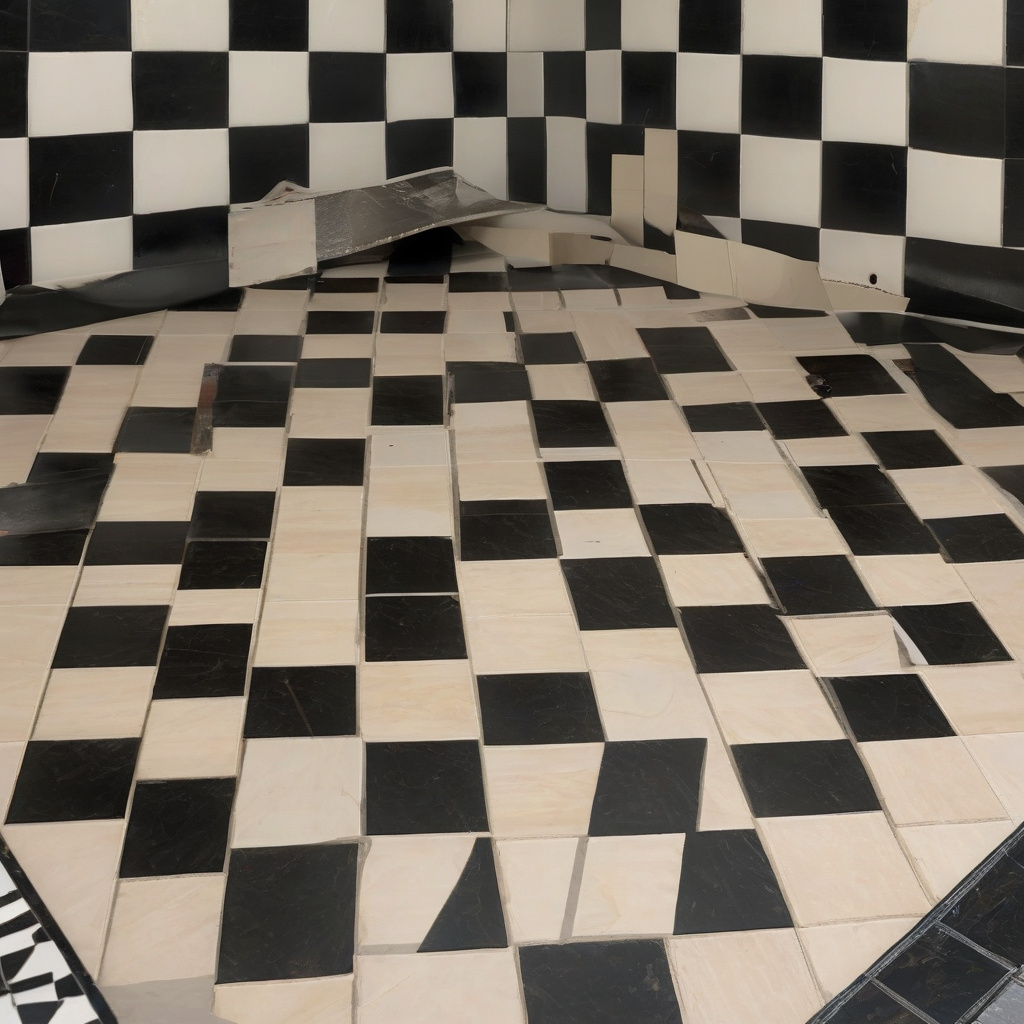
The tile pattern and layout in your home is more than just a decorative choice; it is an architectural decision that impacts movement, room perception, and the overall visual harmony of your space. In Los Angeles, where style meets functionality in home design, how you arrange your tiles can significantly influence the ambiance of your bathroom. Whether you opt for a classic subway tile or a bold hexagonal pattern, your choices can make or break the aesthetic appeal and functional flow of your bathroom layout.
Brief summary: This article explores how choosing the right tile pattern and layout direction can enhance room perception and movement flow in your bathroom, crucial for harmonious and well-proportioned spaces. The discussion includes costs, real-life renovation examples from Los Angeles, and expert insights.
The Influence of Tile Layout on Room Ambiance
When considering bathroom renovations, many Los Angeles homeowners focus on tile designs without giving much thought to the layout direction. However, the orientation of tiles can alter the perceived size and atmosphere of a room. Laying tiles vertically, for instance, can give the illusion of a taller space, perfect for compact bathrooms seeking a grander feel. Conversely, a horizontal layout can widen a narrow room, creating a sense of spaciousness.
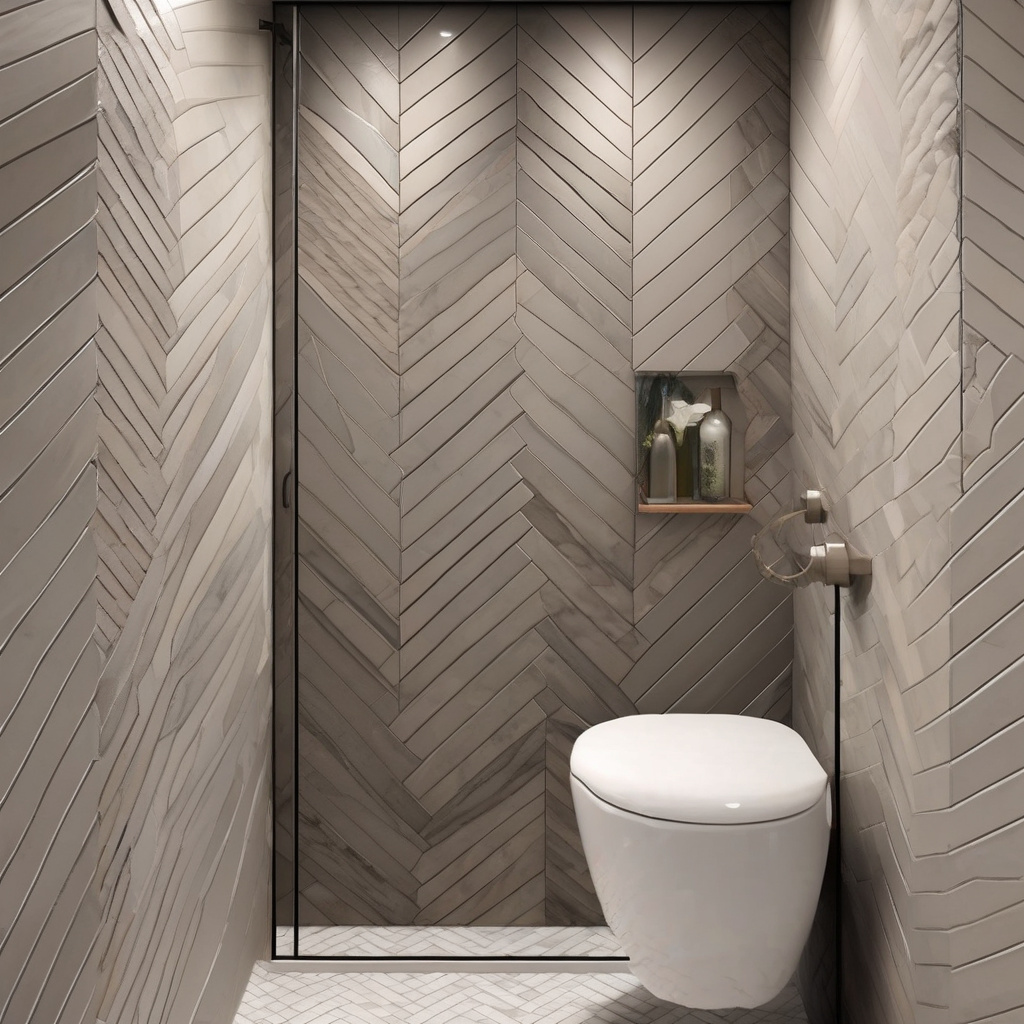
Moreover, patterns like the herringbone can introduce dynamic movement to your design, drawing the eye along a zigzag path that naturally guides one through the space. Yet, if overused, such patterns can overwhelm a small room, making it feel cluttered rather than chic. An expert remodel may thus entail balancing these optical effects with the room’s actual dimensions and intended mood.
As many local homeowners notice, a well-chosen tile layout complements the scale of fixtures and the flow within the room. This symbiosis is essential in crafting a cohesive look, underscoring the importance of strategic planning from the outset. With tiling proving as pivotal to bathroom remodeling as cabinetry or fixtures,
it’s no wonder bathroom re-dos are a hot topic in Southern California.
In conclusion, understanding how layout affects perception allows for more informed design choices that contribute to the overall functionality and aesthetic appeal of your bathroom space.
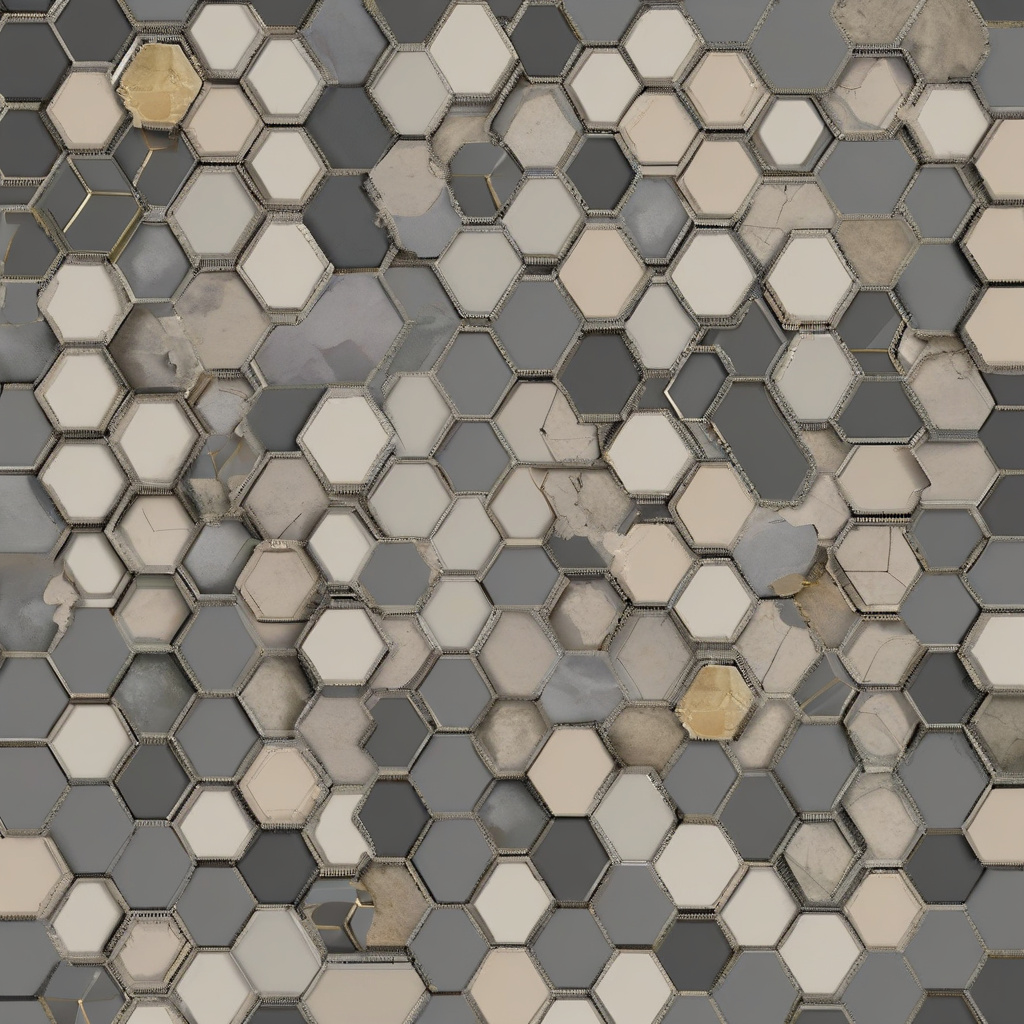
Deciphering Patterns: From Subway to Hexagonal
Variety is indeed the spice of tiling, and when it comes to patterns, the options are vast. Subway tiles, known for their timeless appeal, offer simplicity and elegance, fitting seamlessly into both contemporary and traditional designs. Yet, it is crucial for renovators to assess how such a layout complements other elements within the space.
On the flip side, hexagonal tiles introduce geometric interest and can be used as a statement feature wall or flooring option. This choice resonates particularly well with those aiming for frequent bathroom upgrades, due to its versatility and timeless charm. However, these intricate patterns can also be more complex and costly to install properly, requiring precise alignment and sometimes custom cuts.
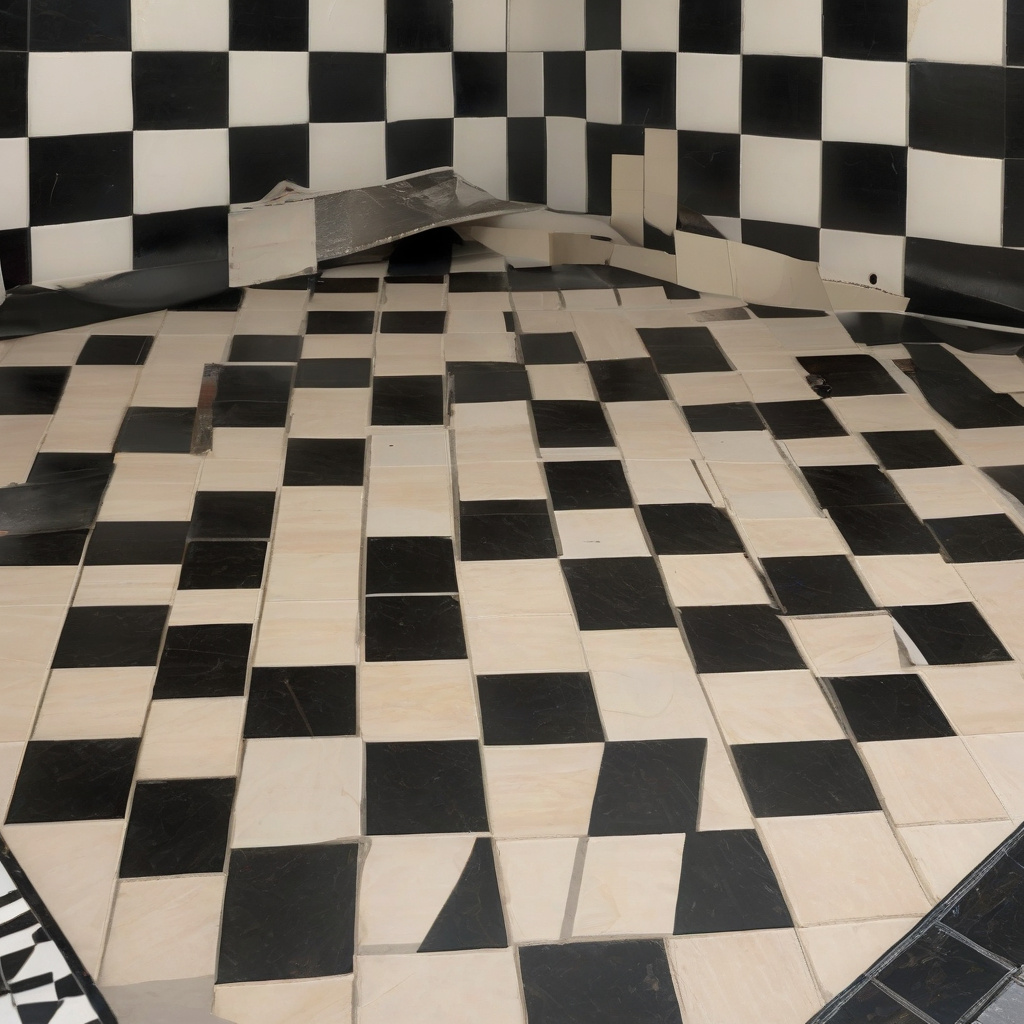
The Victorian-inspired checkerboard pattern offers a nod to vintage elegance, while the random mosaic allows for creative freedom. Yet, decisions around these patterns should consider the balance of visual interest versus distraction, ensuring that the tile adds to rather than detracts from the bathroom’s intended ambiance.
Ultimately, each pattern presents its own benefits and challenges, making it vital to match your selection with both practical needs and aesthetic goals.
Planning for Costs and Longevity in Tile Choices
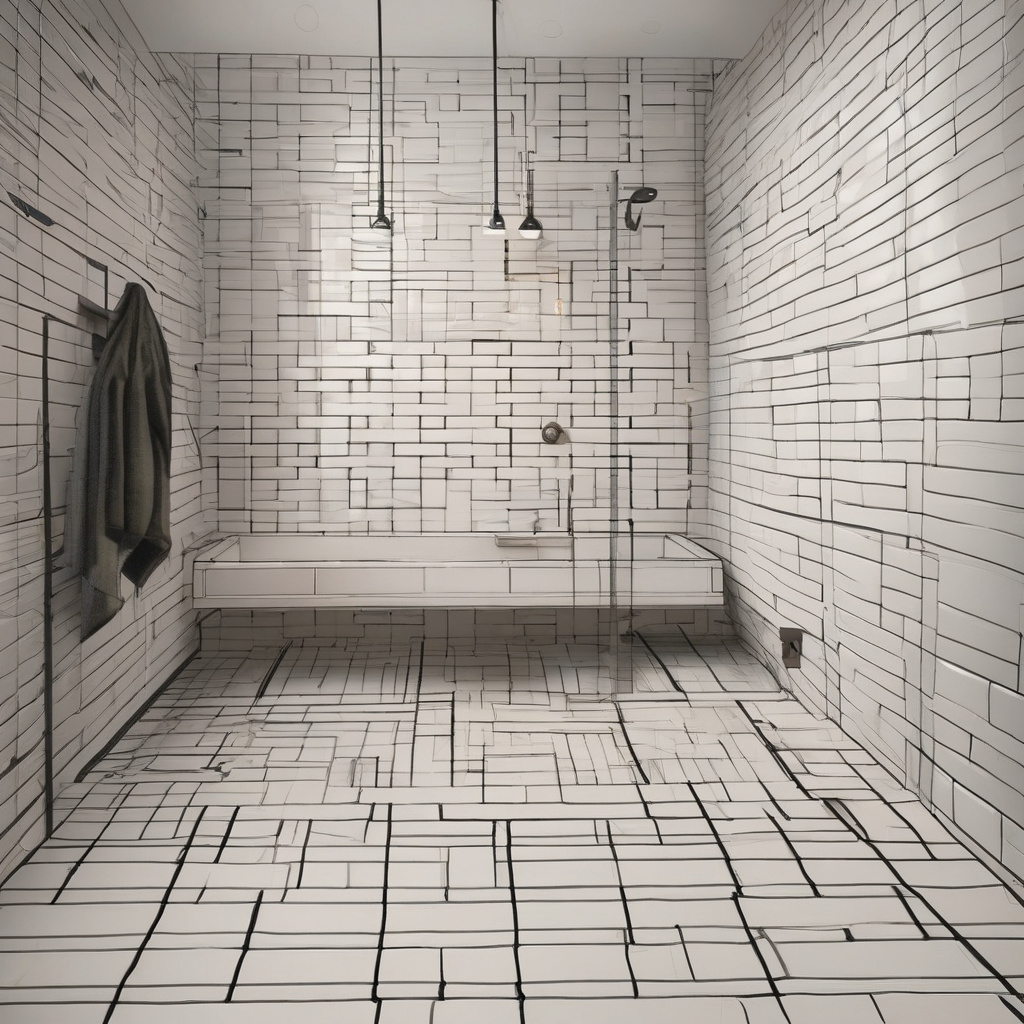
Embarking on a tiling project involves more than simply stylistic preference; cost and durability are key considerations. The financial commitment can vary significantly depending on the material, with ceramic and porcelain often being more affordable, yet still delivering on durability and ease of maintenance. This economic option makes them appealing for wide-scale or budget-conscious renovations.
However, those in pursuit of luxury might lean toward natural stones like marble or travertine, which, while undeniably elegant, come with higher price tags and maintenance demands. Such choices require sealing to protect against moisture, a frequent concern for those integrating coastal-inspired design elements.
According to HomeAdvisor, the average cost for tiling a bathroom in Los Angeles can range from $1,500 to $5,000, depending on the scale and material quality.
Additionally, it’s important to consider the long-term implications of these choices. Porcelain tiles are known for their resilience, making them suitable for high-traffic areas, a practical consideration for families looking for both beauty and functionality.
In summation, the decision on tile materials should weigh both initial investment and the anticipated longevity of the product, ensuring that the tiles meet both aesthetic desires and financial constraints.
Navigating the Layout Direction for Maximum Impact
Choosing the right direction to lay your tiles is akin to setting the tone of a stage production. The linear flow of rectilinear tiles can direct movement, creating a pathway for visual exploration. This is particularly impactful in larger bathrooms, where guiding the eye can enhance the room’s spacious feel while also highlighting noteworthy features such as vanities or bathtubs.
Diagonal layouts make a bold statement, adding drama and perceived depth, ideal for injecting life into otherwise mundane spaces. However, they demand a higher level of precision and often generate more waste from tile cuts, factors which should be included in the planning stage.
Tile Distributor Inc. reveals that diagonal tiling can increase material costs by up to 10% due to the additional waste involved.
Moreover, combining multiple layout directions in one design can create zones within a space, delineating areas such as shower and dressing zones through subtle variation. Yet, care must be taken to ensure these transitions are smooth and do not create unnecessary lines that break the design flow.
To encapsulate, investing time in deciding on a tile direction can pay dividends, enhancing both visual allure and functional flow.
Step-by-Step Guide to Laying Tiles Effectively
1. Begin by preparing the surface: ensure it is clean and dry.
2. Choose your starting point, typically the center of the area, to ensure balanced patterns.
3. Apply adhesive evenly, using a trowel to achieve uniform coverage.
4. Lay tiles carefully, maintaining consistent spacing with spacers.
5. Allow the adhesive to set before grouting, ensuring a secure and finished look.
Comparing Opposing Styles: Risks and Rewards
Adopting a traditional versus a modern tile approach entails distinct advantages and potential pitfalls. Traditional designs, such as the checkered or basket-weave patterns, are celebrated for their timeless appeal and ability to evoke nostalgia. However, their classical charm may not align with ultra-modern appliances or furnishings, resulting in a dissonant juxtaposition.
On the contrary, modern tiled layouts favor simplicity and clean lines, dovetailing with contemporary minimalism. These designs can make smaller rooms feel significantly larger by reducing visual clutter and emphasizing open space. However, overly austere designs risk creating sterile, uninviting atmospheres if not balanced with warmth through texture or color.
Designer Alexa White notes, “Mixing textures within a modern framework is key to avoiding coldness while maximizing style and space efficiency.”
A structured comparison of bathroom styles reveals varying impacts on costs, project timelines, and aesthetic outcomes:
| Style | Cost Estimate | Time Frame | Visual Impact |
|---|---|---|---|
| Traditional | $2,000 – $5,000 | 3-5 weeks | Nostalgic, timeless |
| Modern | $3,000 – $6,500 | 2-4 weeks | Minimalist, expansive |
In summary, the choice between traditional and modern approaches is less about right or wrong, and more about aligning with personal taste and the unique character of your home.
Planning Your Bathroom with Safety in Mind
A safe, functional bathroom is crucial, particularly in homes with children or elderly residents. When selecting tile patterns and layouts, it’s essential to consider textured surfaces that reduce slip risks. While glossy finishes can be visually appealing, they are dangerous when wet, prompting prudent homeowners to choose slip-resistant materials for flooring.
Trends in bathroom design are increasingly emphasizing safety without compromising style. For families, designing safe children’s bathroom spaces focuses on accessibility and security, rethinking traditional layouts in favor of seamless, user-friendly configurations.
Tile placement can also aid in safety; larger tiles with fewer grout lines create a smoother, easier-to-navigate surface, reducing the chance of trips and falls—a critical consideration in safeguarding the wellbeing of all users.
In essence, incorporating safety through smart tile selection and layout supports a bathroom design that is both protective and aesthetically pleasing.
In conclusion, thoughtful tile selection and layout direction are key to enhancing your bathroom’s beauty and functionality, particularly in renovation-friendly locales like Los Angeles. By weaving together design, safety, and practicality, homeowners can achieve a harmonious interior that genuinely reflects both personal style and practical needs.
- Your choice of tile layout can dramatically affect a room’s perception and flow.
- Consider real costs and longevity when selecting tile materials.
- Pattern and direction choices accommodate both design flair and functional goals.
- Balancing style with safety is key to bathroom design.
- Los Angeles offers diverse options for modern and traditional bathroom renovations.
“`html
FAQ
How does tile pattern impact room perception?
Tile patterns can significantly alter how a room is perceived in terms of size and ambiance. In real renovation projects, using larger tiles in a linear pattern can make smaller bathrooms look more spacious, due to fewer grout lines that clutter the visual field. On the other hand, intricate mosaic patterns might infuse charm but can make the space feel busy. Many experts suggest testing samples under the lighting conditions of your bathroom since shades may appear different once installed. Typically, diagonal patterns add sophistication and can visually widen narrow rooms, an effect many homeowners desire but often overlook in planning.
What should be considered when choosing the tile layout direction?
Choosing the right tile layout direction is vital for creating harmony and balance. In practice, aligning tiles parallel to the longest wall or in a direction that draws the eye toward the focal point often works wonders. For example, elongating the tile line towards a well-lit vanity can enhance the room’s depth. Many homeowners mistakenly install tiles based solely on aesthetic preference without considering the movement flow. The direction of natural light should also influence this decision; light running along a tile’s length can accentuate its design, while perpendicular light might emphasize grout lines. Consulting with a tile expert could provide valuable insight and avoid costly rework.
What are some typical mistakes made in tile pattern and layout selection?
A frequent mistake is ignoring how tile patterns and layouts interact with other room features. For instance, installing busy patterns that clash with prominent elements like colorful shower curtains or vibrant wall art can cause visual chaos rather than cohesion. It’s wise to create a mood board of potential designs. Another common error is underestimating the impact of scale; large tiles with minimal grout are often better suited for small bathrooms, but homeowners sometimes opt for small tiles under the mistaken impression it will enhance intricate detail. Practical tip: Mock-ups are lifesavers—a small sample pattern will often reveal unexpected problems before they escalate to full-scale installation.
When does it make sense to use a herringbone tile pattern?
A herringbone tile pattern is both stylish and versatile, making it a favorite in modern renovations. It’s particularly well-suited for areas where you wish to add texture and movement without overwhelming the decor. Many experts recommend using it in transitional spaces or as an accent wall in bathrooms to draw attention upward, enhancing vertical space perception. It’s a complex pattern that can convey a sense of tradition with a twist—perfect for those who seek a balance between classic and contemporary elements. However, bear in mind the pattern requires precise installation, often demanding professional expertise to avoid alignment issues.
What are the cost considerations for different tile patterns and layouts?
Cost can vary greatly depending on the complexity of your chosen tile pattern. Simple grid layouts often incur less labor cost, as the process is straightforward. However, patterns like chevron or intricate mosaics not only require more tiles due to cuts but also a higher skill level, thus increasing both material wastage and contractor fees. An often-overlooked expense is the additional tiles that need to be purchased when working with angle-specific designs to compensate for breakage and waste. Ultimately, while sophisticated patterns can elevate a space’s design, they often come with a heftier installation fee. It’s wise to request detailed quotes before making a commitment.
What are the pros and cons of using large-format tiles in small bathrooms?
Using large-format tiles in small bathrooms offers many benefits; they create fewer grout lines, making spaces appear cleaner and more expansive. This can be particularly effective in modern homes where minimalism is key. A practical advantage is the flexibility they offer in pattern creation, such as no-pattern layouts for seamless visual flow. However, installation requires precision, and improper handling can lead to alignment issues and visible seam lines, negating the intended effect. Many renovation experts suggest these tiles for well-planned, simple layouts—attempting more complex designs may counteract their potential. For personalized advice, you can reach out through the ideal way to gain further insights.
How to maintain complex tile patterns effectively?
Maintaining complex tile patterns can be challenging, especially in settings that encounter high traffic or moisture. Regular cleaning with PH-neutral solutions can prevent grout discoloration and surface dullness. It’s good practice to address spills or messes quickly since they can embed between intricate designs, complicating cleanup. Sealant application, particularly for mosaic and natural stone tiles, is equally crucial to protect against damage or staining. Waxing can occasionally help, but consult a flooring specialist to prevent honestly more harm than good. Homeowners often forget that consistent care outstrips emergency cleanups in preserving the finish of the tile.
Are there risks to installing tiles on your own?
While many DIY enthusiasts relish the challenge of tile installation, several risks should not be underestimated. Misaligned tiles due to a lack of experience can disrupt the room’s symmetry, causing costly corrections. Uneven subflooring is often ignored until it results in unexpected cracking. Additionally, some adhesives and grouts require professional application because an amateur approach might lead to improper setting, causing long-term issues. For high-stakes installations, particularly those involving intricate layouts or expensive materials, professional guidance often outweighs initial savings attempts, serving the end results better in every form.
“`