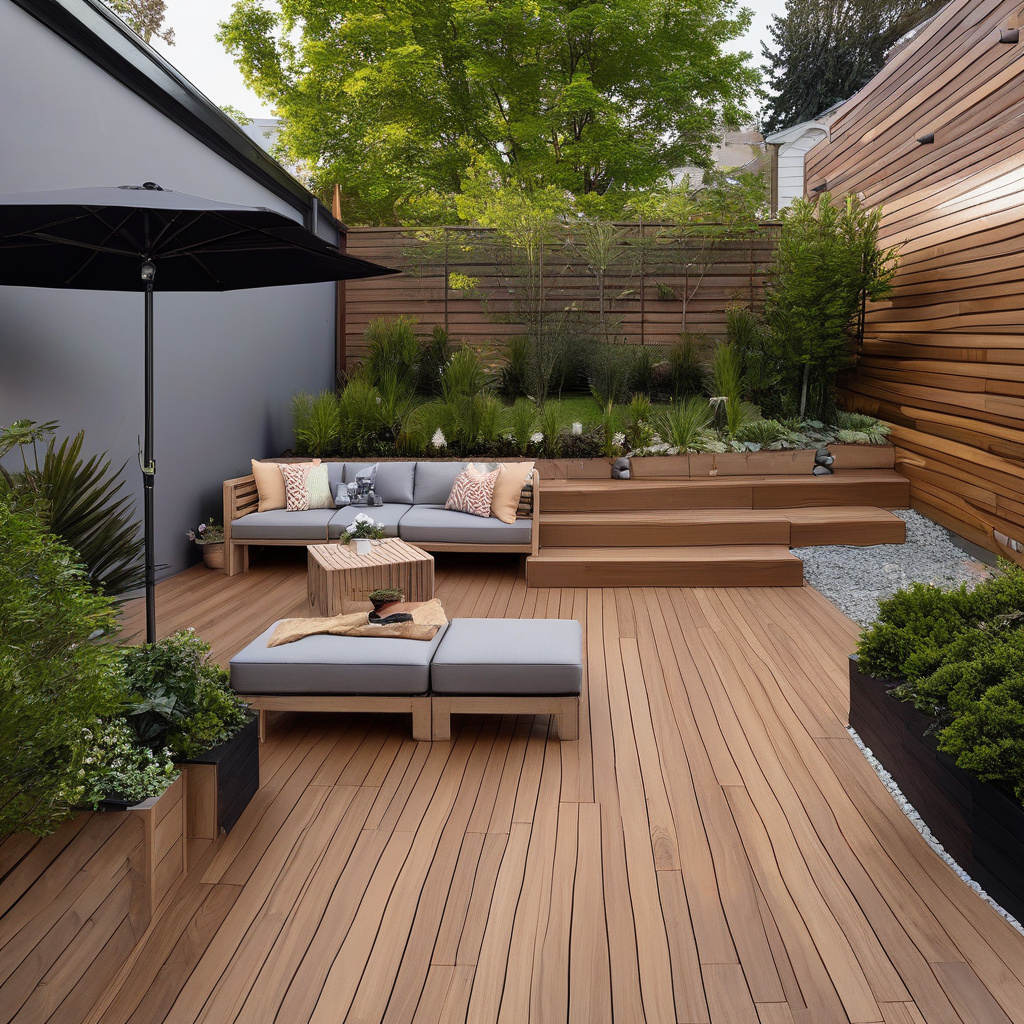
Los Angeles, with its eternal sunshine and boundless beaches, is a city tailor-made for al fresco living. It’s no wonder that outdoor living renovations are as hot as a Santa Ana wind sweeping through the San Fernando Valley. But before you jump headfirst into an outdoor remodel, a wise approach involves detailed planning that ensures your space is not just a pretty facade, but a durable, harmonious extension of your home.
Brief summary: This article delves into the intricacies of planning a full outdoor living remodel, focusing on essential steps like zone planning, drainage strategy, materials selection, and lighting layout. We explore the impacts on cohesion and longevity, with insights tailored for Los Angeles homeowners.
Planning Your Zones: The Art of Outdoor Configuration
Crafting an outdoor living space that feels integral to your home demands deliberate zoning. Consider each area’s purpose, ranging from dining spots to zen gardens. A well-conceptualized plan starts by designating specific zones for specific activities, similar to how interior rooms serve distinct functions.
In suburban Los Angeles, many homeowners are embracing the concept of flexible patios, looking to stress versatility for gatherings and solitary retreats alike. As observed in many remodels across Southern California, a patio zone often sits as an anchor, bridging functional spaces with ease.
A real-life example emerged in Pacific Palisades, where a family transformed a modest backyard into an outdoor paradise, featuring segmented areas for barbecuing, dining, and lounging. The strategic placement minimized disruptions and maximized interaction between zones.
To achieve this seamless flow, your initial step should map out intended activities and their spatial needs. This preemptive zoning serves as both a blueprint and a guiding light as you progress through the remodel, helping to resolve spatial conflicts before they arise.
When executed thoughtfully, a well-zoned outdoor space integrates naturally into daily life, enhancing usability without sacrificing aesthetics.
Drainage Strategies That Safeguard Your Investment
Though it rarely rains in Southern California, when it does, it pours. An effective drainage strategy is paramount in protecting your outdoor investment from flash floods and uninvited lakes in your yard. Proper drainage ensures that your outdoor sanctum remains functional and attractive, come rain or shine.
Many homeowners in the greater Los Angeles area encounter drainage challenges that, when unresolved, can jeopardize the longevity of their installation. For example, poorly designed gutters or surfaces without appropriate slopes can lead to waterlogging or structural damage.
One popular method is the use of permeable paving materials, which allows water to seep through, minimizing surface runoff. This approach, combined with protective patio covers, helps maintain integrity and beauty by shielding against harsh weather.
For instance, a recent project in Santa Monica incorporated sophisticated drainage networks, including French drains and stylish rain gardens that tailored aesthetic appeal with pragmatic function.
Ultimately, an astute drainage strategy is like a good insurance policy—largely unseen but offering peace of mind and protecting your investment against unforeseen weather whims.
Selecting Materials: Balance, Durability, and Style
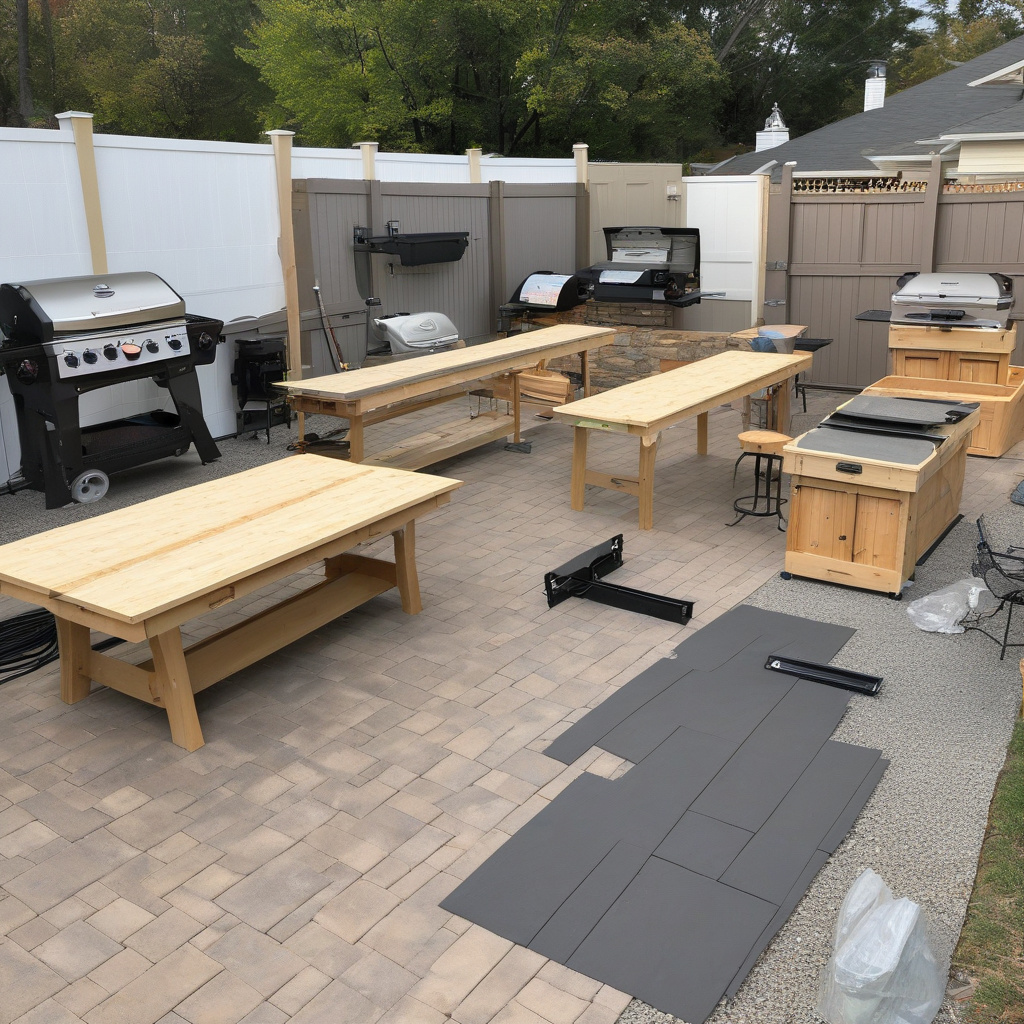
Your materials set the stage for how your outdoor space endures and what statement it makes. In a city famed for its style-conscious residents, choosing the right materials becomes tantamount to selecting the right pair of sunglasses—comfort and flair are equally important.
Many contemporary remodels embrace sustainable materials that mirror the eco-conscious vibe pervasive in Los Angeles culture. From bamboo decking to recycled steel, the options abound, helping homeowners infuse green ethos into their retreats.
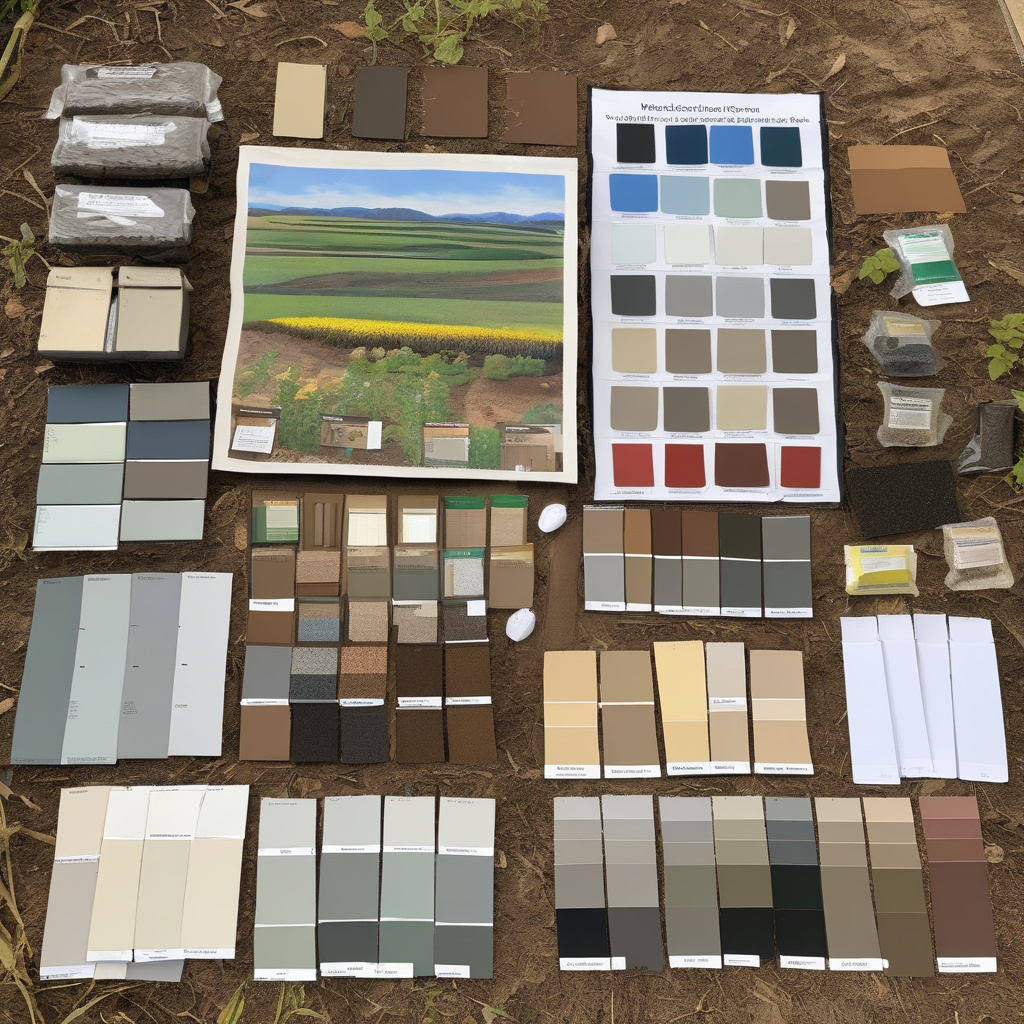
Budget considerations can’t be ignored. An in-depth analysis of costs reveals that while high-end materials offer stunning visual appeal and excellent durability, reasonably priced alternatives exist on the market. Exploring these options through a guide on decking trends can illuminate choices aligned with both vision and pocket.
For instance, a retreat in Venice Beach opted for composite decking for its blend of affordability, low maintenance, and aesthetic versatility, providing a picturesque setting for everything from sunset dinners to sunbathing Sundays.
The materials you choose should harmonize with your home’s existing architecture and its surrounding environment, ensuring longevity and aesthetic synergy.
Illuminating Your Outdoor Oasis
As twilight descends, the spectacle of a well-lit outdoor space comes alive, opening up a world of possibilities from romantic dinners to night swimming. Your lighting layout should highlight key features, infusing both ambiance and security into the design.
In the land of palm trees and starry nights, many Los Angeles remodels include layered lighting strategies, blending pathways, accent spots, and functional lighting to craft a luminescent masterpiece.
Creating a Layered Approach
Successful illumination hinges on layering different types of lighting. Pathway lights guide the way, spotlights highlight architectural elements, and ambient lights build warmth. For example, a Silver Lake residence layered solar stake lights with overhead string lights, crafted for cozy vibes.
Such strategies are supported by industry insights, with experts noting:
“Layered lighting can increase safety and enhance the aesthetic appeal, becoming a ‘wow’ factor for potential buyers.” — Home Lighting Association
Sustainability remains a focal point, with solar and LED solutions leading the charge. These energy-efficient options, popular among tech-savvy Angelenos, reduce environmental impact while keeping operational costs in check.
Lighting your outdoor escape requires thoughtful planning to ensure both function and flair are met—a harmonious balance as beneficial as the California sunshine itself.
Comparing Options: Costs, Materials, and Timelines
Embarking on a full outdoor living remodel in Los Angeles comes with varying costs, largely dictated by material choices and complexity of design. Whether opting for lavish luxury or budget beauty, understanding the price and time implications aids in sidestepping surprises.
| Feature | Budget Option | Mid-Range Option | Premium Option |
|---|---|---|---|
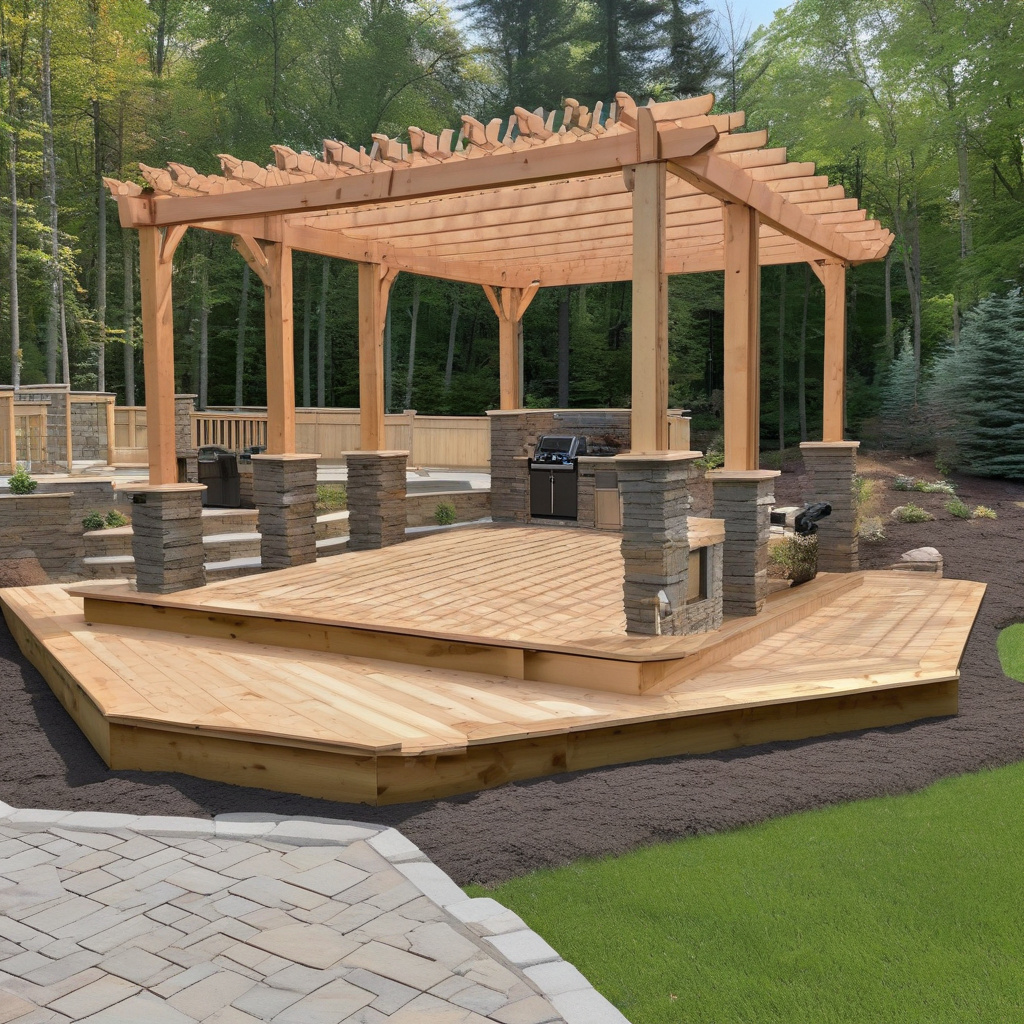
| Decking Material | Pressure-treated wood | Composite decking | Ipe hardwood |
| Lighting | LED solar lights | Hardwired LED | Custom-designed smart lighting |
| Timeline | 4-6 weeks | 8-10 weeks | 12+ weeks |
The commitment to quality often extends timelines but promises unrivaled durability and aesthetic appeal. Balancing these factors is essential to budget management and satisfaction.
A Pasadena family, wary of timeline overruns, initially chose economical materials before realizing that higher upfront costs for mid-range options ultimately offered better longevity and lower maintenance demands.
Weighing options vigilantly enables you to tailor a renovation that meets aspirational visions while remaining financially feasible.
Next Steps: Adding Final Touches
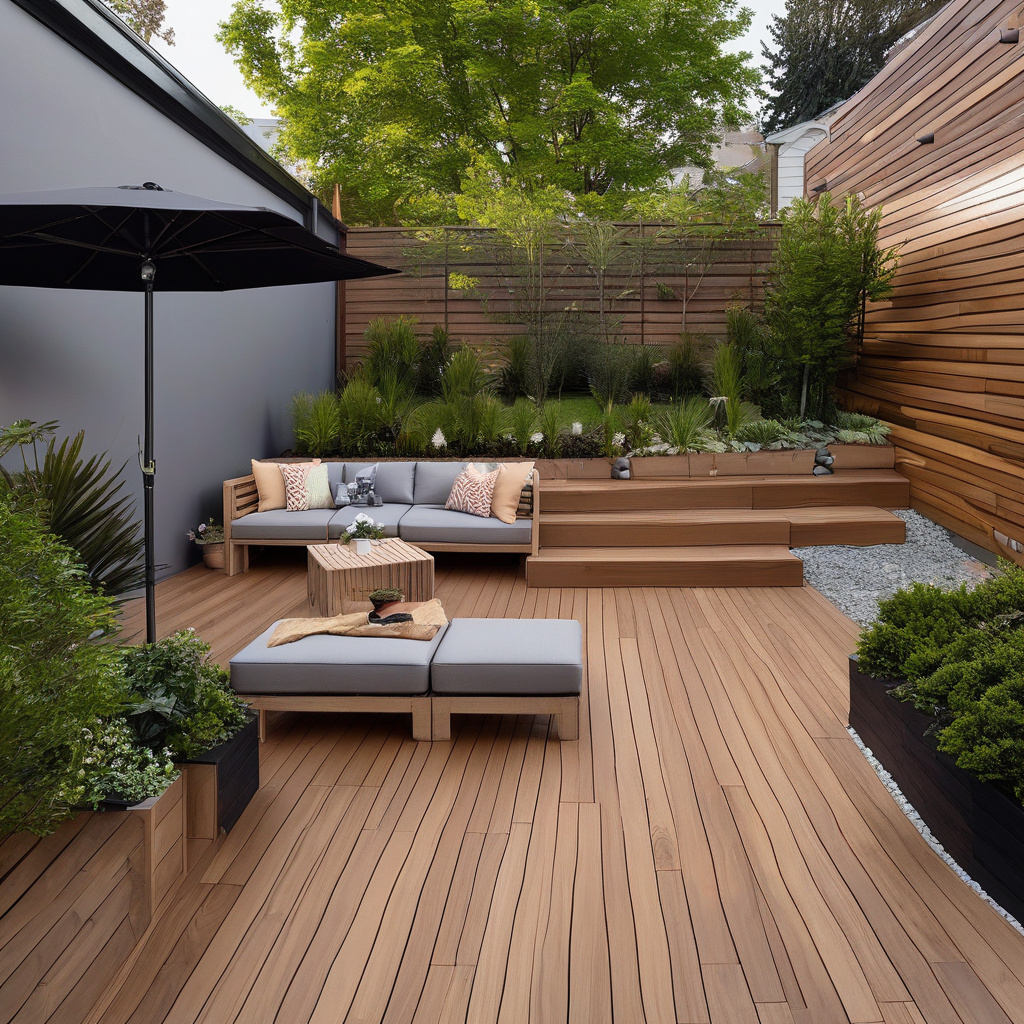
Your outdoor space is taking shape, but no masterpiece is complete without finishing touches that personalize and enhance enjoyment. Thoughtfully chosen décor, outdoor tech integration, and cozy elements transform functionality into a place of joy and relaxation.
Personalization saturates any project with warmth, whether through whimsical decor or strategically placed pieces that reflect hobbies and interests.
For those seeking inspiration, curling up beside a snug outdoor fire feature or integrating a garden of vibrant native flora adds depth and rich, engaging backdrops.
A Los Feliz couple, prioritizing eco-zen vibes, infused drought-resistant plants and water features, creating a biodiverse haven of color and serenity—blurring the line between property and nature.
Final touches are your trademark, the aspect that leaves lasting impressions on guests and defines your personal oasis. Choose wisely, enveloping your space in a tapestry of beauty and individualism.
- Zone planning is crucial for outdoor space functionality and aesthetic beauty
- Effective drainage strategies protect against weather-related damage
- Material selection impacts design, cost, and environmental considerations
- Layered lighting combines safety with aesthetic appeal
- Personalization adds character and creates a unique sanctuary
“`html
FAQ
What is the importance of zone planning in an outdoor living remodel?
Zone planning is crucial as it dictates how different areas of your outdoor space will function together. In real renovation projects, it’s evident that clear zoning can transform a disorganized backyard into a harmonious retreat. Imagine distinct zones for dining, lounging, and cooking; each flows seamlessly, enhancing usability and aesthetic appeal. Many experts point out that failing to plan zones can lead to chaos and inefficiency, making the space less inviting. Consider where the sun hits and how different weather patterns will affect each area, ensuring comfort throughout the seasons.
How can I formulate an effective drainage strategy for my outdoor remodel?
An effective drainage strategy is vital for protecting your investment from water damage. Homeowners in areas prone to heavy rainfall or occasional downpours should carefully plan drainage paths to prevent pooling and soil erosion. In real setups, French drains, slopes, and permeable pavers are popular solutions. Many experts recommend setting aside a budget for professional consultation on drainage, as poor planning can cause long-term issues. A well-thought-out drainage system not only protects the structures but also ensures the longevity of the plants and materials used.
What materials should I choose for a cohesive outdoor space?
Material selection heavily influences the durability and look of your outdoor space. Consider climate resistance when choosing materials; for example, composite decking is favored in humid areas for its rot resistance. In sunnier climates, natural stone can keep surfaces cool and resistant to fading. A common mistake is select materials solely based on aesthetics without considering maintenance and durability. Mixing materials like wood and stone can create a visually pleasing yet functional outdoor area. Ensure your choices harmonize with existing structures and landscaping to retain a cohesive look.
Why is a well-planned lighting layout crucial for my outdoor living remodel?
Lighting does more than illuminate; it transforms spaces into inviting sanctuaries after dark. Many homeowners overlook its importance, often admitting that poorly planned lighting detracted from their outdoor ambiance. Layered lighting schemes, combining task, accent, and ambient lights, are recommended for achieving balanced illumination. For instance, dimmable lights can provide flexibility for different occasions. A great tip is to opt for solar-powered or LED lights, which are energy-efficient and have lower long-term costs. Moreover, a well-lit space increases security, often a concern for many renovators.
When is the best time to start a full outdoor living remodel?
Timing your remodel can heavily impact its success and cost. In regions like California, beginning during the mild spring and fall months is ideal, as weather conditions are favorable for construction activities. During this period, the demand for contractors might be lower, potentially reducing cost and project delays. However, these windows are popular, so booking early is crucial. Starting in the off-season, like winter, could mean more availability but beware of unexpected weather complications. Ultimately, aligning your schedule, budget, and personal timelines brings the project to fruition harmoniously.
What are typical mistakes to avoid in an outdoor remodel?
From my years in renovation, two mistakes stand out: underestimating the budget and neglecting local regulations. Many projects exceed costs due to unexpected complexities, so it’s vital to include a contingency fund. Starting a project without permits or ignoring zoning laws can lead to hefty fines or forced rework. I vividly recall a homeowner whose dream pergola was torn down because it violated height restrictions. Always double-check local codes before breaking ground. Engaging professionals early can streamline compliance, avoiding these common pitfalls.
What are the cost considerations for an outdoor living remodel?
Costs can quickly escalate if not monitored closely. It’s not just about materials and labor, but also permits, waste removal, and unforeseen challenges. A realistic budget should allocate around 10-20% for unexpected expenses. Many experts suggest prioritizing essential features over aesthetics to maximize return on investment. Simple choices, like opting for more affordable materials that simulate high-end options, can also reduce costs significantly. Online resources and contractor consultations can offer personalized budgeting advice and options tailored to your financial plan. For more tailored guidance, feel free to reach out through our contact page.
What are the pros and cons of DIY versus hiring professionals for a remodel?
Deciding between DIY and professional help can be tricky. DIY offers cost savings and personal satisfaction but can be time-consuming and risky without adequate skills. Many homeowners experience burnout mid-project due to underestimating time and complexities involved. On the other hand, hiring professionals ensures a polished result and adherence to codes but involves higher upfront costs. In my experience, a hybrid approach often works best: tackling manageable DIY aspects like painting or planting while leaving structural tasks to the pros. Weighing your skills, budget, and timeline helps in making the most informed decision.
“`