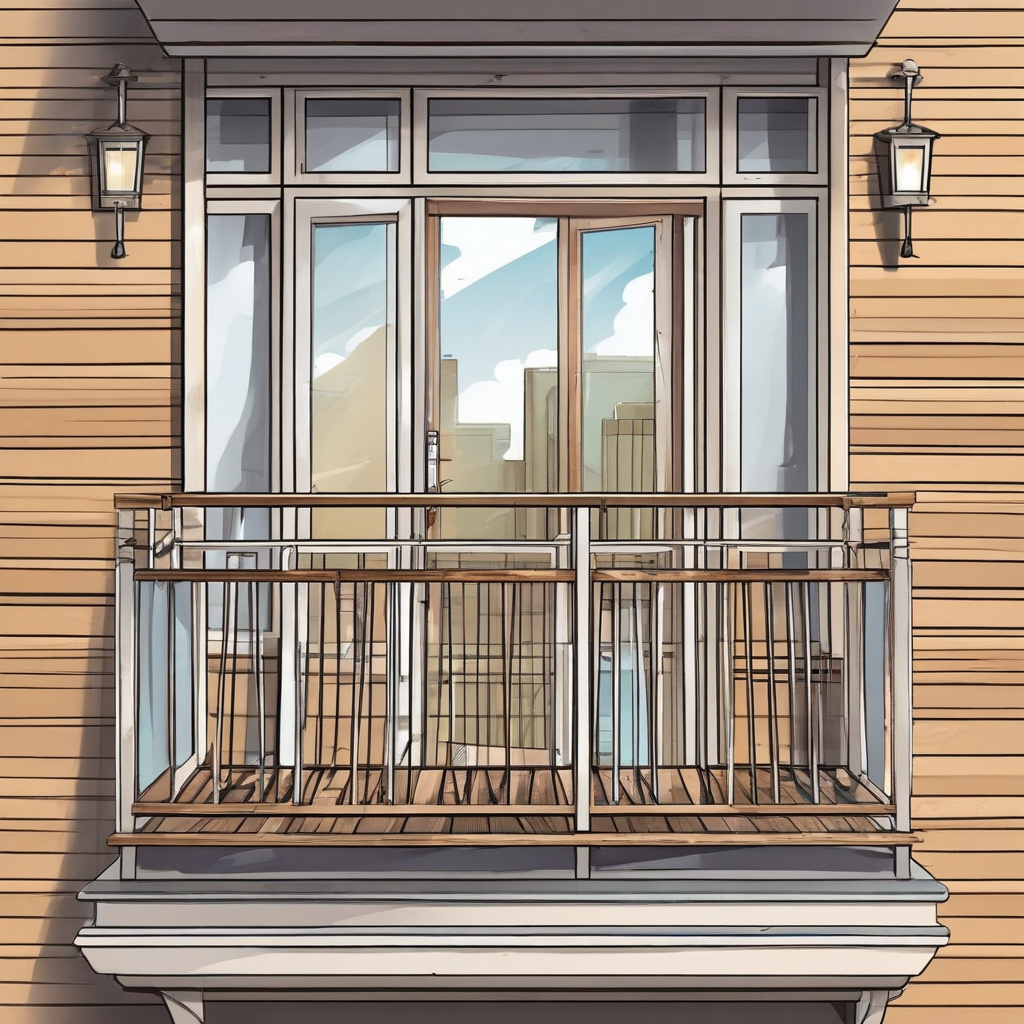
Transforming your balcony into a vibrant extension of your home doesn’t have to demand a Herculean effort or wallet-draining solutions. With clapboard, you’ll find DIY simplicity combined with a tinge of rustic charm. Here’s our step-by-step guide to finishing a balcony with clapboard, a process straight from the heart of home improvement, offering ambiance with a dash of magnificent ease.
Understanding Clapboard: A Quick Intro
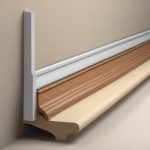
Cue the applause for clapboard: the unsung hero of wood siding, exuding a vibe somewhere between farmhouse chic and historic elegance. Often hailed for its affordability and aesthetic prowess, clapboard finds itself at home both in luxury abodes and humble origins. But what makes it such a go-to choice for balcony finishing?
First off, it’s durable. Clapboard can withstand nature’s wrath better than most materials, making it ideal for those unpredictable days when sunshine turns into a downpour. Furthermore, its insulating properties are an unsung hero in keeping your cozy space comfortable year-round.
Moreover, clapboard offers a seamless blend of functionality and visual appeal. Its horizontal lines create an illusion of extended space, perfect for those tight balcony spots yearning for a touch of drama. Not to mention, the myriad of finishes, from cedar to pine, allows for personalization galore.
Investing in clapboard for your balcony is like choosing avocado toast for brunch—reliable, fashionable, and for the savvy owner. But before you grab your toolbelt, here’s why it’s a standout:
- Resistance to weather and wear
- Effective insulation properties
- Aesthetic flexibility and charm
- Ease of installation for DIY enthusiasts
The global market value of wood siding, including clapboard, reached over 800 million USD last year, reaffirming its position as a construction staple.
Planning Your Balcony Transformation
Before diving into your clapboard crusade, spare a minute (or five) for thoughtful planning. Consider this the warm-up before you jump into a home gym routine: vital for achieving a seamless finish.
First, assess your balcony’s condition and size. Measure twice, order once. Clapboard may mimic a magic wand, but it’s not a one-size-fits-all solution. Once you’ve got the stats, visualize your dream space. Browse designs and think bespoke: rustic lodge or sleek contemporary?
Your tools are the next piece of the mosaic. A solid toolset ensures your DIY mission marches on without a hitch. Essentials include a saw, a hammer, a power drill, and measuring tape. Let’s face it, shoddy tools lead to shoddy results—so equip efficiently.
Lastly, know thy budget. Balconies, like children, won’t stop asking for more once they set their mind on something pretty. Allocate wisely, ensuring your clapboard investment doesn’t run into junior’s college fund.
- Evaluate balcony’s condition and dimensions
- Visualize the design and theme
- Gather necessary tools and equipment
- Set your budget and stick to it
According to a 2022 home renovation survey, 45% of DIY projects exceed their initial budget, with poor planning as the primary culprit.
Step-by-Step: How to Finish Your Balcony with Clapboard
With the groundwork laid, let’s get to the meat of the mission. Here, we’ve sculpted the steps to help you achieve that perfect clapboard finish on your balcony.
Prepare your surfaces. Cleanliness here isn’t just next to godliness; it’s mandatory. Dust, debris, and stray fibers are your sworn enemies during installation. A clean start ensures your clapboard adheres well and looks pristine.
Commence cutting and fitting. Like a tailor crafting a bespoke suit, precision cuts make for a polished finish. Ensure your clapboards are tightly fitted, with seams aligning impeccably for a seamless appeal.
Secure the clapboard. Fasten each piece with galvanized nails or screws, ensuring a snug, reliable hold. Consider this akin to securing a winning election—meticulous, a tad tedious, but ultimately rewarding.
Finish with a protective coat. Whether you opt for paint, stain, or sealant, this step is the pièce de résistance, safeguarding your hard work against time and elements alike.
- Clean the balcony thoroughly
- Cut and fit clapboards accurately
- Secure with nails or screws
- Apply a protective finish
Did you know? Proper insulation can save up to 15% on energy bills, making wooden clapboards an eco-friendly, cost-efficient choice!

Overcoming Common Challenges in Clapboard Installation
No venture succeeds without its hurdles. When frustrations rear up, know these heartening fixes will keep you one step ahead in your DIY odyssey.
One common woe is moisture seeping through seams, a dampened spirit ruining aesthetics. Avoid this by ensuring all joints and gaps are tightly sealed with waterproof sealants. Prevention here is not just better than cure— it’s the only viable method.
Then, there’s the feat of warp avoidance. Clapboards, eager to breathe in humidity, might twist if improperly affixed. Maintain uniformity in spacing and double-check your installations. Warped patios can turn the chicest dwelling into a Sisyphic tale of frustration.
Pest resistance can also become a nagging issue. Termites, the freeloading saboteurs of the wood world, can be effectively thwarted with treated or naturally resistant wood finishes.
Weather’s whims can be another antagonist, making your installation tricky if unchecked. Always keep the climes in mind during your planning season.
- Seal all joints thoroughly
- Ensure uniformity in spacing
- Use pest-resistant finishes
- Be mindful of weather conditions

Maintaining Your Clapboard Balcony
If your balcony could speak, it’d sigh in relief at the notion of low maintenance. Clapboard, much like a loyal dog, demands little in exchange for much. Yet, it thrives when pampered now and then.
Regular cleaning is your first line of defense. Think gentle soap, water, and elbow grease every 3–6 months. This prevents grime from making your balcony a grungy snapshot from a Tarantino film.
Preservation of both color and structure also includes reapplication of finishes every few years to maintain integrity and appeal. Flaky finishes are the home equivalent of wilted romance—best fixed promptly.
If proactive measures are eschewed in favor of negligence, structural inconsistencies gain momentum. Inspect periodically to nip these nasties in the bud. Your balcony’s longevity may rely upon these periodic acts of love.
- Regular cleaning with gentle materials
- Reapply finish every few years
- Inspect for structural inconsistencies
- Address any issues promptly

Design Inspirations for Your Balcony
Finally, having mastered the methodology, let’s muse on the style decisions awaiting you—decisions to personalize your novel nook.
Natural woods with minimalistic finishes capture a polished relaxation zone, providing calm amidst urban chaos. Layer throw pillows and subtle lighting for that Pinterest-ready tableau. Out in rural retreats, dark finishes embody strength, ideal for wine-sipping evenings under endless stars.
A splash of paint adds character, transforming your clapboard into vibrant art pieces. Greys and blues are tropes to let creativity splash forth in bolder, charismatic hues.
For the savvy designer inclined to flaunt their green thumb, consider an array of planters for a verdant edge to your abode. Your balcony’s precisely where flora and fauna could happily reside, co-existing with whispering winds.
- Natural wood for a cozy aesthetic
- Bold, dynamic paints for character
- Integrating planters for a green vibe
- Lighting accents for ambiance

Conclusion
The journey to finishing a balcony with clapboard—etched in both chamfered elegance and in rugged resilience—awaits your signature flair. From the nurturing of distinct styles to perfecting installation techniques, this transformative endeavor paves a new facet of home comfort and creativity. Armed with this guide, embark on transforming your desperate balcony into the cozy nook dreams are made of.
| Step | Tools Needed | Time Required | Cost |
|---|---|---|---|
| Preparation | Cleaning supplies, measuring tape | 1-2 hours | Low |
| Cutting | Saw, spirit level | 2-3 hours | Moderate |
| Installation | Screws, drill | 4-6 hours | High |
| Finishing | Paintbrush, sealant | 2 hours | Variable |
As every DIY savant knows, a proper environment birthes creativity, while meticulous planning averts disasters—it’s all about balance. This journey might even kindle fresh fervor in you to explore Installation of plastic window slopes: professional advice and recommendations or delve into distinctive exteriors with Facing stone for the base: ideas, types and tips for choosing. And if walls could speak, they might say, “Why stop here?” Let this transformation inspire further ventures like experimenting with Clinker facing brick: advantages and applications in construction or checking out commercial flat roof repair los angeles. Unleash the potential of your home’s spaces today.
FAQ
What are the benefits of using clapboard for finishing a balcony from the inside?
Finishing a balcony with clapboard on the inside provides several advantages that make it a popular choice among DIY enthusiasts. First, clapboard, typically made of wood or MDF, offers excellent insulation properties, which can help maintain a consistent temperature on the balcony, enhancing comfort during different seasons. This is particularly beneficial if you want to use the balcony year-round. Furthermore, clapboard adds an aesthetic appeal. Its natural wood texture and elegant finish can create a warm and inviting atmosphere, making the balcony an attractive extension of your living space. Additionally, clapboard is relatively easy to install, making it a feasible project for DIYers. It allows for customization, offering various stain and paint options, so you can tailor the appearance to match your home’s decor. Lastly, clapboard is durable and, with proper maintenance, can resist wear from humidity and minor impacts, ensuring longevity.
What tools and materials will I need for a DIY clapboard installation on my balcony?
To successfully complete a DIY clapboard installation on your balcony, having the right tools and materials is crucial. Begin with protective gear, such as gloves and safety goggles. For materials, you’ll need clapboard planks, which can be purchased in wood or MDF, depending on your preference for durability and aesthetics. Ensure you have a moisture barrier or underlayment to protect the wood from potential moisture damage. Screws or nails suited for outdoor use, preferably galvanized or stainless steel, are necessary for securing the planks. As for tools, a power drill or screwdriver is essential for fastening the clapboards. A saw, whether a hand saw or power saw, will be needed to cut the clapboards to size. A tape measure and level are important for precision and alignment checks. Consider also having a stud finder, especially if your balcony walls aren’t solid masonry. Finally, if you plan on painting or staining the clapboard, brushes, rollers, or spray equipment along with paint or stain formulation and sealant will be necessary to finish the job.
How do I prepare my balcony before starting the clapboard installation?
Preparation is a crucial step in ensuring a successful clapboard installation on your balcony. Begin by clearing the area, removing any furniture, personal items, or obstructions to create a spacious working environment. Inspect the walls for any structural issues, such as cracks or water damage. If present, these need to be addressed before proceeding. Additionally, clean the walls thoroughly to remove dust and debris that could hinder the adhesion of the underlayment. If necessary, use a mild detergent solution. Ensure the wall is dry before starting. Next, measure the space accurately, accounting for any windows or doors, to ensure you purchase the correct amount of clapboard. It’s also important to ensure the balcony is sufficiently weatherproofed, typically by applying a water-resistant membrane before the clapboards. Pre-drill any necessary holes and mark where each plank will go; this helps streamline the process once installation begins. These preparatory steps foster a smoother installation and a professionally finished appearance.
What are some common mistakes to avoid when installing clapboard on a balcony?
When installing clapboard, it’s easy to make mistakes that could affect the outcome of your project. One frequent error is failing to acclimatize the clapboard planks before installation. Wood materials need time to adjust to the environmental conditions of your specific area to prevent warping or shrinkage after installation. Store the planks on the balcony for at least 48 hours before you begin. Neglecting to check the alignment is another common mistake. Regularly using a level during installation ensures each row is perfectly horizontal, which is crucial for visual appeal. Additionally, many DIYers underestimate the importance of spacing. Clapboard should have a small gap between planks to accommodate for natural expansion and contraction. Using improper fasteners, like non-galvanized nails, can lead to rust stains and eventual weakening of the structure. Finally, skipping the finishing touches, such as sealing or painting the clapboard, can leave the wood vulnerable to weather elements and reduce its lifespan. Avoiding these pitfalls will contribute significantly to the success of your project.