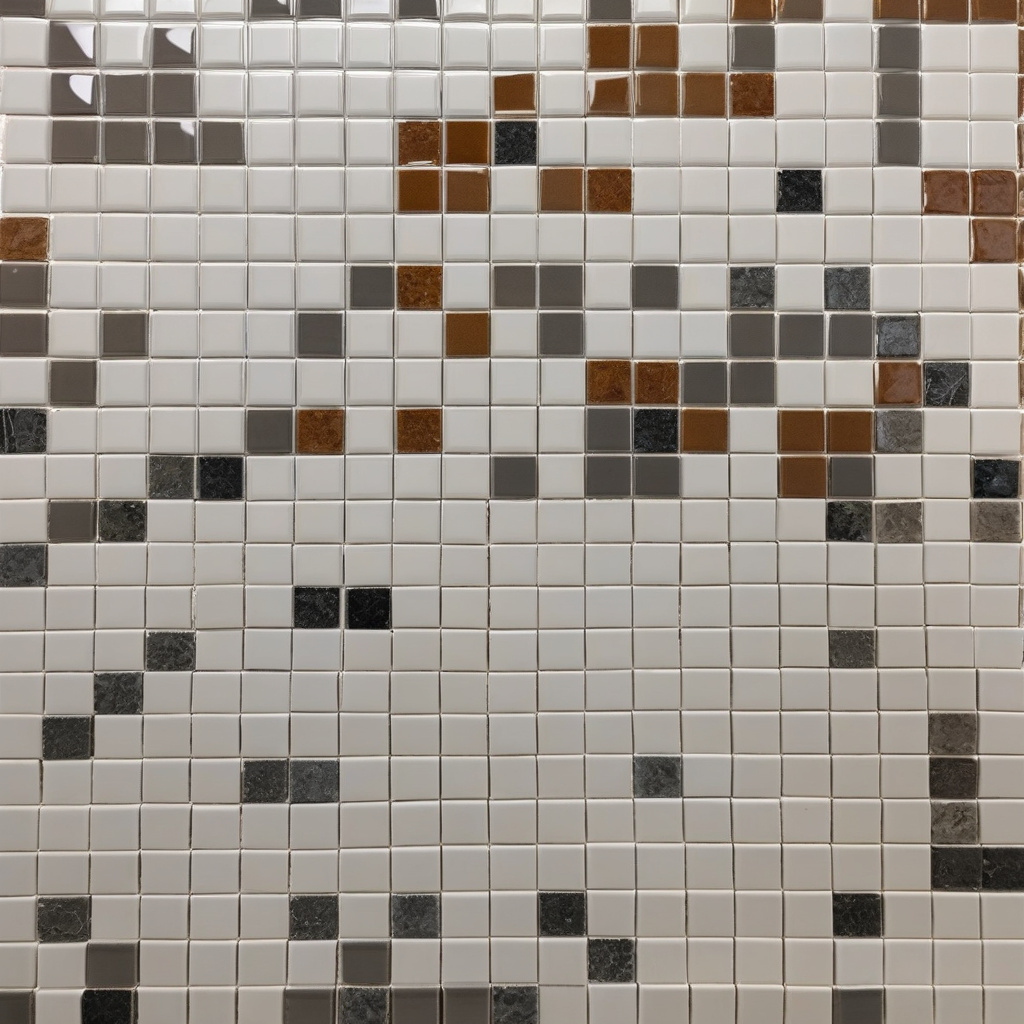
In the sprawling realm of home renovation, one seemingly simple decision can send ripples through your entire project: choosing the right grout type. In the tile installation spectrum, the choice between sanded, unsanded, and epoxy grout can dramatically affect durability, aesthetics, and maintenance. For homeowners in Los Angeles and Southern California, where trends and needs are as diverse as its neighborhoods, understanding grout could be as crucial as selecting the perfect shade of blush pink for the walls.
Brief summary: Selecting the appropriate grout for tile installations requires balancing considerations of joint width, stain resistance, and durability. Sanded, unsanded, and epoxy grout options each provide unique benefits suited to different tile applications, significantly impacting renovation outcomes.
Sanded Grout: The Go-To for Wider Joints
Los Angeles homeowners embarking on a bathroom remodel frequently encounter the need for sanded grout, especially with tile surfaces boasting joints 1/8 of an inch or wider. Sanded grout is renowned for its affordability and strength, offering a rugged fill that resists cracking under pressure. The secret lies in its sandy composition, which enhances its grip and stability between tiles. Sanded grout is a stalwart choice for floor tiles in bustling households where durability overshadows glamour.
However, the visual quality of sanded grout might not satisfy everyone seeking sleek bathroom aesthetics. While its grainy texture is an advantage for floors, it can conflict with the smoother surfaces involved in modern or minimalist designs. Despite this, the mantra for practical homeowners who wish to blend style with resilience remains: sanded grout for high-traffic areas. It’s worth noting that sanded grout is often favored for its cost-effectiveness, a crucial factor for large-scale projects exploring remodeling ideas during a bathroom overhaul. You can find deeper insights from this local remodeling perspective.
Summing up, for those entangled in multiple renovation choices, sanded grout’s robustness paired with budget-friendly credentials makes it indispensable for any project requiring durable flooring solutions.
Unsanded Grout: The Artisan’s Choice
When dealing with delicate tiles, unsanded grout emerges as the artisan’s choice, whispering elegance and precision. Occupying a niche segment, unsanded grout is celebrated for its smooth finish, making it ideal for tiles with thinner joints, often less than 1/8 of an inch. This clay-like grout caresses tiles without wearing or scratching the surface, perfect for glazed ceramics and polished stones.
As local homeowners realize, the smooth texture of unsanded grout not only provides an upscale feel but minimizes the risk of leakage through hairline cracks. This characteristic has made it a staple for walls, counters, and backsplashes where aesthetic perfection reigns supreme. In the ever-evolving landscape of Southern Californian homes, where floor-to-ceiling subway tiles are in vogue, the intrigue lies in its non-abrasive charm.
However, unsanded grout does come with a downside—a vulnerability to shrinkage when used in wider joints. Homeowners should bear in mind that its use is largely limited to vertical applications where joint narrowness doesn’t warrant a more robust filler. Embracing the creativity and innovation seen in artful bathroom configurations can further illustrate its versatility.
Ultimately, for those focused on the interplay between design and detail, unsanded grout lends a softer touch, its artistry complementing the charm of intricate tile patterns.
Epoxy Grout: The Warrior Against Stains
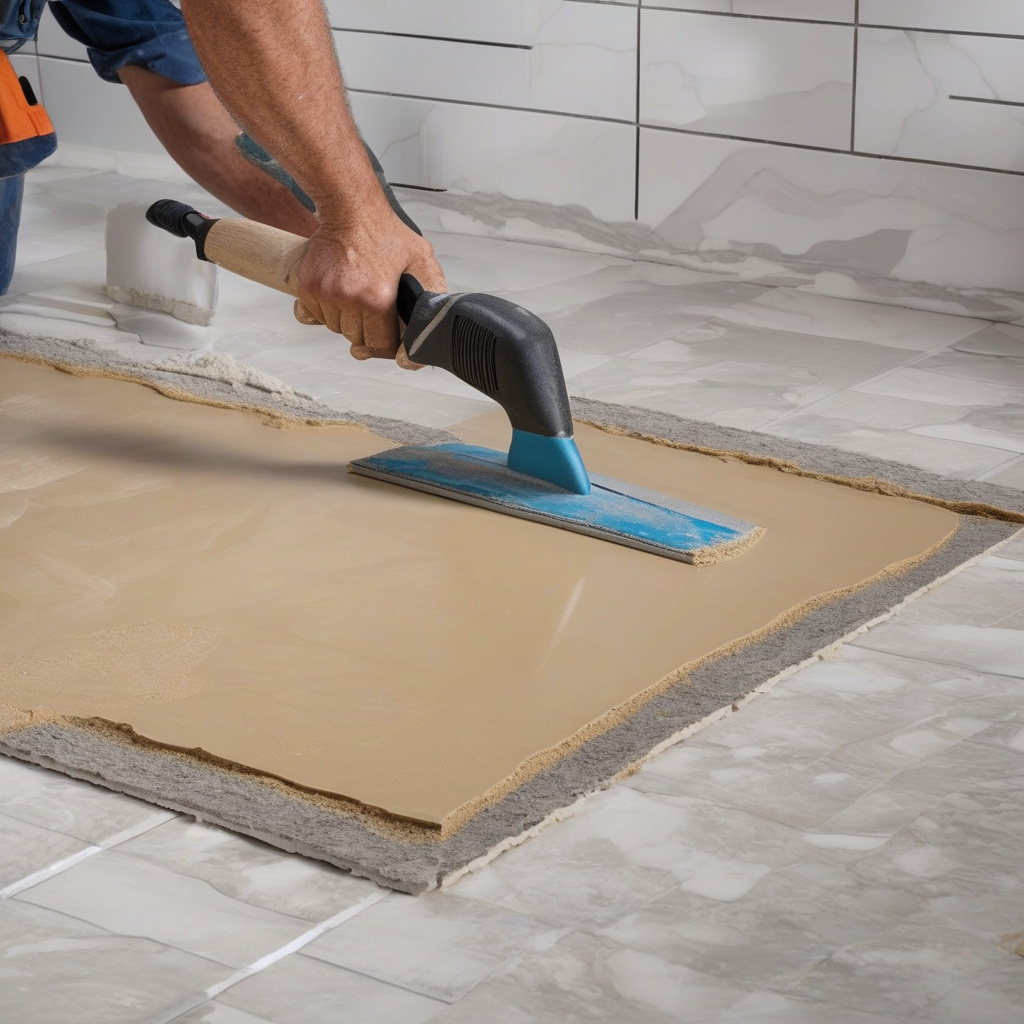
Epoxy grout stands in a class of its own, embodying the apex of durability and stain resistance. Composed of epoxy resins and hardeners, it strikes a chord with meticulous homeowners and commercial projects demanding resilience. This grout is admirably watertight, making it the perfect sidekick for wet environments like showers, where lingering moisture and mildew loom large.
A key selling point for epoxy grout is its staunch resistance to chemicals and stains, a feature indispensable when beans, coffee, or wine threaten kitchen floors or counters. Its performance is unparalleled, yet the price tag often sends unprepared renovators into a headspin. The initial investment aside, the lasting protection and ease of maintenance more than justify the expense for many Los Angeles residents who savor every penny of their home improvement budgets.
Expert insight: The National Tile Contractors Association states that while epoxy grout might be 2-3 times costlier than traditional grout, it delivers a return in durability and stain resistance, especially in high-moisture areas.
That said, installing epoxy grout demands skill, as its fast-setting properties can become an inadvertent bane for DIY enthusiasts. As many seasoned renovators surmise from lessons learned in challenging lighting projects, professional installation is often beneficial, ensuring a flawless finish free from the mess of hurried application.
In summation, epoxy grout’s hardiness offers peace of mind, particularly for those prioritizing long-term resilience over upfront costs.
The Cost Factor: Weighing Your Options
In pragmatic terms, grout costs remain a small fraction of an overall remodel, but choosing the ‘right’ grout sets the tone for ongoing satisfaction or vexation. Sanded grout typically clocks in around $1-$2 per pound, providing an economic boon for large-scale ventures or when retiling a sprawling California ranch. Unsanded grout, by contrast, sits slightly higher, nudging the budget needle at $2-$3 per pound, justified by its refined finish.
Epoxy grout, the connoisseur’s choice, demands a premium, commanding anywhere from $6-$13 per pound depending on color and brand. It’s the qualitative difference that often sways decisions or reveals the truth to the budget-conscious DIYer once the first bags settle snugly into the garage.
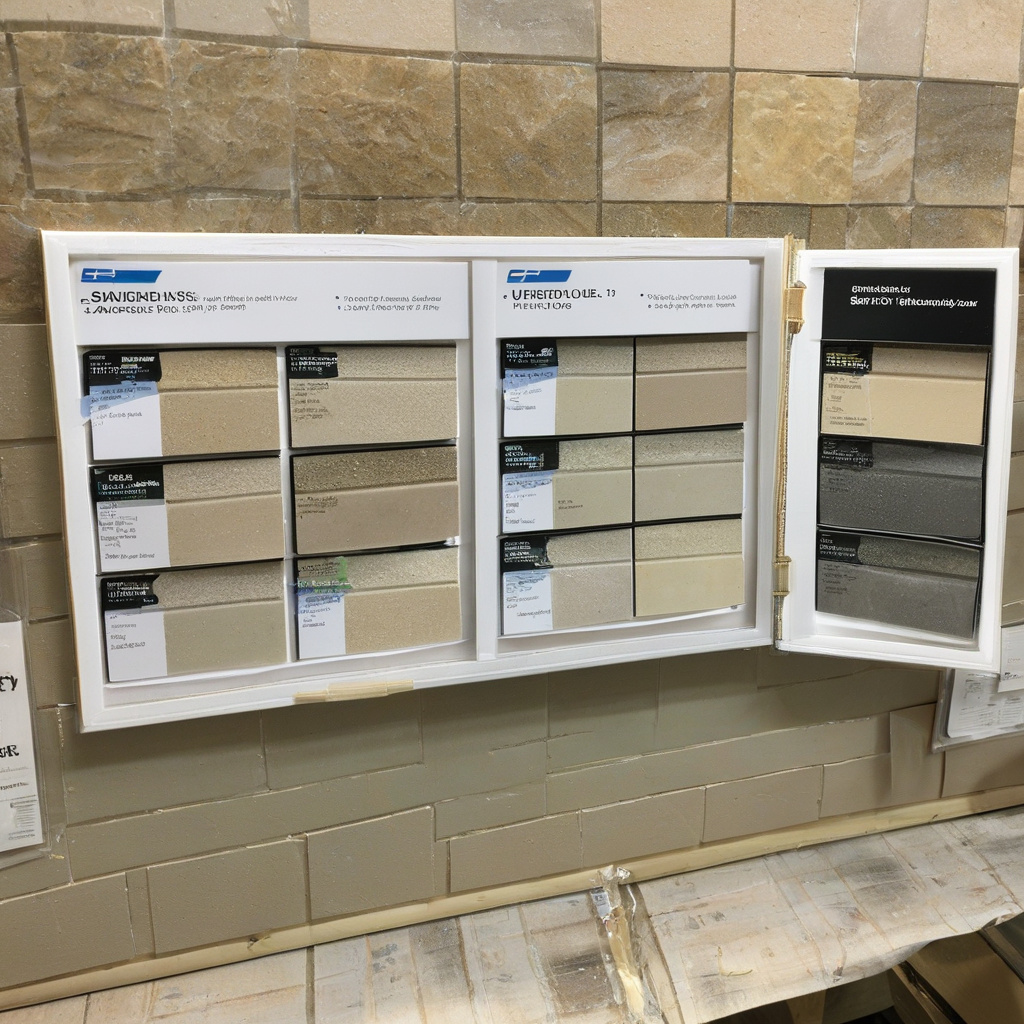
To help navigate these choices, here’s a comparative snapshot:
| Grout Type | Cost | Attributes |
|---|---|---|
| Sanded Grout | $1-$2 per pound | Durable, cost-effective |
| Unsanded Grout | $2-$3 per pound | Ideal for smooth tiles |
| Epoxy Grout | $6-$13 per pound | Highly resistant to stains |
Evaluating these factors alongside the unique demands of each project can illuminate the path forward for practical renovations aligned with L.A.’s trendsetting spirit.
Risks and Rewards: Balancing Functionality with Form
Renovators in sunny California often find themselves straddling the fence between aesthetics and functionality. Sanded grout, with its durability, is a friend to families with active surfaces. Yet sleek unsanded grout courts the minimalist with whispered elegance, crafting spaces for contemplation and charm. On the other hand, the sophisticated resilience of epoxy grout flirts with those ready to splurge now for fewer headaches later.
As anyone involved with home design treasures knows, the risk comes when changing one’s mind post-installation, as altering grout demands a messy do-over. Grout, much like the harmony between rustic and modern designs, requires foresight, careful selection harmonizing with the flow of natural and artificial light, the drench of water, and the dance of daily activity.
Ultimately, choosing grout is a dance of possibilities—a necessary meeting of pragmatism and personal taste.
Tile Type and Style: Making It Work
Understanding the exact type of tile highlights the importance of correctly pairing it with the right grout. Porcelain, ceramic, glass, or natural stone, each demands careful consideration of joint properties and application environments. Home remodel experts find substantial merit in homeowners thoroughly investigating their tile selections as grout compatibility can prolong the lifespan and polish the look of newly installed tiles. Emphasizing personal touches and flair can significantly influence fixture decisions.
For countless enthusiasts and pragmatic remodelers, the goal rests on creating an ideal space that whispers elegance and echoes quality. Yet, amidst this well-trodden local landscape, it’s insightful observations; for instance, considering how shadow interplay falls across joint depths, that grant homeowners an edge in crafting both visually and functionally congruent spaces.
Research-based observation: Studies show a single renovation enhancement, like adding precision grout, can elevate home value by approximately 5% in the Southern California real estate market.
These considerations are less about materials themselves and more about ensuring each component cements its role in elevating spatial harmony.
By focusing both on tile form and grout function, homeowners plant the seeds for visually captivating environments that balance innovation with tradition.
A Step-by-Step Guide to Grout Selection
Step 1: Assess the Tile Needs
Begin by examining the tile’s location and its specific function. Living spaces that endure high traffic will benefit from the robustness of sanded grout. Meanwhile, areas striving for refined aesthetics, where footfall is less frequent, naturally gravitate towards unsanded options.
Step 2: Consider Maintenance Demands
Tiles subjected to splashes or spills benefit from the stain resilience of epoxy, offering long-term savings on cleaning and maintenance work. Reflect on the cleaning rituals required, favoring low-maintenance solutions wherever possible.
Step 3: Align with Aesthetic Goals
A crucial phase is ensuring the selected grout complements both tile color and room ambiance, with some renovators exploring colored grout for unique flair or to blend seamlessly. Grout lines can transform room perceptions, providing everything from understated elegance to statement charisma.
These steps lay a foundation for informed decisions, helping homeowners tackle the pragmatic challenges associated with effectively illuminating designed areas.
Industry statistic: A survey reveals that 65% of remodeling contractors in LA advocate for thorough consultation about grout types before finalizing materials to avoid costly rework down the line.
Empowering renovation campaigns through meticulous evaluation and expert advice sets the stage for successful transformations, tailored precisely to vision and budget. As each decision echoes through design execution, the ultimate space encapsulates functionality, beauty, and personal reflection.
- Choosing the right grout impacts tile durability, maintenance, and aesthetics.
- Sanded grout is ideal for large projects with wide joints, providing strength and affordability.
- Unsanded grout offers elegance for finer tiles, crucial for achieving a smooth, high-end finish.
- Epoxy grout, albeit costly, delivers unmatched durability and stain resistance for demanding areas.
- An informed, step-by-step selection process ensures optimal grout choice for specific environments.
“`html
FAQ
What are the main types of grout, and how do they differ?
In the world of tiling, grout is the unsung hero that fills the gaps and keeps everything together. The main types include sanded grout, unsanded grout, and epoxy grout. Each has its unique strengths and considerations. Sanded grout is typically used for joints wider than 1/8 inch and provides a durable, strong bond. Its gritty texture makes it less prone to cracking in larger spaces. Unsanded grout, on the other hand, is suitable for thinner joints and delicate tiles like those made of glass or polished stone. It’s smooth but lacks the power to hold in larger gaps. Then there’s epoxy grout, known not just for its chemical resistance but also its durability. Imagine a high-end hotel bathroom that’s exposed to heavy foot traffic and moisture—that’s where epoxy shines. However, many experts point out its complexity and higher cost as limitations to consider before committing.
How can I choose the right grout type for my home renovation project?
Choosing grout type is like choosing the right shoe for a marathon; each decision directly impacts performance and durability. In real renovation projects, homeowners should start by assessing the joint width and tile material. For instance, if working with ceramic tiles and joints wider than 1/8 inch, sanded grout is often ideal. Meanwhile, if the tiles are polished or the application calls for narrower joints, unsanded grout offers an impeccable finish without scratching fragile surfaces. Many California homeowners favor epoxy grout in areas prone to humidity and dirt, like kitchens or bathrooms, despite its challenging application process. A classic mistake is prioritizing aesthetics over durability. Remember, function dictates form. For a more personalized consultation, consider contacting a local renovation expert to discuss tailored options for your home.
When is it advisable to use epoxy grout instead of other types?
Epoxy grout is like the luxury vehicle of the grout world—offering unmatched durability and resistance to stains and chemicals. However, its use is not always necessary. It’s most advisable in areas with high moisture and dirt exposure, such as busy kitchens, bathrooms, or in outdoor spaces that demand superior performance and longevity. However, this premium choice comes with a few trade-offs: higher cost and a more demanding installation process. Making the error of opting for epoxy grout in all applications might result in unnecessary expenses. Many experts emphasize that it is often overkill in areas with low moisture risk or minimal foot traffic, where traditional grout types perform adequately.
What are the pros and cons of using sanded grout?
Sanded grout is a popular choice for many homeowners due to its affordability and durability. Its gritty texture makes it less likely to crack in joints larger than 1/8 inch, providing a robust and lasting finish that’s perfect for areas with heavy tile installations. Say, for example, a large-format tile floor in a family home’s entrance; sanded grout is the go-to option. However, it also has limitations. This grout type can scratch delicate tile surfaces, making it unsuitable for glass or marble. Homeowners often overlook this potential pitfall, leading to unforeseen aesthetic issues. It’s critical to assess the type of tile and intended use area when considering sanded grout, balancing cost against potential trade-offs in aesthetics and performance.
What common mistakes do people make when choosing grout?
Common pitfalls are often seen in the planning phases when homeowners focus on color and finish without considering functional needs. For instance, opting for unsanded grout in wide joints can result in cracking and failure, while sanded grout on polished stone may lead to scratches. Many forget to account for the environment’s impact: a mistake often observed is the selection of unsealed grout in high-moisture areas, increasing risk of mildew. Also, DIY enthusiasts sometimes undervalue the complexity of epoxy grout, leading to botched installations. It’s crucial to prioritize grout type based on width, tile material, and environmental exposure. Engaging with professional advisors early can prevent these mishaps and ensure desired results.
How does the cost of different grout types compare?
Budgeting a renovation involves careful scrutiny of every expense, and grout is no exception. Sanded grout generally ranks as the most cost-effective, striking a balance between price and durability, making it a staple in projects with larger joint widths. Unsanded grout is slightly more expensive, due to its specialized application for narrow joints and delicate surfaces. The premium on the list is epoxy grout, which can be up to three times the cost of traditional grouts due to its superior properties and demanding application. Nevertheless, for areas requiring high stain resistance, this additional cost can be justified. It’s evident that coordinating grout choice with your overall budget is essential, and weighing the long-term benefits against immediate costs is key to a successful renovation strategy.
What are some tips for maintaining different types of grout?
Maintenance is crucial for grout lifespan, a task often underestimated until stains and cracks appear. Sanded and unsanded grouts need routine sealing post-installation and every couple of years thereafter to protect against staining and moisture penetration. Homeowners can use a pH-neutral cleaner for regular upkeep, avoiding harsh chemicals that may degrade the sealant. Meanwhile, epoxy grout is relatively low maintenance due to its innate resistance to moisture and stains; however, its resilience can foster a degree of complacency, leading to neglect. It stands robust, but regular cleaning with a mild detergent will still ensure gleaming, long-lasting grout lines. For specific maintenance queries or complex tile setups, seeking expert advice can save future headaches. Visit the site about reaching out to a local renovation professional.
What considerations should be made for grout in older vs. newer homes?
Older homes often present unique renovation challenges, where the condition of existing tiles and the state of the subfloor can significantly influence grout selection. In these cases, the structural integrity of the substrate can determine if sanded or epoxy grout can provide the needed long-term adherence. Conversely, newer builds generally offer more stable conditions, allowing a choice based on aesthetics and personal preference without much fear of structural instability. Homeowners frequently underestimate these nuances, opting for aesthetic value over practical function. Engaging with a renovation professional ensures these subtleties are addressed early, providing a balanced approach that marries design desire with structural necessity.
“`