The seemingly daunting world of home renovation can sometimes leave even the most enthusiastic DIY aficionado questioning their craft. But fear not, for we are here to simplify the process of creating decorative plaster using regular putty, and yes, doing it with your own hands. This guide will empower you, gently nudging your apprehensions aside, as we reveal not just a method but an art of transforming everyday spaces.
Why Choose Decorative Plaster?
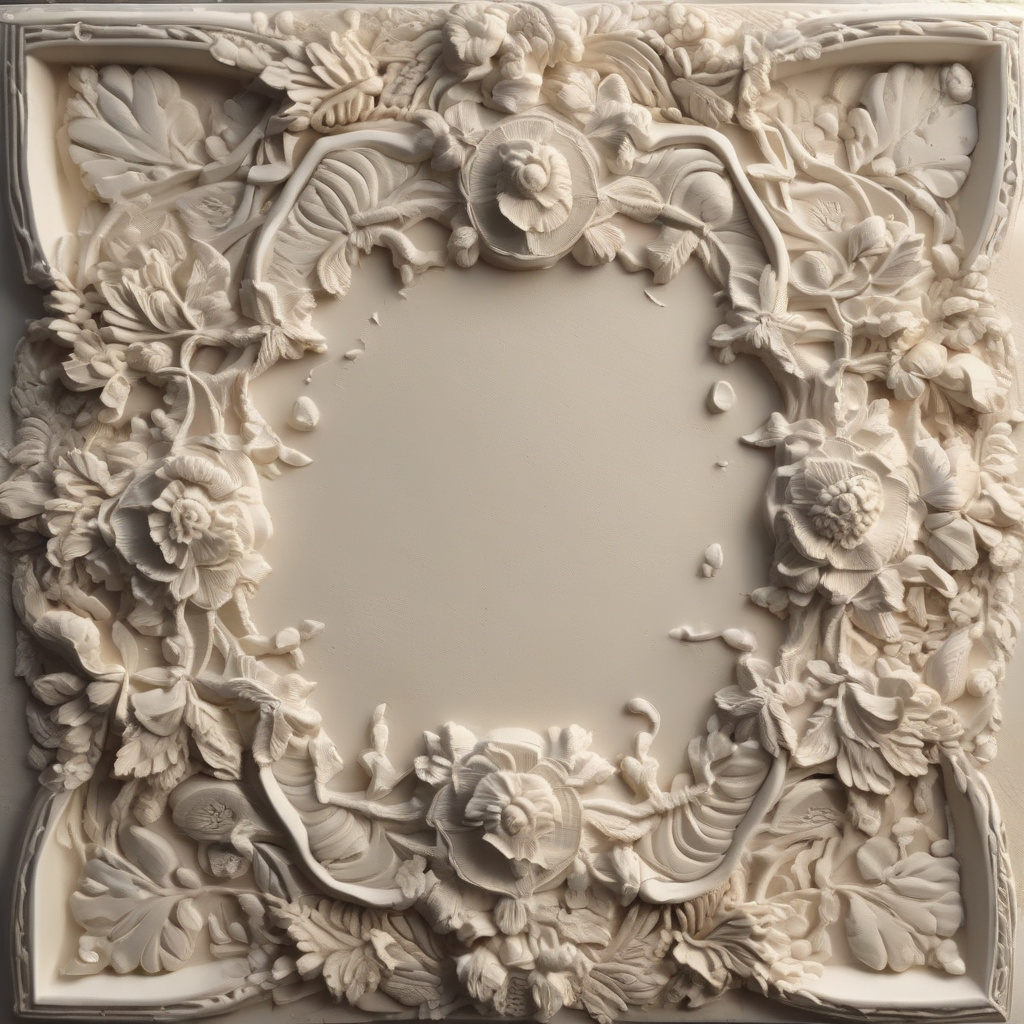
Decorative plaster isn’t just a trend; it’s a statement. As practice shows, a well-placed swipe of plaster isn’t merely about aesthetic enhancement. It’s about injecting personality into your home. Decorative plaster provides a texture that exudes warmth in the harshest of concrete jungles. Are you tired of plain walls that seem to suffocate your creative flair? Then let’s delve into this transformative technique.
Now, you might wonder why opt for this method over more conventional options? The answer lies in its versatility. Whether you’re going for the classic charm or modern elegance, decorative plaster breathes life into barren walls. Contractors often notice that homes adorned with this art form resonate with character and depth—a story in each swirl.
In real situations, decorative plaster isn’t just for show. It offers practical advantages. For instance, it can enhance acoustics, making your rooms less echoey, turning them into cocoons of quietude amidst the urban clamor. Plus, it acts as an insulator, retaining warmth during those chilly nights.
And let’s be honest: who doesn’t love a project where their efforts become a canvas of personal expression? Rest assured, as daunting as it sounds, making decorative plaster from putty is within reach even for novices.
“Did you know? Homes adorned with decorative plaster often see a 10% increase in their market value due to their unique and personalized décor.”

Gathering Your Materials
Let’s get down to brass tacks. Your journey in the world of decorative plastering begins with gathering the right materials. Here’s a simple checklist below:
- A quality bucket of putty or joint compound
- A sturdy trowel or palette knife
- Pigments for adding color (optional but recommended for creativity)
- Protective gear including gloves and masks
- Sandpaper for smoothing out any rough edges post-application
Once you’ve got everything, pause. Take a moment to appreciate these tools of transformation. There’s something almost poetic in assembling your materials, knowing they’ll soon become part of a masterpiece within your very own home.
As we explore the hands-on process, remember: patience is your ally. There’s a certain art to caressing walls with plaster—you’ll see. And yes, the journey is as rewarding as the destination, giving you not just a skill but a deeper connection to your living space.
Embrace the imperfections, because that’s where beauty lies. Decorative plaster with putty becomes not just a surface treatment, but a tactile narrative that evolves with your dwelling.
Troubleshooting Material Issues
Ever feel overwhelmed by the gargantuan supply aisles at your local hardware store? Fear not, here are a few nuggets of wisdom:
- Ensure the putty is suitable for your wall’s climate conditions.
- Experiment with pigment proportions on a small sample before scaling up.
- Store materials in a cool, dry place to prevent them from deteriorating prematurely.
Remember, each material has a story waiting to unfold. Handling them with respect ensures your decorative plaster ventures are not only successful but enjoyable.
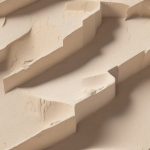
The Art of Application
Now that we’re armed and ready, let’s dive into the application process. Becoming a maestro in decorative plaster application takes more than just wrist movements—it requires a soul dancer’s approach to rhythm and flow.
Begin by preparing your walls thoroughly. Clean, dry surfaces are crucial to ensuring the plaster adheres correctly. A facade primer can act as an intermediary, setting the perfect stage for your plastering performance.
Now, scoop the putty onto your trowel, and, with an even hand, glide it across the wall in confident, smooth strokes. But don’t be too clinical; let intuition guide your strokes, creating textures that mimic waves, dunes, or even the esteemed fresco styles.
As you layer up, step back occasionally. Absorb the evolving picture, and remember to play with the contrasts of shadows and light. This dance between elements forms the essence of decorative plaster—a sheet music of visual symphony.
“Studies show that DIY renovations where homeowners engage with the artistic process report a 20% higher satisfaction rate upon project completion.”

Texturing Techniques
Ready to become a connoisseur in texturing? Here are some nifty techniques:
- Swirling: Circular motions for a classic, whorled look.
- Slap brush: Achieve a speckled effect by dabbing a brush over top layers.
- Combing: Create linear patterns using a comb tool or a fork (inventive!).
Experimenting with these techniques is an opportunity to discover a preference that sings to your personal aesthetic. The tools in your hands become extensions of your creativity.
Examining the Final Outcome
With the plaster applied, take a step back and bask in the fruits of your labor. It’s not just about the appearance; it’s about the palpable change in ambiance. Decorative plaster has this uncanny ability to reframe spaces, turning a four-walled existence into a veritable art exhibit.
Now, reflect on the subtler elements like acoustics and temperature—you should notice an improvement in both. Such benefits extend beyond the physical, trickling into how you feel within these spaces—more at ease, perhaps a little freed from the external rush.
For those wondering about the possibilities beyond interior walls, consider the exterior applications where the durability of plaster meets aesthetic demands head-on. For more tips on exterior enhancements, check out our guides on facing stone for the base and clinker facing brick.
And as you admire this craftsmanship, remember: your home is your canvas, and this project is merely the beginning. The decorative plaster speaks to your growing confidence, a whisper of countless more DIY adventures lying ahead.

Cleaning and Maintenance
Minding the health of your new plaster masterpiece is as critical as the creation itself. Regular care ensures its lasting allure:
- Dust regularly using a soft feather duster or dry cloth.
- Spot clean using mild detergent solutions for stubborn stains.
- Avoid excess moisture as it may weaken the surface over time.
Maintaining the appearance of your plaster not only extends its lifespan but also preserves the initial charm that caught your eye. Simple rituals of cleaning become acts of preservation—ensuring the stories of your home continue to flourish untold.
Table of Tools and Techniques
Finally, let’s encapsulate the knowledge within a handy reference table—a feast for the eyes and a guide for the hands.
| Tool | Primary Use | Technique | Care Tips |
|---|---|---|---|
| Trowel | Application | Smooth strokes | Clean after use |
| Palette knife | Detail work | Edge detailing | Dry before storage |
| Paintbrush | Texture creation | Slap brush | Gentle wash |
| Sandpaper | Surface smoothing | Finishing touch | Replace periodically |
| Pigments | Color | Color washing | Seal properly |
“Diving into DIY plastering is not just about the end product, but a journey of rediscovery where each stroke turns into history on the walls of your home.”

Conclusion: Embrace Your Inner Artisan
In closing, the art of creating decorative plaster from putty is a blend of craftsmanship and artistry—one that imbues character into the body of your abode. It’s an exciting foray into personalizing your space with techniques and materials that elevate mere walls into expressions of artistic freedom.
Whether it’s achieving a rustic charm or sleek minimalism, the secret lies in your hands. So take pride in what you craft, sustain it with vigilance, and relish the fruits of your labor. As your dwelling transforms into a tapestry of personal endeavors, each grain of plaster serves as a testament to your journey.
And if the world of home crafting has woven its magic spell on you, consider extending your remodeling repertoire. Explore a myriad of possibilities by seeking out the expertise of the best roofing contractors in Los Angeles, CA or venturing into the realms of stone and brick artisanal work.
Thus, empowered with knowledge and adorned with enthusiasm, you stand not just as a renovator, but as an artisan whose craft mirrors the beauty of their vision.
“`html
FAQ
What materials are needed to make decorative plaster from putty?
To create decorative plaster from putty with your own hands, you’ll need a few essential materials. Firstly, you’ll need the base material, which is the putty itself. There are different types of putty available, such as pre-mixed or dry. For beginners, pre-mixed putty offers convenience. Next, you’ll require a mixing container to combine the putty with water if you choose the dry type. You’ll also need a trowel or a putty knife for application. To enhance the finish, consider purchasing texturing tools like rollers or sponges. Additionally, pigments can be utilized to add color to the plaster, giving it a more customized appearance. Sealing products might be necessary if you want to ensure that your decorative plaster has a long-lasting finish. Lastly, don’t forget the protective gear such as gloves and a mask to safeguard yourself during the application process.
How do I prepare the surface before applying decorative plaster from putty?
Preparing the surface correctly is critical when working with decorative plaster from putty to ensure adhesion and durability. Begin by cleaning the target surface thoroughly to remove dirt, grease, and dust. A mild detergent solution can be used for this purpose. After cleaning, inspect the wall for any existing cracks or imperfections, which should be filled and smoothed with regular putty to create an even base. If the surface is highly glossy or smooth, consider roughening it slightly with sandpaper to improve grip. A primer coat is often recommended, especially for porous surfaces, as it helps in sealing the surface and enhances plaster adherence. Allow the primer to fully dry before applying the plaster. Ensuring that the environment is dust-free and adequately ventilated will also facilitate a smoother application process. Proper preparation will significantly affect the final aesthetic and longevity of your decorative plaster work.
Can I apply decorative plaster from putty on all surfaces?
While decorative plaster from putty can be applied to a wide range of surfaces, some conditions must be met for optimal results. The surface should be stable, clean, dry, and free from dust. Suitable surfaces include drywall, concrete, plasterboard, and masonry. When applying to wooden surfaces, ensure they’re treated to handle moisture, and priming is essential to prevent potential issues like warping. However, it’s not recommended to apply decorative plaster on surfaces that are constantly exposed to moisture or are outside in harsh weather conditions, unless properly sealed. For bathroom applications, make sure to use a moisture-resistant variant or apply a waterproof sealant post-application. Testing a small area first can provide insights into the compatibility and final appearance before committing to broader application.
What techniques can I use to create different textures in decorative plaster from putty?
There are numerous techniques to achieve diverse textures when working with decorative plaster from putty. One popular method is the use of a trowel or putty knife to spread the putty in various patterns, such as swirls, waves, or straight lines. Texturing rollers can imprint detailed patterns, while sponges offer a more randomized texture. For a rustic or old-world look, you might use a stippling brush to give the surface a lively texture. Layering techniques involve applying multiple coats of putty in different directions to create visual depth. Adding aggregates like sand to the putty mixture can also result in a grainy, textured finish. Experimenting with different tools and application motions can result in unique, personalized patterns that make your decorative plaster stand out. Remember to test on a small area first to refine your technique and ensure the desired effect.
“`