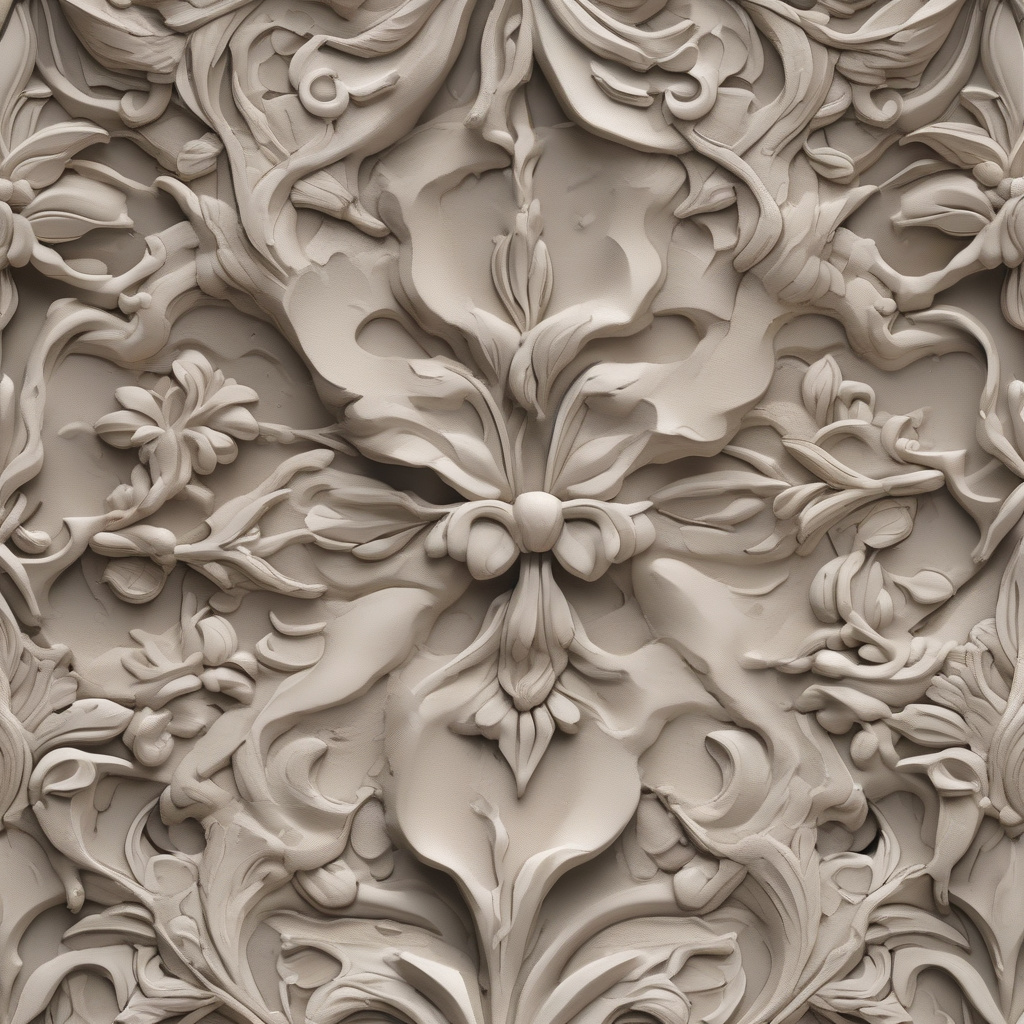
With the growing trend in home decor, painting decorative plaster has become a stylish solution for revamping your interior. This timeless technique not only showcases artisan craftsmanship but adds depth and character to any room. However, achieving a perfect result requires effective techniques and attention to detail. In this article, we’ll explore the art of painting decorative plaster, ensuring your home radiates elegance and sophistication.

Choosing the Right Decorative Plaster for Your Interior
The first step in painting decorative plaster is selecting the right material. Decorative plaster comes in a variety of textures and compositions, each offering unique benefits for your interior. The choice largely depends on the room’s aesthetic and functionality requirements.
According to home design experts, “Selecting the proper base plaster is crucial for seamless paint application and long-lasting results.”
Common types include Venetian and textured plaster, each bringing a different visual appeal. To decide, consider the plaster’s compatibility with existing surfaces and its adaptability to different paint finishes. Remember, the right choice can transform an ordinary space into a chic masterpiece.
Whether it’s a rustic charm or modern sophistication, the versatility of decorative plaster can cater to any taste. However, the devil is in the details – opt for quality plasters that complement the intended color palette and design theme.
- Venetian plaster: Perfect for a glossy, marble-like effect.
- Textured plaster: Ideal for bold, tactile finishes.
- Cementitious plaster: Offers durability and a raw industrial look.
- Acrylic plaster: Known for flexibility and ease of use.
Preparing for Painting
Before you dip your brush in the paint can, preparation is paramount. Begin by cleaning the plaster surface thoroughly to remove dust and dirt. Imperfections should be rectified using a fine sandpaper or filler.
The next step is priming. A suitable primer not only helps in uniform paint adhesion but enhances the durability of the plaster. It serves as a protective barrier, reducing the risk of moisture seepage and chalking over time.
Timing is important; ensure the plaster is completely dry and free from residual moisture. Once prepared, you are ready to embark on the transformative journey of painting decorative plaster.
- Clean the surface adequately.
- Repair any cracks or dents.
- Apply a suitable primer.
- Ensure the surface is dry before painting.
Essential Tools for Painting Decorative Plaster
Having the correct tools can make all the difference in achieving a flawless finish. From brushes to rollers, each tool serves a specific purpose in the paint application process. Invest in high-quality brushes for intricate areas and rollers for large surfaces.
Specialized spatulas can add unique textures and effects, turning your wall into a work of art. Additionally, using painter’s tape ensures clean edges and protects adjacent surfaces from paint splatters.
Each tool plays a critical role, contributing to the perfect result on your decorative plastered wall.
- Brushes: For precision and detailed work.
- Rollers: Ideal for large, flat areas.
- Spatulas: Used for adding textures.
- Painter’s tape: Ensures neat edges.

Techniques for a Perfect Finish
With preparation and tools in hand, it’s time to focus on the painting techniques. Application methods vary based on the type of plaster and desired finish. Traditional brush strokes can achieve a soft, classic look, while a trowel can add texture and depth.
Consider blending multiple colors for a rich, dynamic effect. This technique, known as fresco painting, dates back centuries and adds layers of interest to any decorative plaster surface.
“An understanding of color harmony and application techniques can elevate a room’s aesthetic instantly,” says one seasoned interior designer.
Advanced techniques, such as glazing, introduce a translucent layer that highlights underlying textures, creating a diverse visual tapestry. Whatever your choice, practicing on a small area first can help perfect your technique before tackling the main canvas.
- Experiment with different brush sizes.
- Apply thin layers for consistency.
- Blend colors for a nuanced effect.
- Practice on a sample surface first.
Your Partner in Paint: Selecting Paint Types
The type of paint significantly impacts the final appearance. Choose a paint best suited for the specific type of decorative plaster. Water-based paints are user-friendly and environmentally friendly, while oil-based options generally offer greater durability.
Each paint type reacts differently depending on the plaster and environmental conditions, so consider factors like humidity, light exposure, and traffic when choosing. Sometimes, mixing different paint types can yield unique finishes impossible to achieve with a single paint type alone.
| Paint Type | Characteristics | Best for |
|---|---|---|
| Water-based | Low VOCs, easy cleanup | Interior walls |
| Oil-based | Durable finish, slower drying | High-traffic areas |
| Acrylic | Flexible, versatile | Decorative plaster |
| Enamel | High gloss, moisture resistant | Kitchens, bathrooms |
Maintenance of Painted Decorative Plaster
Once your decorative plaster is painted, maintaining its allure requires regular upkeep. Dust and debris can diminish the vibrancy of the paint if ignored. Gentle cleaning with a soft, damp cloth is recommended to preserve the finish.
For stubborn stains or grime, a mild detergent solution can be used. Avoid harsh chemicals that could damage the paint or plaster.
Frequent inspection for cracks or peeling can preemptively address issues before they escalate. Remember, timely touch-ups can save effort and maintain your decorative plaster’s pristine condition.
Statistics show that homes with well-maintained interiors not only have higher aesthetic appeal but can significantly increase property value.
- Dust regularly to maintain vibrancy.
- Clean with a soft, damp cloth.
- Use mild detergents for spot-cleaning.
- Perform regular inspections for damage.

Creative Inspirations and Conclusion
Embrace your creative side and let decorative plaster be the canvas for artistic expression. Many homeowners are now intertwining classic and contemporary styles, creating spaces that reflect personal taste and historical elegance.
For inspiration, consider exploring themed designs, such as Wright-style houses: architectural masterpieces and design innovations or an American-style house: Features, design and interior ideas. These themes complement the timeless nature of decorative plaster beautifully.
As you bring your decorative plaster project to completion, remember the satisfaction of turning a house into a home. A place where every corner tells a story, and every wall bears the mark of meticulous craftsmanship. In the end, the painted decorative plaster becomes more than just a surface – it becomes an integral part of your living space, encapsulating the essence of style and comfort.
For those eager to explore further, consider learning more about Acrylic plaster: benefits, types and tips for choosing for your interior or even delve into exterior aesthetics with tips on deck construction los angeles.

FAQ
What are the best techniques for painting decorative plaster?
Painting decorative plaster can be a rewarding yet challenging task. To achieve a perfect result, consider these techniques: First, always prepare the surface properly. Clean the plaster surface and repair any cracks or holes. Use a primer specifically designed for plaster surfaces; this helps the paint adhere better and last longer. When it comes to applying paint, consider using a sprayer for an even finish, as it avoids brush strokes and provides a smooth surface. For a stylish solution, try layering colors. You can start with a base coat and add additional colors using a sponge or rag for a textured effect, which can add depth and character to your interior decor. Another effective technique involves using glazes to showcase the texture of the plaster, enhancing the decorative elements. Sealing the finished work with a clear coat can also protect it from damage and maintain its appearance over time. Mixing and matching different painting styles can transform a room, giving it a new lease of life.
What types of paint are best suited for decorative plaster?
Choosing the right type of paint for decorative plaster is essential for achieving an aesthetic and durable finish. Acrylic latex paints are highly recommended due to their flexibility and resilience. They adhere well to plaster surfaces and handle expansion and contraction without cracking. For a more traditional look, mineral-based paints, such as lime paints, can be used, especially when working with lime plaster. These paints penetrate the plaster and allow it to ‘breathe,’ preventing moisture buildup that could cause deterioration. If you’re aiming for a high-gloss finish, consider using oil-based enamels, which provide a robust and shiny appearance. However, they require proper ventilation during application due to stronger fumes. Silk paints, though less common, offer a decorative sheen that enhances the natural beauty of plaster. Always ensure the paint you choose is compatible with the type of decorative plaster you are working with to achieve a perfect result.
How can I create a textured effect when painting plaster?
Creating a textured effect on plaster can dramatically enhance the visual interest of your interiors, providing a unique and stylish solution. One popular method is the use of a stippling brush or sponge. After applying the base coat, you can dab the surface with a sponge or stippling brush to add dimension. Crosshatch techniques, using a brush to apply paint in X-shaped strokes, can also simulate a rustic look. Sanding between layers of paint can add subtle texture and help subsequent layers adhere better. To create a more dramatic effect, consider using joint compound or textured plaster in combination with paint. You can apply a thin layer of joint compound over the painted surface, then use tools like combs, trowels, or rollers to manipulate and texture the plaster while it’s still wet. Once dry, a second coat of paint can be applied, which will highlight the texture you’ve created. Using metallic or pearlescent glazes over the textured surface can further enhance the effect, offering a reflective quality that adds to the decorative appeal.
How can I maintain the painted decorative plaster to ensure it lasts?
Maintenance is key to ensuring your painted decorative plaster remains pristine over time. Start by ensuring the surface is dusted regularly using a soft cloth or feather duster to prevent the buildup of grime, which can dull the finish. For more intensive cleaning, lightly dampen a microfiber cloth with a mild detergent solution and gently wipe the surface. Avoid abrasive cleaners or harsh scrubbing, as they can damage the texture and paint finish. It’s also wise to keep an eye out for any cracks or chips, repairing them promptly with a compatible filler or touch-up paint to prevent further deterioration. Applying an occasional coat of clear acrylic sealer can help protect the painted surface from environmental factors and extend its lifespan. Moreover, be mindful of humidity levels in the room, as excessive moisture can affect plaster. Consider using a dehumidifier, especially in regions with high humidity. Routine inspections and timely interventions are crucial for the longevity and vibrancy of your decorative plaster.