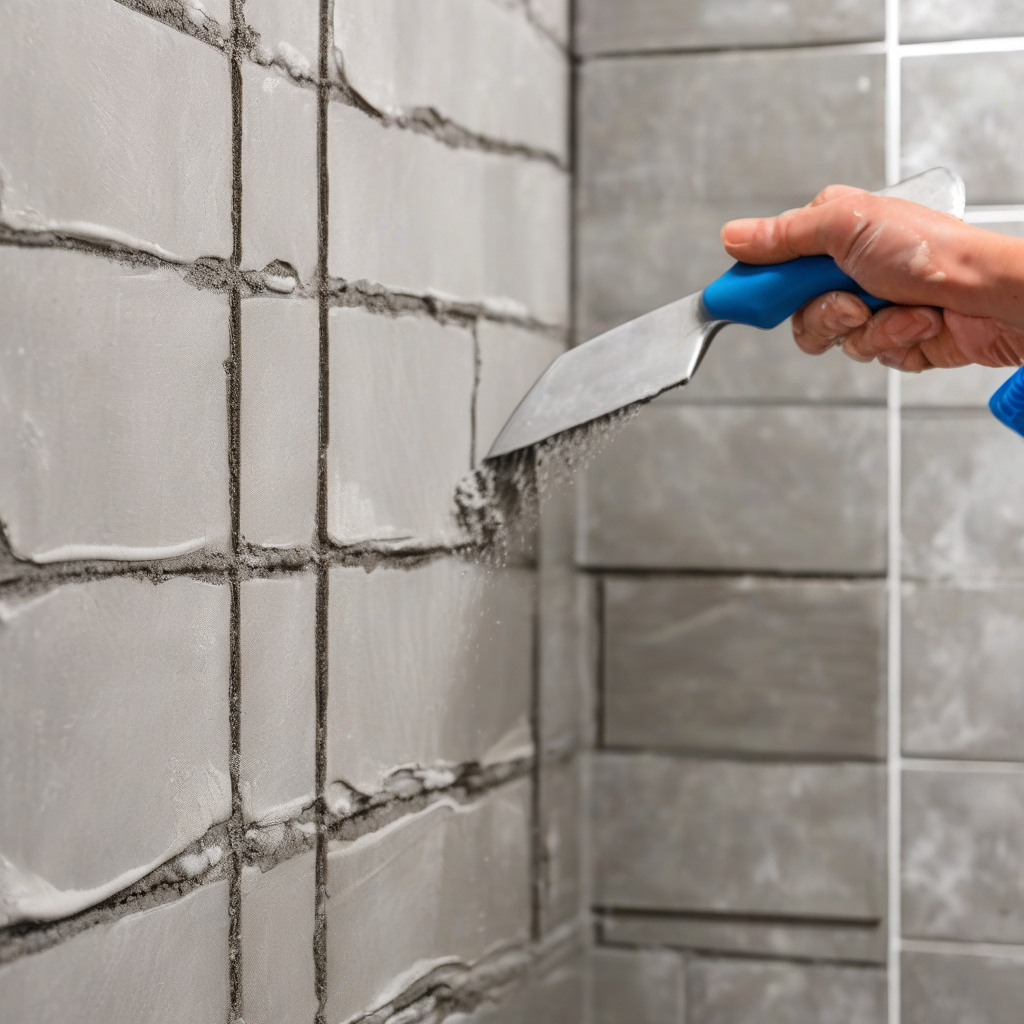
In the heart of bustling Los Angeles, where dreams are hard-built or shattered within the framework of residential walls, the allure of doing-it-yourself renovation projects continues to captivate homeowners seeking to inject personal flair into their abodes. Yet, among these ambitious endeavors, mistakes can lurk in the shadows, particularly when it comes to waterproofing showers. DIY enthusiasts often make critical errors such as poor membrane sealing, incorrect slope application, and weak corner reinforcement. These missteps can lead to leaks that aren’t just an inconvenience but pose significant threats to the long-term durability of your bathroom.
Brief summary: This article delves into the common pitfalls homeowners face when undertaking shower waterproofing as a DIY project. From inadequate membrane sealing to improper slope design, these mistakes can lead to leaks and long-term damage. The piece offers insights into the renovation landscape in Los Angeles, practical tips, and explores key considerations for successful bathroom remodels.
Understanding the Basics of Shower Waterproofing
In Southern California, where the sun beams brightly, and water conservation is as critical as the palm-lined streets, waterproofing a shower is no small feat. Many would-be renovators step into this endeavor with a naivete that only experience can correct. Key to this task is understanding the basic components involved in creating a waterproof shower: membranes, slopes, and corners.
Membranes, those unsung heroes of shower durability, demand precise application. Any lapse in the sealing process could invite water to seep through, leading to unwanted dampness that might breed mold. Homeowners in search of a modern bathroom refresh must pay close attention to product instructions and application techniques.
Then, there’s the slope, a subtle yet significant aspect. Without the correct gradient, water may pool, defeating your diligent efforts. The slope should direct water towards the drain, a concept of gravity often overlooked by novices eager to see their work finished.
Finally, consider the humble corners of your shower. Reinforcing these with robust materials ensures that they won’t become weak spots in your waterproofing armor. These essential components form the triad that must be mastered before tackling a DIY shower waterproofing project.
In essence, grasping these basics can dramatically mitigate the risks associated with DIY shower waterproofing and preserve the sanctity of your renovations.
Common Mistakes DIYers Make
Many homeowners pride themselves on the pursuit of DIY projects, oftentimes seeking to cut costs. However, in the realm of shower waterproofing, mistakes are rampant. From my observations, a lack of proper research is usually the root cause of many errors. Flimsy adherence to rigid requirements and optimism that neglects the detailed labor ahead can twist an exciting project into a problematic affair.
One prolific mistake is underestimating the pivotal role of preparation. This includes everything from selecting the right materials to creating an adequate timeline. Another is skipping vital steps in membrane installation—the consequences often show signs of failure months down the line.
In such cases, poor handling and application of sealant invariably result in gaps that allow water infiltration. The liberality with which some users slather on sealant is often counterproductive without careful precision. Moreover, the tendency to overlook manufacturer guidelines for sloping equals setting a project up for failure.
The last crucial error is inadequate corner reinforcement. As many local homeowners have discovered, without strong corners, the ensemble could collapse under the pressure of persistent water flow. These are lessons learned sometimes too late.
As the construction saying goes: plan twice, cut once. In shower waterproofing, this adage reaffirms the necessity of theoretical and practical preparedness.
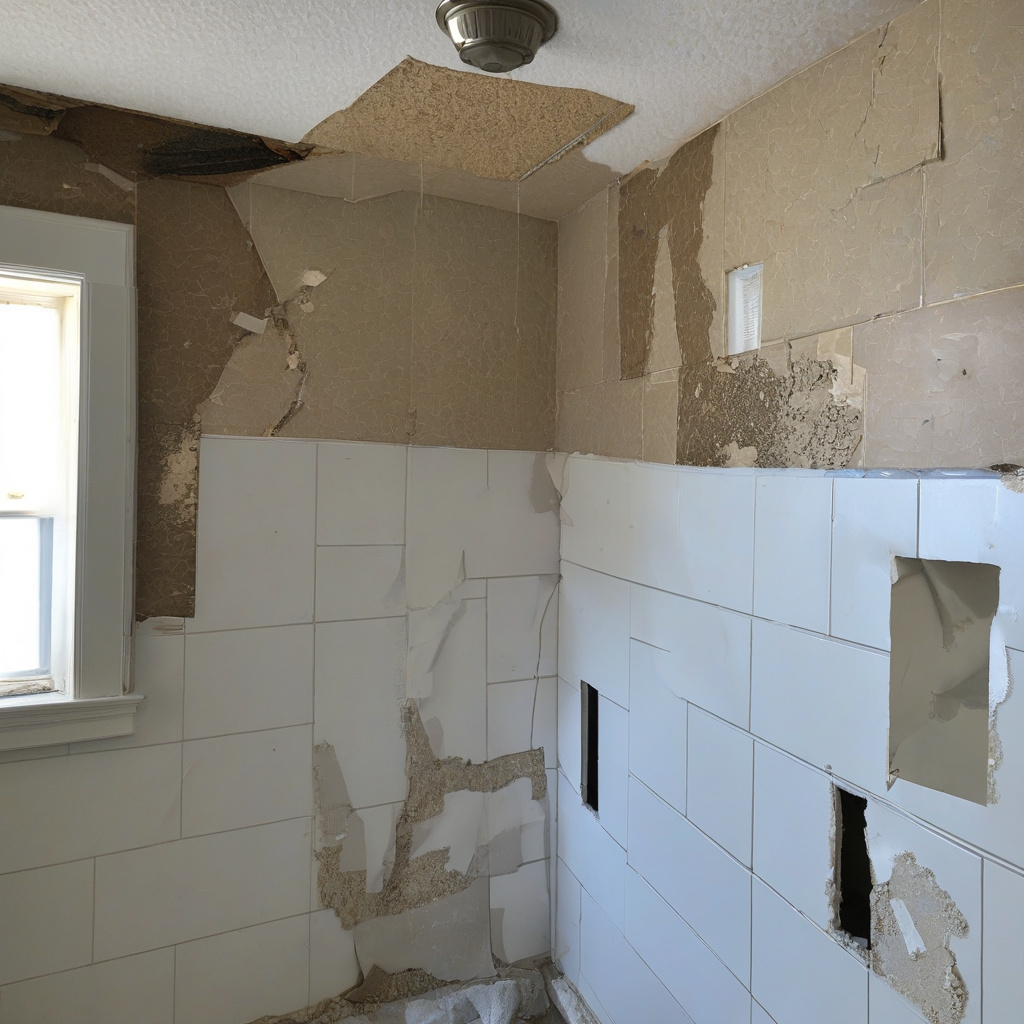
Expert Advice and Industry Insights
Industry veterans in home renovation have seen their fair share of waterproofing blunders. Their advice often emphasizes the importance of following a comprehensive approach that encompasses not just the visible elements but the hidden layers as well. Experts advocate for choosing high-quality waterproofing materials—an area where budgeting DIYers might feel tempted to cut corners.
“The cost of repair due to poor initial waterproofing often exceeds doing it right the first time, especially in areas like Southern California where environmental conditions intensify wear,” notes Susan Martinez, a Los Angeles-based construction consultant.
Additionally, the importance of training becomes particularly highlighted. Workshops, whether in-person or online, can teach DIY enthusiasts everything from the importance of material compatibility to the art of wielding a trowel like a professional.
Moreover, attending seminars or connecting with renovation communities can help eager renovators stay up-to-date with the best practices and innovations in the field. Embracing professional advice is crucial in mastering the art of waterproofing.
In summary, leveraging expert knowledge is not only about gleaning insights but ensuring that your investment in time and materials is positioned towards a successful outcome.
Material Selection and Cost Analysis
The choice of materials is a pivotal consideration in any renovation project. In the sunlit decks and shaded alcoves of Los Angeles homes, this extends to waterproofing solutions that balance cost with effectiveness. Homeowners must weigh these options carefully, evaluating whether the extra expenditure on premium products equates to future savings.
A prime component frequently underestimated is the waterproofing membrane itself. While cheaper options abound, they are seldom as durable or reliable as higher-end varieties. Given the humid atmosphere prevalent within a shower space, investing in materials like liquid rubber or sheet membranes can provide superior protection.
Understanding regional regulations is also crucial. The codes governing ventilation in bathroom spaces within Los Angeles should prompt homeowners to balance ventilation solutions with the waterproofing materials they choose to avoid moisture-related damage.
Here’s a quick comparison of some common waterproofing materials and their respective costs:
| Material | Cost (per sq ft) | Durability | Ease of Installation |
|---|---|---|---|
| Liquid Rubber | $5–$7 | High | Moderate |
| Sheet Membranes | $3–$6 | Very High | Challenging |
| Cementitious | $2–$4 | Moderate | Easy |
In conclusion, while the upfront cost may be discouraging, well-chosen materials actually provide peace of mind, protecting your home investment from future unforeseen circumstances.
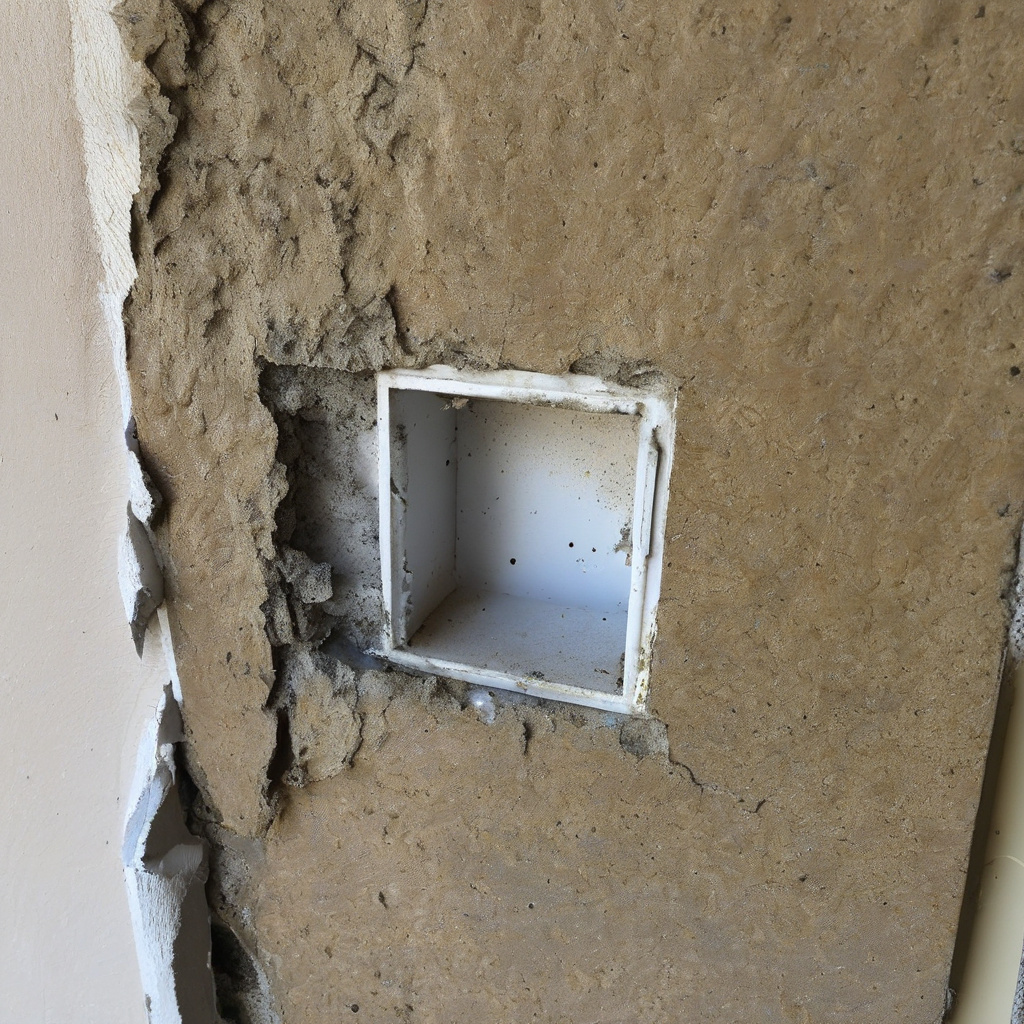
Planning and Designing Your DIY Waterproofing Project
When embarking on a DIY project of this magnitude, planning is unequivocally the key to success. The preliminary phase involves not only visualizing the aesthetics but contemplating the practicalities of daily use. Efficient planning translates to a timeline that incorporates contingencies and allows for adaptability as the project unfolds.
Design aspects should align with the home’s overall style—a seamless transition from other rooms to the bathroom helps maintain a cohesive feel. This may include matching grout colors or mosaic tile selections that mirror hallway flooring.
A critical aspect often overlooked is how a renovation might impact your lifestyle. For some, the notion of living in a construction zone prompts consideration of temporary housing solutions. This decision can prevent unnecessary stress and maintain family harmony during disruptive phases.
Moreover, dividing tasks into manageable phases, and perhaps reserving challenging installations for either professional help or community advice, can alleviate project burdens. This strategy can save both effort and money, particularly if expert assistance becomes necessary.
Ultimately, thoughtful planning clarifies the path towards a successful project, culminating in a shower that is not only functional but also a testament to careful craftsmanship.
According to a study by the American Institute of Architects, 86% of homeowners believe that thorough planning is critical to the success of their renovation projects.
Final Thoughts and Practical Recommendations
As the sun dips below the Pacific horizons, casting long shadows over this metropolis that never truly dims, it serves as a reminder to those who wade into the DIY realm: the devil is indeed in the details. As our investigation shows, mastering the art of shower waterproofing means acknowledging its complexity and embracing a comprehensive approach.
Considering colors and styles cannot be an afterthought. As the final touches complete the image, expert advice does not go unheard: color schemes designed for compact spaces can enhance the feeling of openness and light.
Homeowners who take the time to educate themselves on proper techniques, arm themselves with the right materials, and prepare an informed plan are the ones most likely to end up with a bathroom that stands the test of time.
This process, a journey in both creativity and labor, is not merely about erecting tiles upon walls, but in fact, it is about the transformative impact that a well-executed project introduces to both property and well-being.
So as the saying goes, when embarking on a task, remember that sowing with care reaps resilience in return.
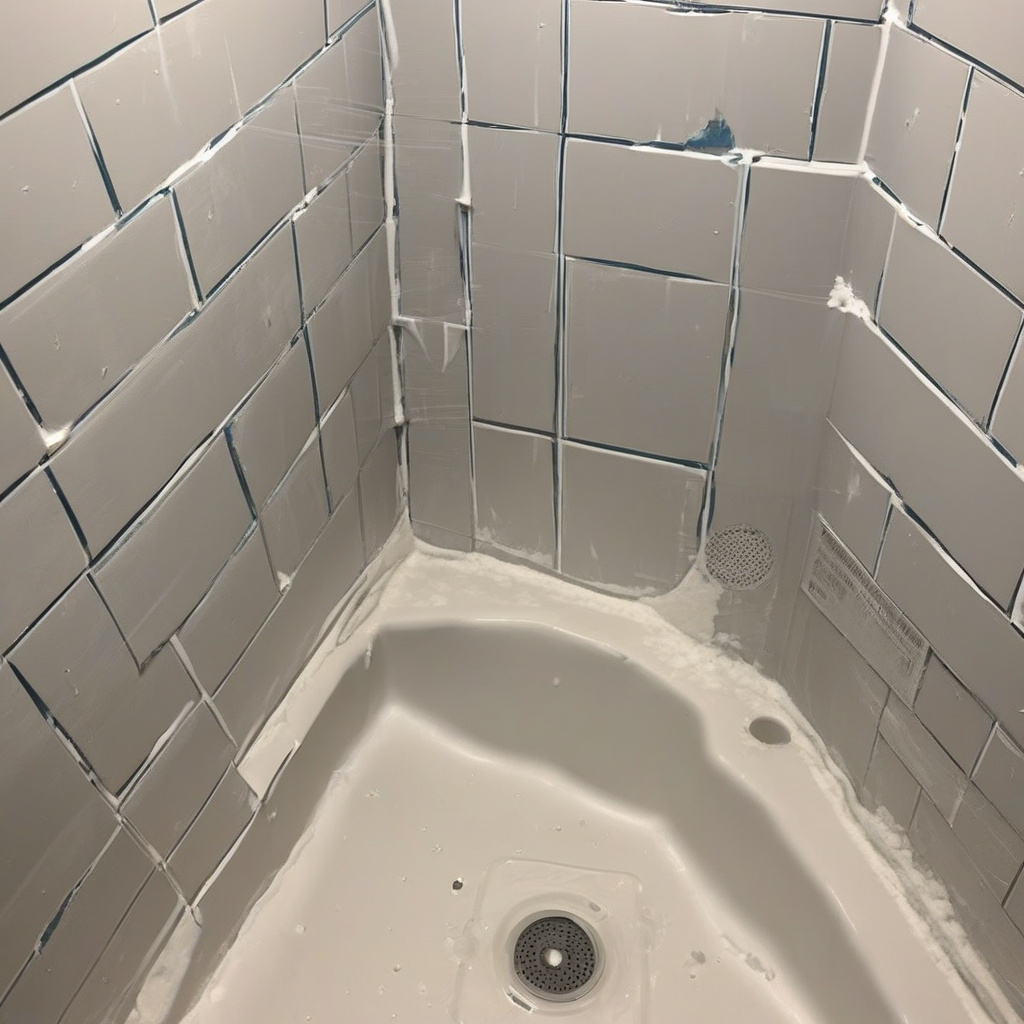
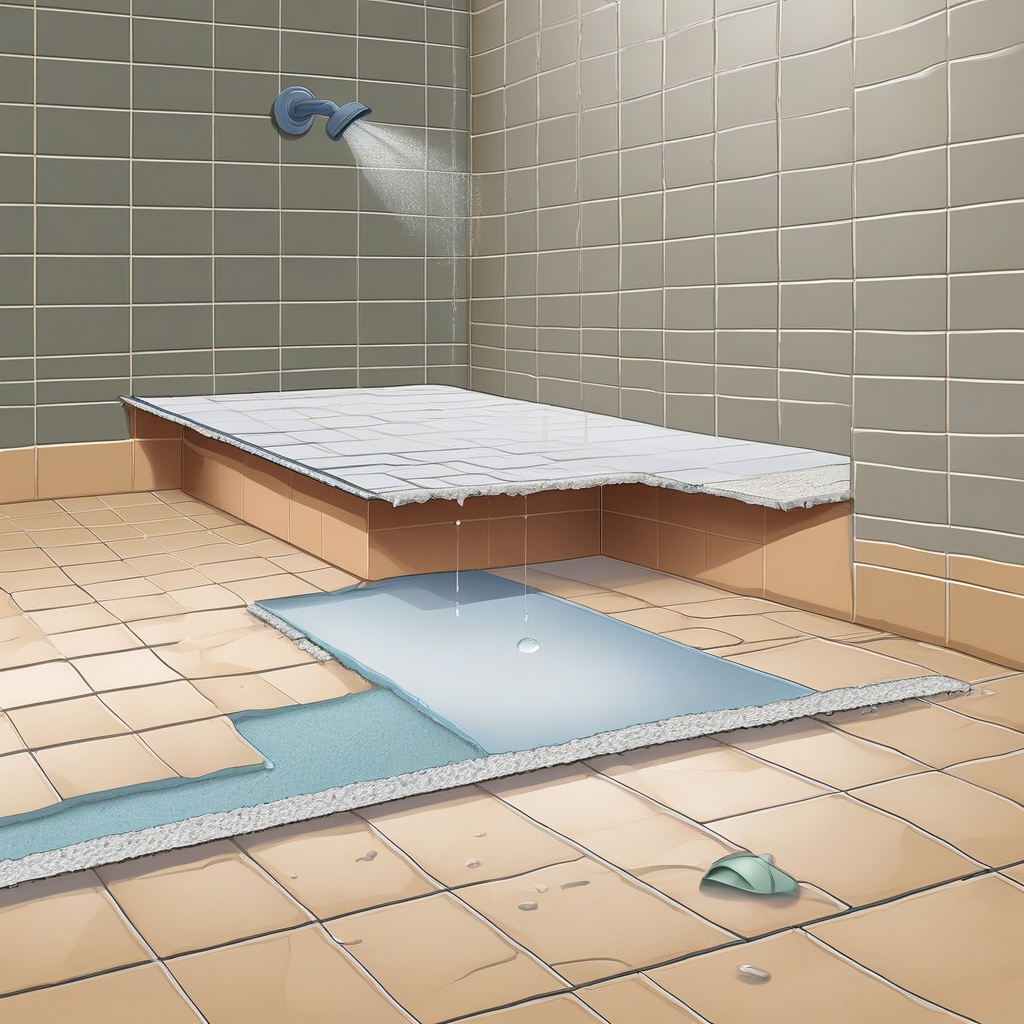
“In the end, those who invest in quality waterproofing save themselves from future costs and the heartache of leak-induced repairs,” reflects Jessica Nguyen, a seasoned architect based in Los Angeles.
- Preparing adequately by conducting thorough research is vital for a successful DIY waterproofing project.
- Experts suggest choosing high-quality materials to avoid the pitfalls and costs of material failure.
- Effective slope planning and strong corner reinforcement are critical factors for preventing leaks.
- Comprehensive planning, including potential lifestyle impacts, enhances project success and family harmony.
- Consider the importance of design elements such as color schemes to complement your waterproofing efforts.
“`html
FAQ
What are the common mistakes DIYers make when waterproofing showers?
In real renovation projects, it’s often revealed that DIYers tend to overlook the importance of sealing shower membranes effectively. Many homeowners think a quick application of sealant will suffice, but it often lacks the robustness required over time. Additionally, establishing the correct drainage slope is commonly underestimated. Without a proper slope, water stagnates, eventually seeping into corners that aren’t properly reinforced. These errors can severely compromise the shower’s durability, leading to costly repairs down the line. Learning from professionals and paying attention to these details can save significant hassle.
Why is proper membrane sealing crucial in shower waterproofing?
Proper membrane sealing is crucial because it acts as the first line of defense against water penetration. Many experts point out that a poorly sealed membrane often fails under prolonged exposure to moisture, leading to leaks beneath tiles. In older properties undergoing renovation, overlooking this step means a high risk of water damage, particularly in wooden structures. A well-sealed membrane prevents not only leakage but also mold and mildew growth, which are common in Californian climates. Always ensure your membrane is thoroughly sealed to avoid these problems.
How does the incorrect slope affect shower waterproofing?
The slope of a shower floor is vital for proper drainage. If it’s incorrectly calculated or poorly executed, water can pool instead of flowing towards the drain. Homeowners frequently underestimate this aspect of installation. In single-family homes, especially those with children or elderly family members, stagnant water can not only damage the flooring but also contribute to slip hazards. To avoid these dangers, the slope should typically be 1/4 inch per foot. It’s a small detail with significant impact, echoing the experience from seasoned professionals who always check these angles diligently.
What materials are recommended for waterproofing showers?
In the context of modern builds, experts recommend using high-quality, flexible waterproof membranes, which accommodate the house’s minor movements without cracking. Cementitious products are often favored for their durability. In California, where seismic activity is a consideration, flexible membranes can prevent cracks and leaks. Many renovation experts also suggest liquid-applied membranes for their ease of application and superior adhesion properties. A thorough understanding of each material’s pros and cons is invaluable for ensuring long-term performance and satisfaction.
What are the costs involved in waterproofing a shower?
Shower waterproofing costs vary widely based on materials and professional rates in your area. In California, for example, hiring a professional for the job can range from $500 to $2,000. Many DIYers initially reckon with material costs alone, perhaps $100-$500 for membranes and sealants, but often underestimate the importance of skilled labor. Investing in quality materials and experienced workmanship alleviates long-term damage costs, which can extend into the thousands if leaks facilitate extensive damage.
Is DIY shower waterproofing advisable?
Many homeowners consider DIY shower waterproofing as a cost-saving measure, but it requires a precise understanding of both materials and techniques. The risks include improper sealing and slope issues, which can lead to costly, long-term damage. If you are confident in your skills and have researched thoroughly, it can be a feasible project. However, consulting professionals or even engaging them for specific tasks can increase confidence that the job is done correctly. For more personalized advice, you might want to reach out through something like this get in touch page.
What are the pros and cons of DIY versus professional shower waterproofing?
The DIY approach can be rewarding and cost-effective initially since you can choose quality materials and manage the budget closely. However, the lack of professional experience can lead to costly errors, such as improper membrane application. Professional waterproofers bring specialized knowledge, ensuring codes are met and long-term resilience is built into the project. While professional services may incur a higher upfront cost, they often save money over time by preventing damage. Balancing these considerations helps determine the best path for your unique situation.
How important is corner reinforcement in shower waterproofing?
Corner reinforcement is one of the most pivotal factors in effective shower waterproofing. In practice, these are high-stress areas prone to cracks due to minor shifts in a building’s structure or improper installation. Reinforced corners with additional membrane layers or specialized molded pieces prevent potential points of failure. Observing this in older, renovated properties shows that unrepaired leaks often originate from these overlooked corner joints. A proactive approach to reinforcing can extend the lifespan of your shower’s waterproofing system remarkably.
“`