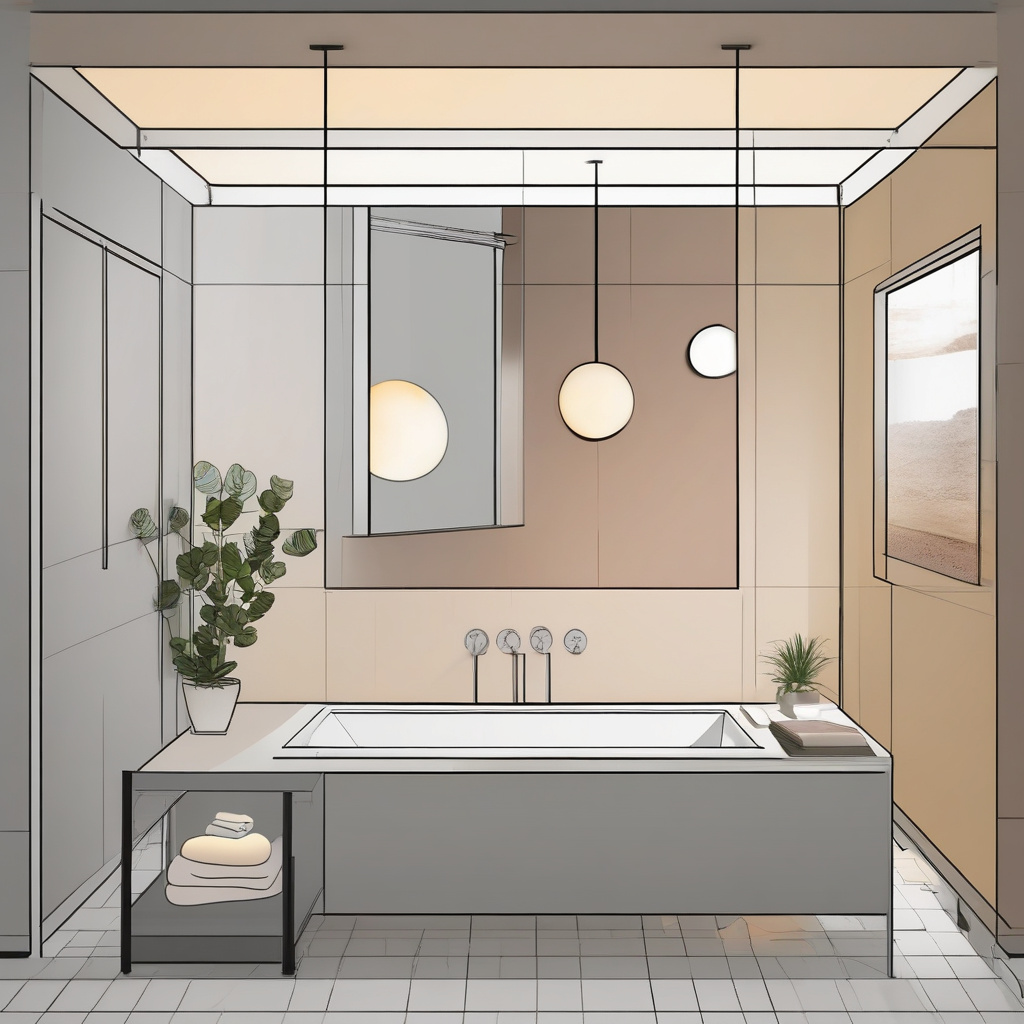
Modern bathroom lighting doesn’t just brighten a room; it transforms the entire bathing experience. Los Angeles homes are at the forefront of this revolution, blending functionality with style in ways that seem almost artful. Homeowners know that a well-lit bathroom is crucial, whether you’re starting your day or winding down after a long one.
Brief summary: Discover how to effectively layer lighting in your modern bathroom with task, accent, and ambient sources. Learn about contemporary renovation trends in Los Angeles, how to avoid common pitfalls like mold, and ways to integrate eco-friendly fixtures into your design.
Setting the Stage: Understanding Task Lighting in the Bathroom
Task lighting is often the unsung hero of bathroom design. It provides the necessary brightness for personal grooming activities like shaving and makeup application. In Los Angeles, where image and functionality blend seamlessly, high-quality task lighting ensures precision and comfort. But before you embark on your remodel, understanding where task lights fit into your space can make all the difference.
Key areas for task lighting include vanity lighting, which ideally sits at eye level to minimize shadows, and shower or tub areas for safety. As many local homeowners notice, opting for LED mirrors or sconce pairs flanking your mirror can dramatically enhance usability and aesthetics. The warm, focused glow can turn an ordinary bathroom into a personal haven.
Considering a renovation? According to industry experts, the average cost of high-end task lighting installations can range significantly, but offers significant return on investment. For those exploring comprehensive bathroom remodels, task lighting is a key component that often pays dividends in both satisfaction and style.
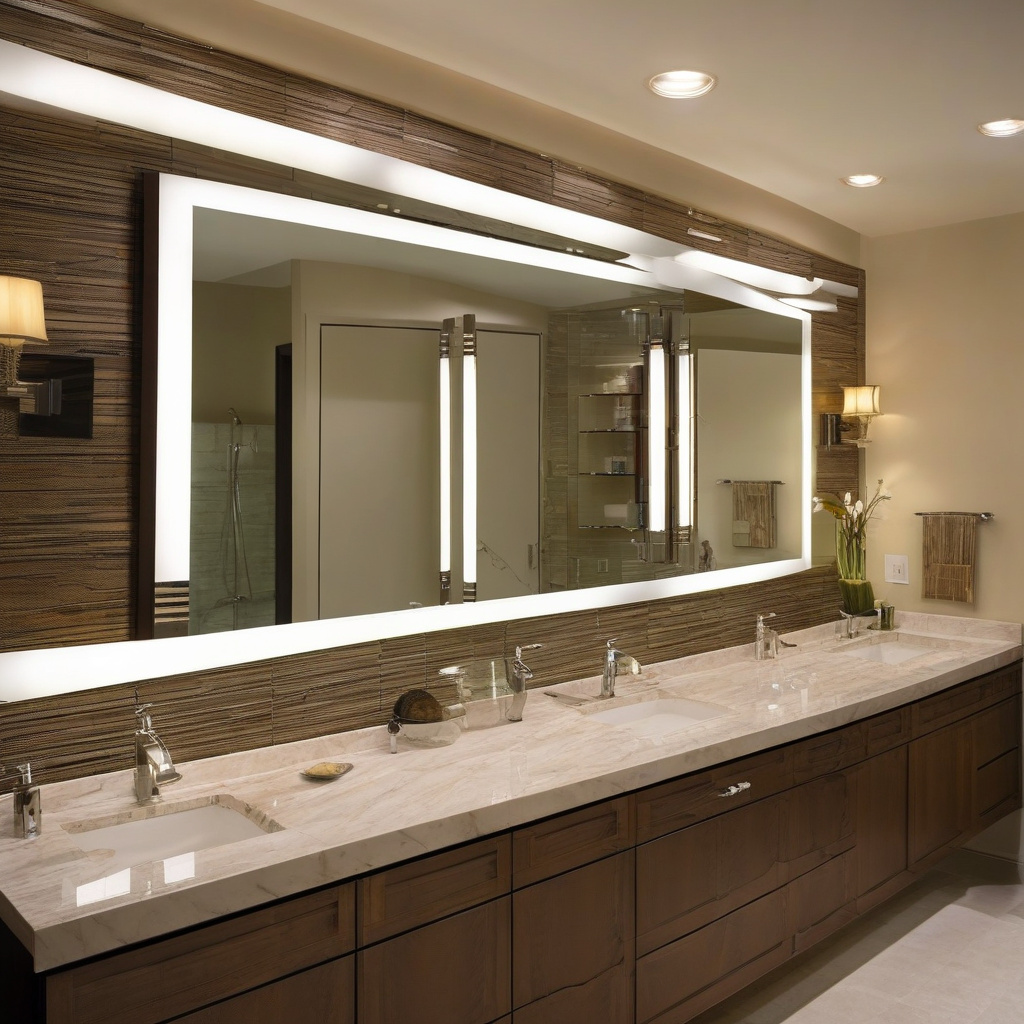
In essence, by thoughtfully deploying task lighting, you not only elevate the function but also accentuate the bathroom’s design elements, creating a luxurious space tailored to your needs.
Layering with Ambient Lighting: Achieving Illumination Harmony
Ambient lighting serves as the room’s main light source, setting the overall tone and mood. In the context of modern bathroom design, ambient lighting can range from the smooth serenity evoked by recessed lights to the bold statements made by contemporary chandeliers. The trick lies in achieving an even distribution that complements the other elements of the bathroom.
Recessed lighting offers a subtle, yet effective choice that suits many architectural styles prevalent in Southern California. For a more dramatic touch, pendant lights can introduce a visual centerpiece, adding character to your bathroom without overwhelming the design. Modern renovations often blend these elements, merging tradition with innovation.
One homeowner’s experience illustrates the delicate balance of ambient lighting. They found that their initial design, which only employed ceiling fixtures, resulted in a cavernous feel. By integrating wall-mounted ambient lights, they achieved a warmer, more inviting atmosphere.
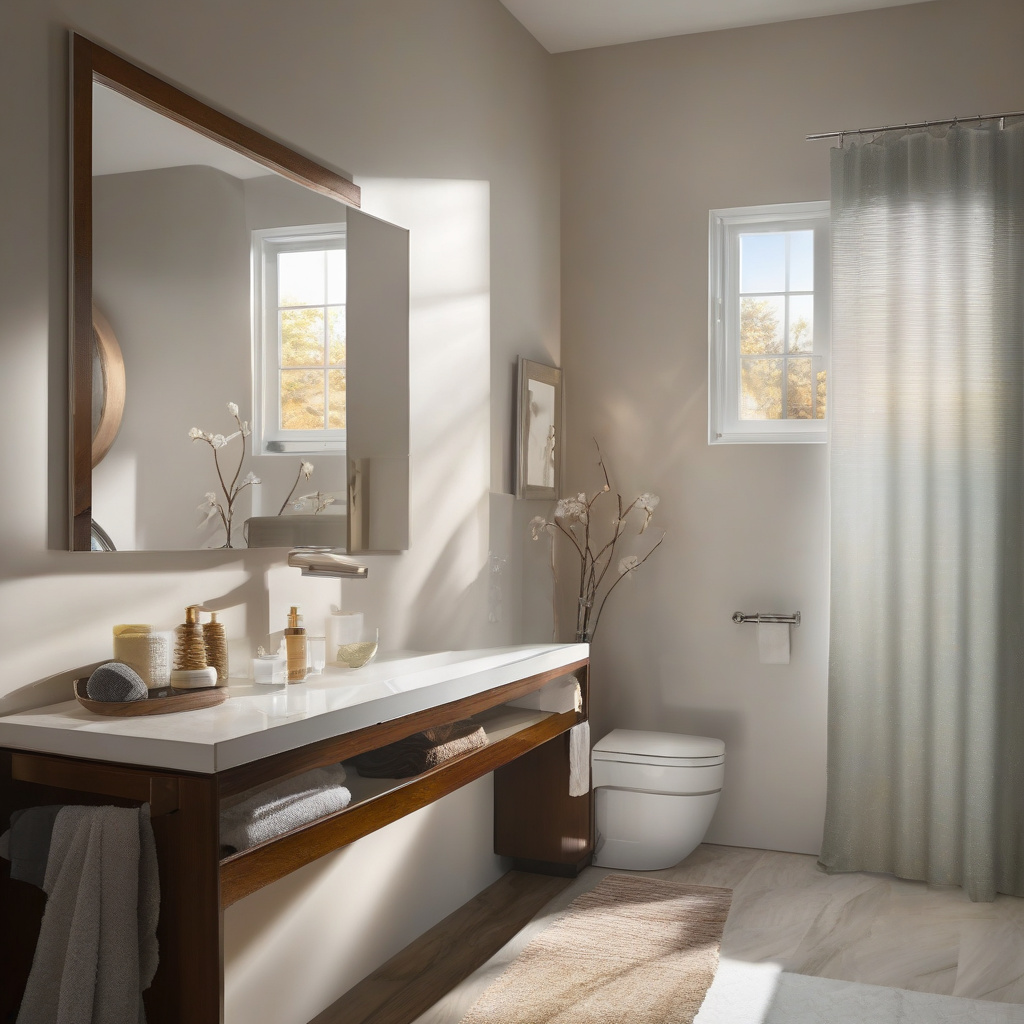
Ultimately, ambient lighting is the canvas upon which all other lighting is layered, vital for creating a unified, peaceful environment.
Accent Lighting: Highlighting Bathroom Architecture
Accent lighting is the sculptor of your bathroom’s mood, emphasizing architectural features and decorative elements. This layer isn’t just decorative; it adds depth and dimension to the space. In Los Angeles, where architectural details are celebrated, accent lighting helps to showcase unique elements while adding a touch of elegance.
From hidden LED strips under floating vanities to backlit niches and alcoves, the possibilities for accent lighting are endless. Such innovations reveal the true artistry of your bathroom’s design, allowing features like textured wall finishes and select bathroom sculptures to shine.
Accent lighting also contributes to energy efficiency. By highlighting only specific areas, you allow task and ambient lighting to take center stage when needed while maintaining a cozy ambiance.
Incorporating accent lighting can completely transform a space by emphasizing or even disguising different elements, offering homeowners an opportunity to personalize their haven. This layer tells your room’s story, one light at a time.
The secret to success lies in precision and experimentation, enabling you to create a visually captivating environment.
Planning for Safety and Efficiency: Avoiding Mold with Smart Lighting Choices
Designing a bathroom isn’t just about aesthetic splendor; safety and efficiency must be priorities, too. A critical concern for many Southern California homeowners is moisture control, which, if mishandled, can lead to mold. By pairing intelligent lighting design with effective ventilation, you can avoid such pitfalls.
Experts stress that poor lighting placement can exacerbate issues like condensation build-up. For instance, using fixtures that generate excessive heat or placing lighting too close to water sources without adequate safeguarding can increase humidity levels dangerously.
Embedding an intelligent lighting framework includes choosing fixtures designed to withstand humid environments and positioning them to minimize exposure to moisture. Exploring how to tackle bathroom mold through clever design choices can save you future headaches and repairs.
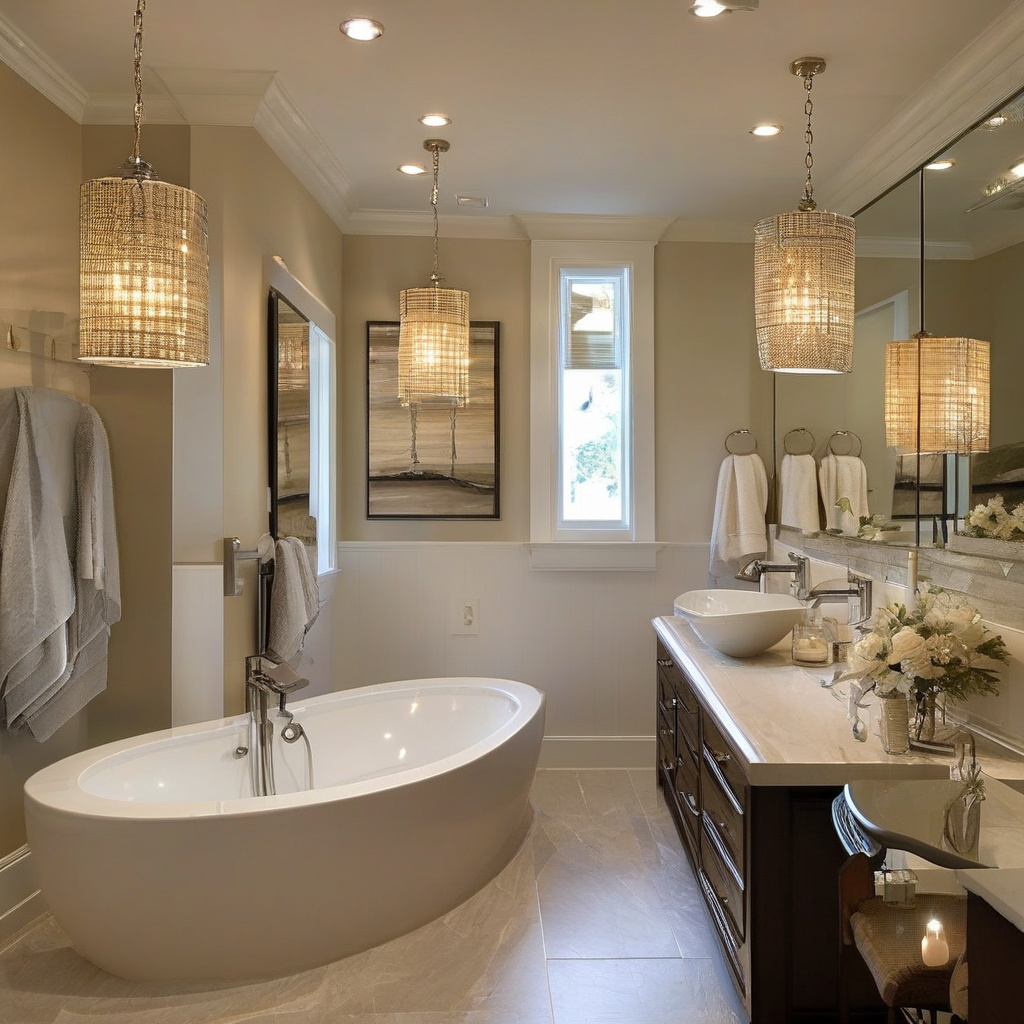
A thoughtful design with practical installations can significantly enhance long-term enjoyment and health of the space.
The Remodeling Spectrum: Cost and Style Considerations
Choosing the right materials and costs for your lighting setup has sweeping implications on your renovation’s quality and durability. The variety of options ranges from modest installations to lavish, bespoke setups that redefine what a bathroom can be.
In our renovation comparison table below, you’ll find insights into budget versus premium lighting plans, clearly illustrating how each can impact timelines and outcomes.
| Lighting Option | Estimated Cost | Materials Used | Timeline |
|---|---|---|---|
| Basic LED Setup | $500 – $1500 | LEDs, Dimmer Switches | 1 – 2 Weeks |
| Custom Light Frames | $2000 – $5000 | Handcrafted Fixtures, Artistic Pendants | 4 – 6 Weeks |
| Smart System Integration | $4000 – $10000 | Smart Lighting Systems, Automation Sensors | 6 – 8 Weeks |
For those contemplating luxurious upgrades like curbless shower installations, integrating lighting with high-end features is key to creating a cohesive experience, marrying luxury with practicality.
The decisions you make drastically shape both the financial and emotional impact of your renovation. So choose wisely.
Future-Proofing: Going Green with Lighting Solutions
As environmental concerns grow, eco-friendly solutions are becoming a priority in renovations across Los Angeles. Smart lighting solutions that offer energy savings without sacrificing style are staking their claim as must-haves in every modern home.
You can achieve sustainable bathroom designs through fixtures that utilize less energy, while still delivering engaging aesthetics and resilient performance. Solutions range from solar-powered options to advanced LED technology that lowers energy consumption while maintaining quality illumination.
Exploring these solutions isn’t just about reducing your carbon footprint; they often enhance your bathroom usability and add to your home’s long-term value. An eco-friendly fixture strategy will help guide you toward a sustainable and inspiring design.
A recent study indicates that homes retrofitted with energy-efficient lighting can increase property values by 2 to 5 percent.
Embracing the innovative, eco-conscious choices now available can yield dividends in both cost and environmental impact, promising a bathroom built for the future.
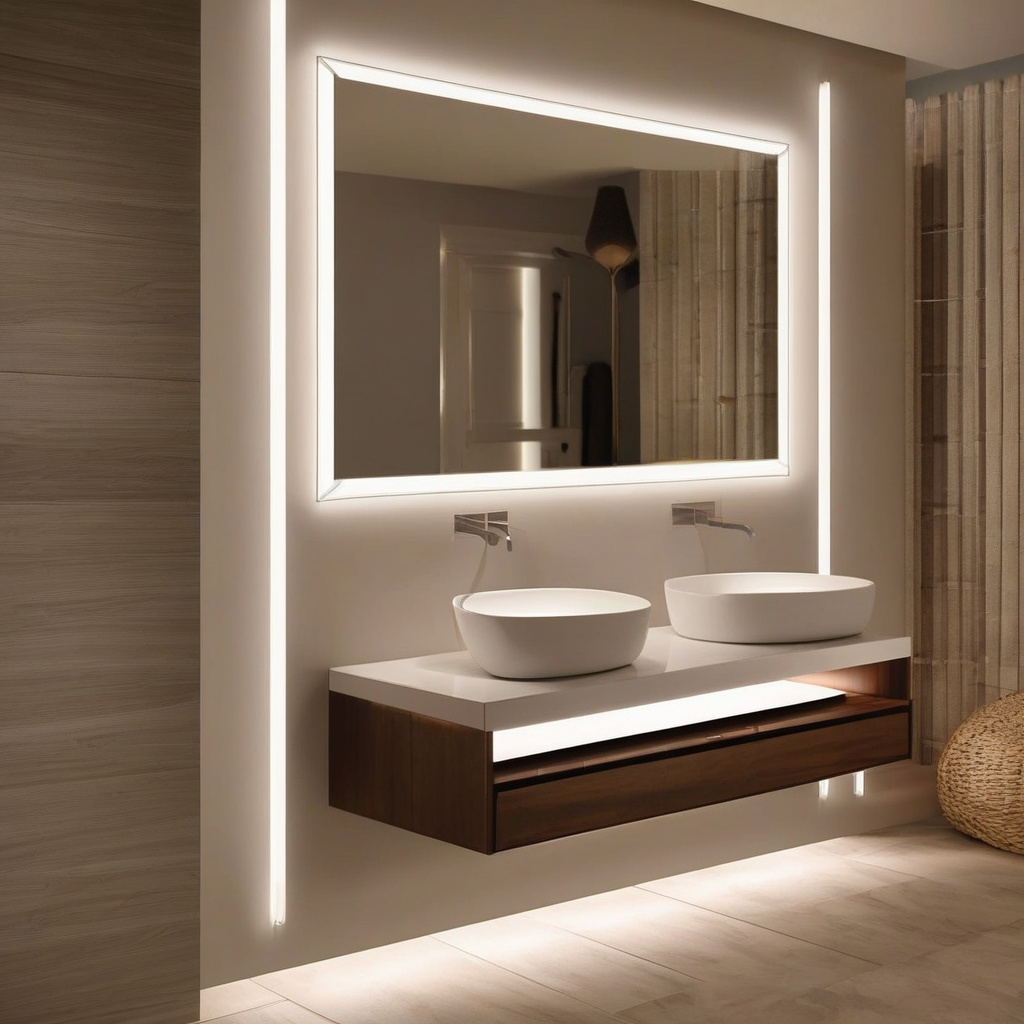
- Blend task, ambient, and accent lighting to enrich bathroom aesthetics and functionality.
- Consider sustainability with eco-friendly options for a future-proofed design.
- Proper planning helps mitigate issues like mold, enhancing safety and durability.
- Be strategic about costs and timelines to ensure successful renovations.
- Stay updated on trends in Los Angeles to optimize your renovation.
“`html
FAQ
What is layered bathroom lighting?
Layered bathroom lighting is a design approach combining task, accent, and ambient light sources to create a versatile and functional space. In real renovation projects, it often becomes clear that a single source simply can’t address all needs. Task lighting, such as bright, focused fixtures around mirrors, plays a crucial role during morning rituals like shaving or makeup application. Ambient lighting, meanwhile, offers a softer illumination that fills the space, essential for a relaxing atmosphere in the evenings. Many designers will tell you that accent lighting can enhance architectural details or specific finishes. Homeowners frequently underestimate the transformative power of using these three types together, which truly makes a bathroom exceptional.
How do I choose the right lighting for my bathroom?
Choosing the right lighting for your bathroom involves understanding your needs and the space’s characteristics. Practical observation reveals that in older properties, you may need more robust lighting to compensate for modest natural light. Conversely, large windows in newer builds might allow you to rely more on ambient sources. Focus first on task lighting; effective mirror lighting can improve your morning routine significantly. Wall-mounted fixtures beside mirrors are frequently recommended by experts for reducing shadows. Ambient lighting can be achieved with overhead fixtures or recessed lights, creating a soft, inviting glow. Consider dimmable options for flexibility. Accent lighting can be a game changer, especially when highlighting a luxurious tile finish or a stylish bathtub. It’s all about balancing these layers to suit the rhythm of your day.
When does it make sense to invest in layered lighting?
Investing in layered lighting in a bathroom makes sense during significant renovations or when updating older homes. Many experts point out that lighting is one of the most underestimated elements that can transform a room’s function and appeal. If you’re already disrupting walls for plumbing or electrical work, integrating a multi-layered lighting scheme at this point will be most cost-effective. Similarly, if you’re aiming for a spa-like retreat, investing in accent lighting to highlight textures and materials can create that luxurious edge. While some assume it’s costly, the real expense often lies in not preparing for future needs. By planning a lighting upgrade during a broader renovation, you can avoid subsequent disruptive and expensive adjustments.
What are typical mistakes in bathroom lighting?
A typical mistake in bathroom lighting comes from neglecting the importance of layering, leaving homeowners stuck with lighting that doesn’t adapt to different needs. Another common error is inconsistent lighting temperatures. Some fixtures emit a cooler white while others are warm, disrupting the bathroom’s cohesiveness. Many homeowners also ignore the importance of sufficient task lighting around mirrors, often placing fixtures above, which casts unwanted shadows. A more effective strategy would consider side-mounted sconces. Finally, many forget to integrate dimming options, especially for ambient lights. Not having this flexibility can limit how this space transitions from a bustling morning environment to a calming evening retreat. Avoid these pitfalls through mindful planning and expertise, like contacting professionals to guide your decisions using helpful resources.
What cost considerations should I have for bathroom lighting?
Cost considerations for bathroom lighting vary greatly depending on the complexity of the design and the quality of fixtures. Basic lighting can start modestly, but incorporating layers increases the cost. Task lights, especially those with designer touches or LED technology, can add to expenses. Custom or high-end accent lighting like under-cabinet LEDs might be perceived as a luxury, but they can offer dramatic effects that a standard install won’t achieve. In California, where energy efficiency is prioritized, investing in efficient fixtures might bring upfront costs but will save on long-term energy bills. It’s wise to discuss budgets at the remodeling start, ensuring that aesthetic goals align with financial realities. Balancing immediate expenses with future utility savings often results in wise choices.
What are the pros and cons of layered lighting in bathrooms?
The pros of layered lighting include the ability to tailor the bathroom environment to suit various activities, from busy morning preparations to tranquil evening baths. This flexibility enhances daily life comfort and boosts the resale value of a home, particularly in design-conscious markets like California. On the flip side, comprehensive lighting plans can be costly to implement and require skilled installation, sometimes delaying renovation timelines. Another con is the complexity of planning, as balancing different types of lighting requires expertise. There’s also a risk of overdoing fixtures, which may overwhelm small spaces. Nonetheless, when properly executed, the advantages usually tip the scale, creating a truly inviting and practical bathroom experience.
How do you maintain a layered lighting system in a bathroom?
Maintaining a layered lighting system in a bathroom involves regular cleaning and occasional technical adjustments. Since bathrooms are high-moisture environments, wiping down fixtures to prevent corrosion and ensure clarity is essential. Homeowners often overlook replacing bulbs with appropriate wattages and color temperatures to maintain cohesion across layers. An under-appreciated maintenance facet is the periodic adjustment of dimmer settings; these might need recalibration based on usage patterns or moods. To make this task stress-free, it’s worth documenting initial settings from installation, allowing homeowners to easily revert to preferred lighting environments. Consulting with a local specialist can also be crucial for solving unexpected issues efficiently.
What are the benefits and limitations of using smart lighting in bathrooms?
Smart lighting offers fantastic benefits in bathrooms, such as ease of control through voice commands or smartphone apps, and customizability in brightness and color to suit any mood or time of day. Integration with home systems allows users to set up routines, enhancing convenience. However, there are limitations, including the potential cost of smart installations and compatibility challenges with existing systems. In real settings, connectivity can occasionally falter in homes with spotty Wi-Fi coverage. While the convenience is great, the complexity may not appeal to everyone, particularly those who value simplicity or those unfamiliar with technology. Before committing, weigh the benefits against the technical challenges and see if it matches your lifestyle needs. For an expert opinion or to discuss viable options, you can reach out to professionals through trusted local contacts.
“`