Outdoor lighting seems simple until a light fixture starts shining into a bedroom window, washing out a front yard, or leaving a walkway darker than expected. In Los Angeles neighborhoods, homeowners often ask where lights can go, how bright they should be, and how to avoid glare without making the property feel underlit. Those decisions matter because exterior lighting affects safety, comfort, curb appeal, and relations with nearby homes at the same time.
Shielded brightness Outdoor lighting decisions are not just about style. Placement, beam control, and fixture output all affect glare, visibility, and neighborhood comfort. A practical approach starts with the use of each area and the sightlines around it. Professional assessment may be needed when measurements, electrical conditions, or current permit information are unclear.
Appearance alone rarely gives the right answer. A fixture that looks modest on a product page may cast harsh light once mounted high on a garage wall, while a decorative path light may fail to illuminate steps or gates. This article explains the main outdoor lighting code considerations homeowners should review before planning upgrades, how to compare common fixture approaches, where project risks often begin, and when measured professional input makes sense.
Why outdoor lighting becomes a neighborhood issue
Most homeowners start with a practical goal: safer entry lighting, better visibility along a side yard, or a more usable patio after sunset. Problems usually appear when brightness and fixture placement are treated as separate choices. A homeowner may notice that the front walk is bright, yet the glare makes it harder to see the actual walking surface. Another common situation occurs when a wall-mounted light throws illumination beyond the property line instead of onto the intended area.
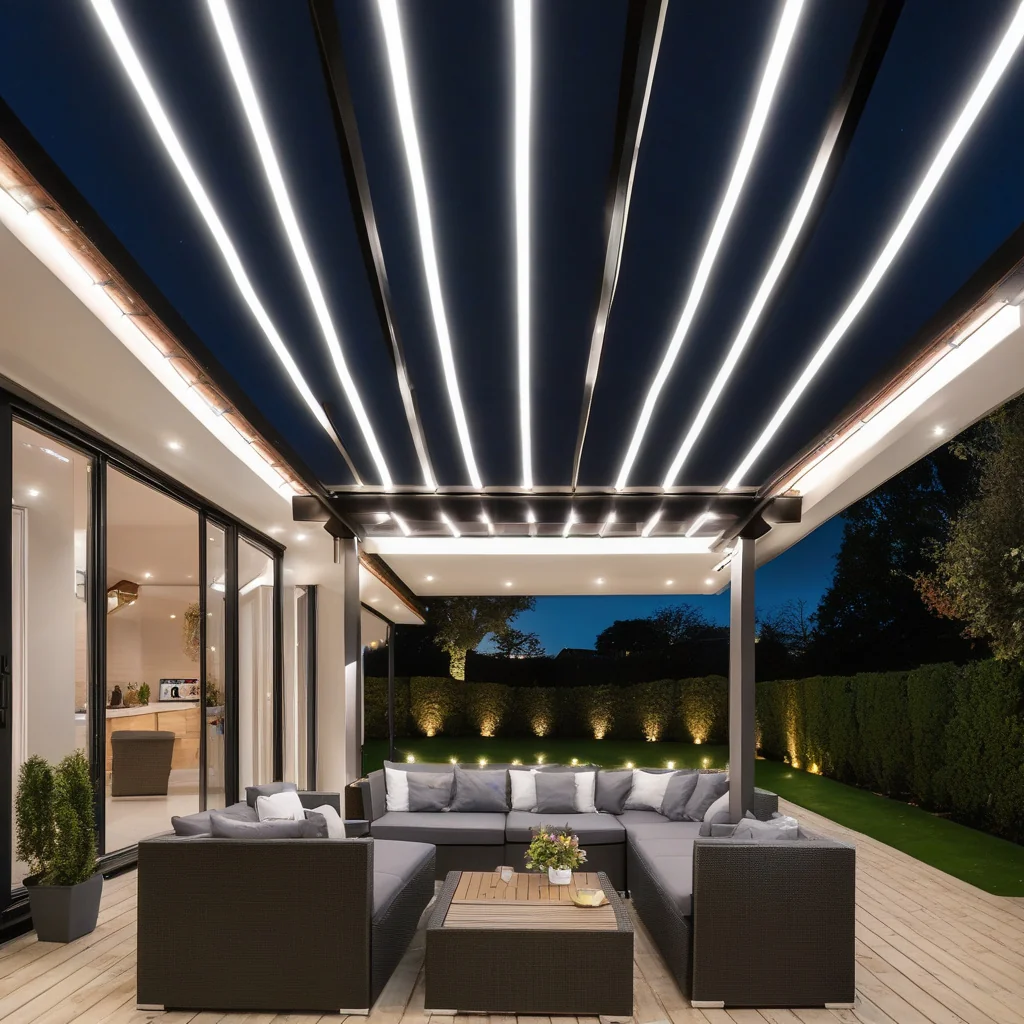
In dense residential areas, outdoor lighting affects more than one façade. Beam direction, mounting height, and shielding can change how light is perceived from the street and from neighboring windows. That is why planning should consider the layout of paths, entries, driveways, seating areas, and fences together. For homes with an active outdoor living area, the lighting discussion often overlaps with broader patio design planning, because seating, circulation, and mood lighting need different light levels.
What homeowners should know before planning fixtures
Before choosing fixtures, the site conditions need to be understood. Dimensions matter because a narrow side passage, a deep setback, or a broad driveway all need different light distribution. Access matters too. A light over a gate may seem logical until the swing path, nearby planting, or a stair rail interrupts the beam. Existing finishes also change the result. Lighter surfaces can reflect more light, making a fixture feel brighter than expected, while dark textures may absorb it.
Current conditions should be checked rather than assumed. Moisture around exterior walls, worn junction points, aging finishes, or unstable mounting surfaces can all affect placement and long-term performance. If a surface feels compromised, the right decision may require inspection or moisture testing before fixtures are attached. Where lights are being added near guards or barriers, planning should also consider visibility and safe movement around kid-safe railings and adjacent edges.
Plan the light around the space people use, not around the fixture shape alone.
Homeowners should also think about how each area is used. Entry lighting, task lighting at a grill or storage zone, accent lighting for planting, and low-level guidance along a path serve different purposes. One fixture type rarely handles all four well. In some cases, taking simple measurements of mounting height, setback, path width, and viewing angles is the clearest way to avoid overlighting or dark gaps.
How to compare outdoor lighting options
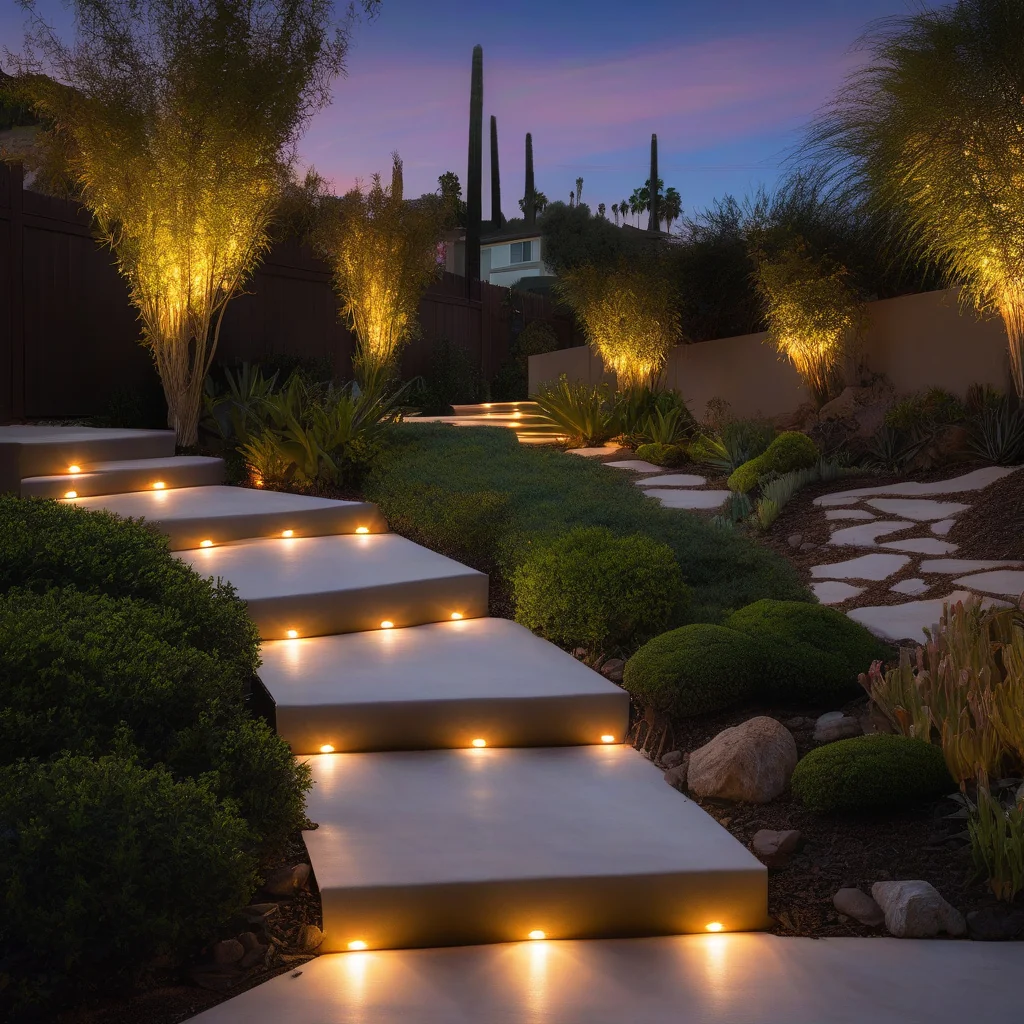
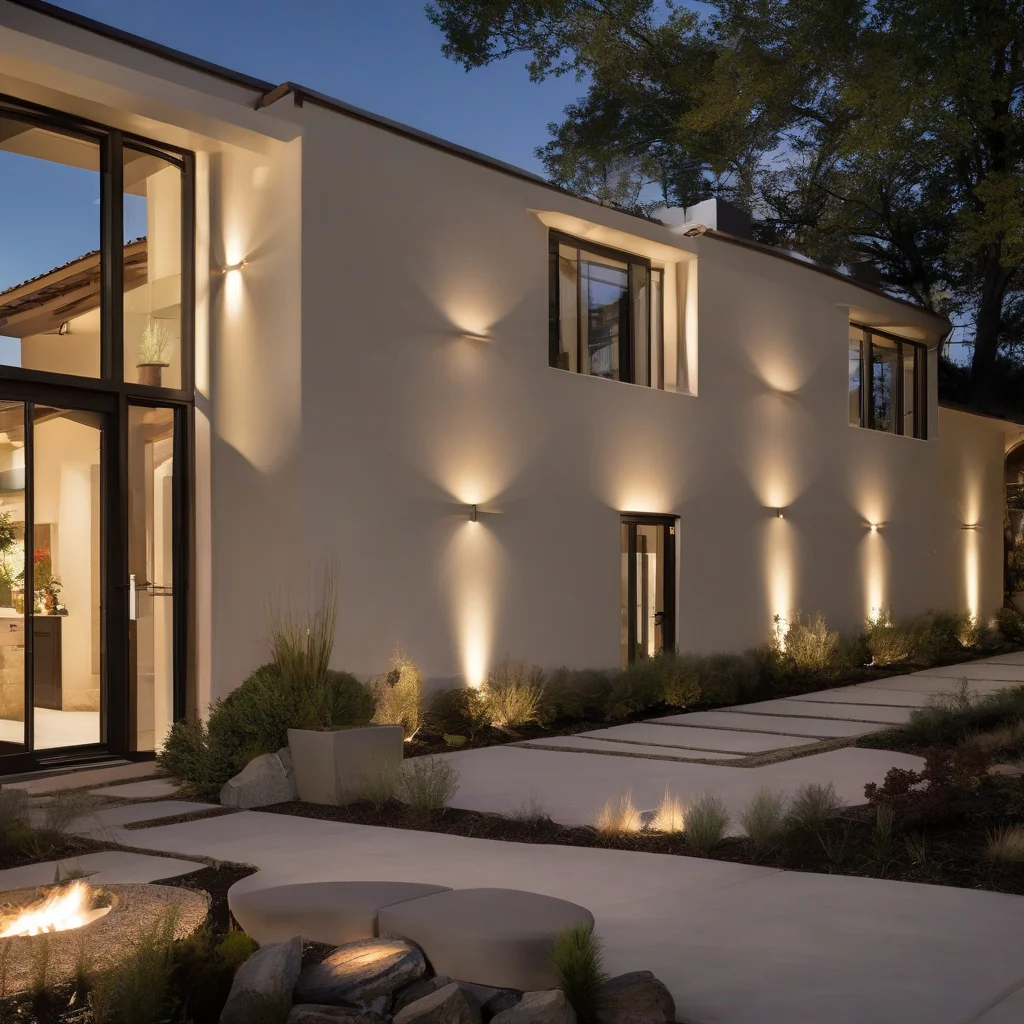
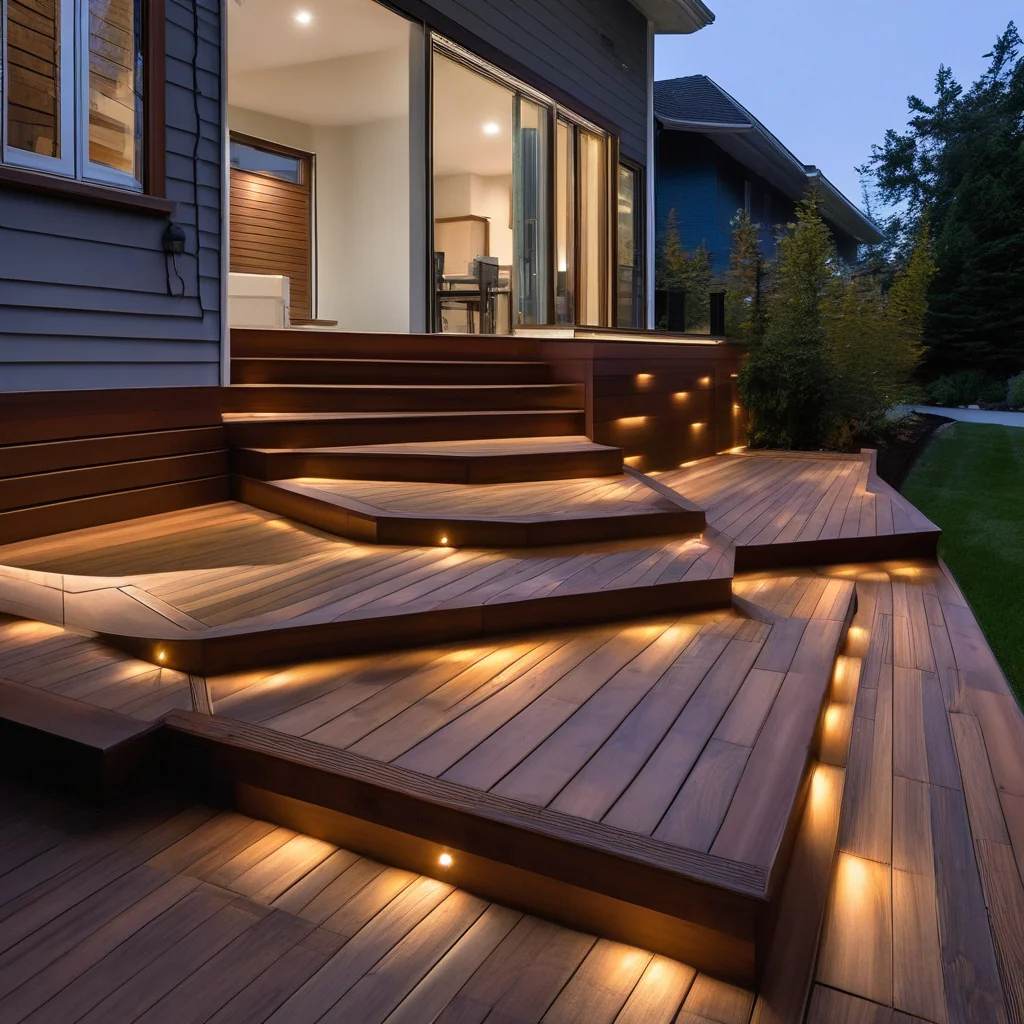
The main comparison is not only style but light control. Shielded wall fixtures can help direct illumination downward and reduce spill, which is often useful near driveways, porches, and side entries. Bollards and path lights can guide movement at a lower level, though they need careful spacing to avoid a dotted runway effect. Recessed step or wall lights can provide subtle navigation, but only when the surrounding surfaces and route geometry support them.
Another key choice is whether to use fewer stronger lights or more layered, lower-output fixtures. Layered lighting often gives a more comfortable result because it separates circulation, task, and accent functions. The tradeoff is planning complexity. Power routes, switching, and fixture compatibility become more important, especially when extending circuits or coordinating controls with broader outdoor power planning.
| Option | Best use | Main advantage | Main limitation |
|---|---|---|---|
| Shielded wall fixture | Entries, garages, side doors | Good beam control at key access points | Can create glare if mounted too high or aimed poorly |
| Path or bollard lights | Walkways and garden routes | Comfortable low-level guidance | Needs spacing discipline to avoid uneven brightness |
| Step or recessed wall lights | Stairs, level changes, retaining edges | Discreet illumination close to walking surface | Installation depends on existing wall conditions |
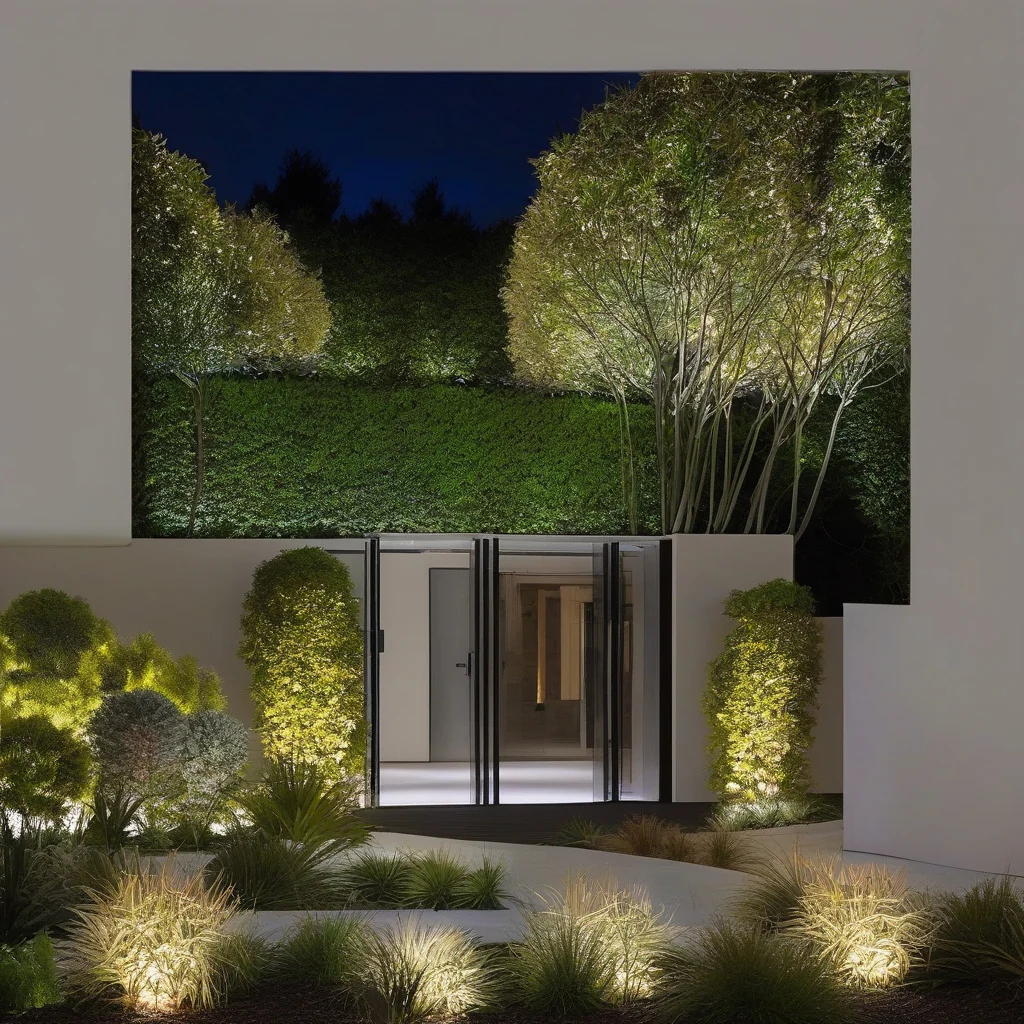
| Accent uplighting | Feature planting or architectural details | Adds depth and visual focus | Easy to overdo and create unwanted spill |
Long-term maintenance should stay in the comparison. Fixtures that look clean in a catalog may collect debris, trap moisture, or become hard to access for relamping or adjustment. A well-chosen fixture is one that fits the lighting purpose, the mounting surface, and the neighborhood context, not just the design language of the house.
How the project should be organised
Outdoor lighting projects benefit from sequence. Homeowners usually get better results when they define the problem first and then test whether the proposed layout addresses it without causing new glare or dark zones.
- Define the goal for each area, such as entry visibility, path guidance, or patio comfort.
- Assess existing conditions, including surfaces, access routes, sightlines, and current fixtures.
- Take measurements for heights, distances, path widths, and nearby windows or boundaries.
- Compare fixture types and layouts that suit the actual use of the space.
- Confirm the scope, including controls, replacement work, and any needed inspection of existing wiring or mounting points.
- Prepare the site by clearing obstacles and protecting adjacent finishes.
- Complete the installation using the selected layout and compatible fixture components.
- Inspect the result at night to check brightness, shielding, and comfort from several viewpoints.
This sequence also helps prevent last-minute substitutions. A homeowner may be tempted to swap in a brighter fixture near the end, only to find that the new output changes the balance of the whole scheme. If existing conditions are uncertain, an on-site inspection is more useful than guessing from daylit views.
Common mistakes and project risks
One frequent mistake is choosing by appearance alone. A slim modern fixture may suit the architecture but still send too much unshielded light outward. Another is placing all brightness at the perimeter, leaving the center of a route dim and making the overall yard feel harsher rather than safer. This situation can occur when drive approach lighting is strong but step edges or gate latches remain hard to see.
Measurement gaps create many avoidable problems. Without checking heights, offsets, and viewing angles, even quality fixtures can shine directly into windows or reflect off glossy surfaces. Late design changes are another risk. When lighting is added after hardscape, railings, or finish work are already set, homeowners may face limited placement options or visible compromise locations.
Glare often starts as a layout problem before it becomes a fixture problem.
There is also the issue of unrealistic expectations. One fixture usually cannot provide security, ambiance, architectural emphasis, and pathway guidance at once. Layered lighting often works better, but only if each layer has a clear job. In Los Angeles neighborhoods where houses can sit close together, that discipline helps reduce spill while keeping outdoor areas usable.
What affects cost and when professional assessment makes sense
Project cost usually depends on scope more than fixture count alone. Dimensions of the site, difficulty of access, condition of existing wiring points, replacement of damaged surfaces, and coordination with controls all influence the final effort. Custom details can also add complexity, especially when lighting must be integrated into walls, steps, gates, or built-in seating. If concealed damage, unstable mounting areas, or uncertain electrical conditions are suspected, inspection should happen before final selections are made.
Professional help makes sense when the layout is hard to judge from ground level, when multiple outdoor zones need to work together, or when the existing exterior is already showing wear. A designer may help with beam hierarchy and visual balance. A contractor or specialized installer may be appropriate where placement, mounting, or finish coordination is complex. An inspector may be useful when the condition of existing work is unclear, and current permit information should be confirmed whenever scope extends beyond a simple fixture swap.
Good exterior lighting reduces strain over time by balancing visibility, comfort, and control.
Once the practical lighting plan is settled, homeowners can think about seasonal use and atmosphere. Decorative updates should support, not replace, the core lighting strategy. For that reason, a later review of seasonal patio decor works best after the circulation and glare issues are resolved. The right result is not the brightest yard on the block, but a property that feels usable, considerate, and visually calm after dark.
Outdoor lighting decisions in LA neighborhoods work best when homeowners focus on placement, shielding, and actual use before style. A measured plan can improve safety and appearance without creating glare or spill, and uncertain site conditions should be checked before fixtures are finalized.
- Shielded, well-placed lights usually perform better than simply brighter fixtures.
- Measure sightlines, heights, and route widths before choosing a layout.
- Poor beam control can create glare, uneven visibility, and added project changes.
- Seek professional assessment when wiring, mounting conditions, or permit information is unclear.
FAQ
What is the main issue with outdoor lighting code considerations in LA neighborhoods?
It is making exterior lighting work for safety and curb appeal without creating glare, light spill, or neighbor complaints. Check fixture direction, brightness, and placement before buying, especially for homes close to sidewalks, windows, or shared property lines.
When should a homeowner review lighting plans before installation?
You should review plans before any new wiring, fixture replacement, or landscape update. Early checks help avoid rework, but the best setup depends on site conditions, existing circuits, and where light could affect adjacent homes.
How do I choose the right outdoor lighting for a Los Angeles home?
Choose fixtures that aim light where it is needed and minimize unnecessary spill. Good options improve visibility, while poorly placed lights can look harsh or create nuisance lighting. Match the plan to pathways, entries, and outdoor living areas.
What mistakes should homeowners avoid with exterior lighting?
Avoid overlighting, unshielded fixtures, and lights aimed toward windows or neighbors. These choices may seem convenient at first, but they can create glare, visual clutter, and maintenance issues. Test the layout at night before finalizing it.
What else should homeowners consider before making a final decision?
Consider whether the plan fits the home’s layout, neighboring properties, and long-term maintenance needs. If the project involves new wiring, complex controls, or uncertain placement, get a professional assessment before proceeding. Ask for guidance when the design affects safety or permits.