Kitchens punish paint in ways that living rooms never do. Steam drifts up from pots, grease settles near the cooktop, cabinet doors are touched dozens of times a day, and routine cleaning can slowly wear down a weak finish. A homeowner may notice staining near the backsplash, soft paint around sink areas, or cabinet fronts that seem to dull long before the rest of the room. Choosing durable paint for kitchen walls and cabinets is not just about color selection; it is about matching the coating to real use, surface condition, and the level of cleaning the space will need.
Lasting Finish Kitchen paint needs to resist moisture, grease, and frequent wiping. In most cases, higher-quality enamel products are the practical choice for cabinets and high-use wall areas. The main risk is choosing paint by appearance alone and ending up with peeling, staining, or difficult maintenance. If surfaces show moisture problems, damage, or uncertain adhesion, professional assessment may be needed before painting begins.
That decision matters even more in Los Angeles and Southern California homes where kitchens range from compact older layouts to large open-plan spaces, each with different ventilation, light, and wear patterns. This article explains how to evaluate existing conditions, compare paint types and sheen levels, organize the work properly, and avoid the mistakes that make a fresh finish fail early. The goal is simple: a kitchen that looks sharp longer and stands up to daily use without becoming high-maintenance.
What homeowners should know about kitchen paint durability
Durability in a kitchen means more than whether the color looks rich on day one. On walls, the finish should handle splashes, humidity, and regular cleaning without scuffing or burnishing. On cabinets, the paint must cope with repeated hand contact, friction around knobs and pulls, and the subtle expansion and contraction that happens as temperature and moisture levels shift. That is why flat wall paint, or a low-grade interior coating chosen mainly for visual softness, often disappoints in a hard-working kitchen.
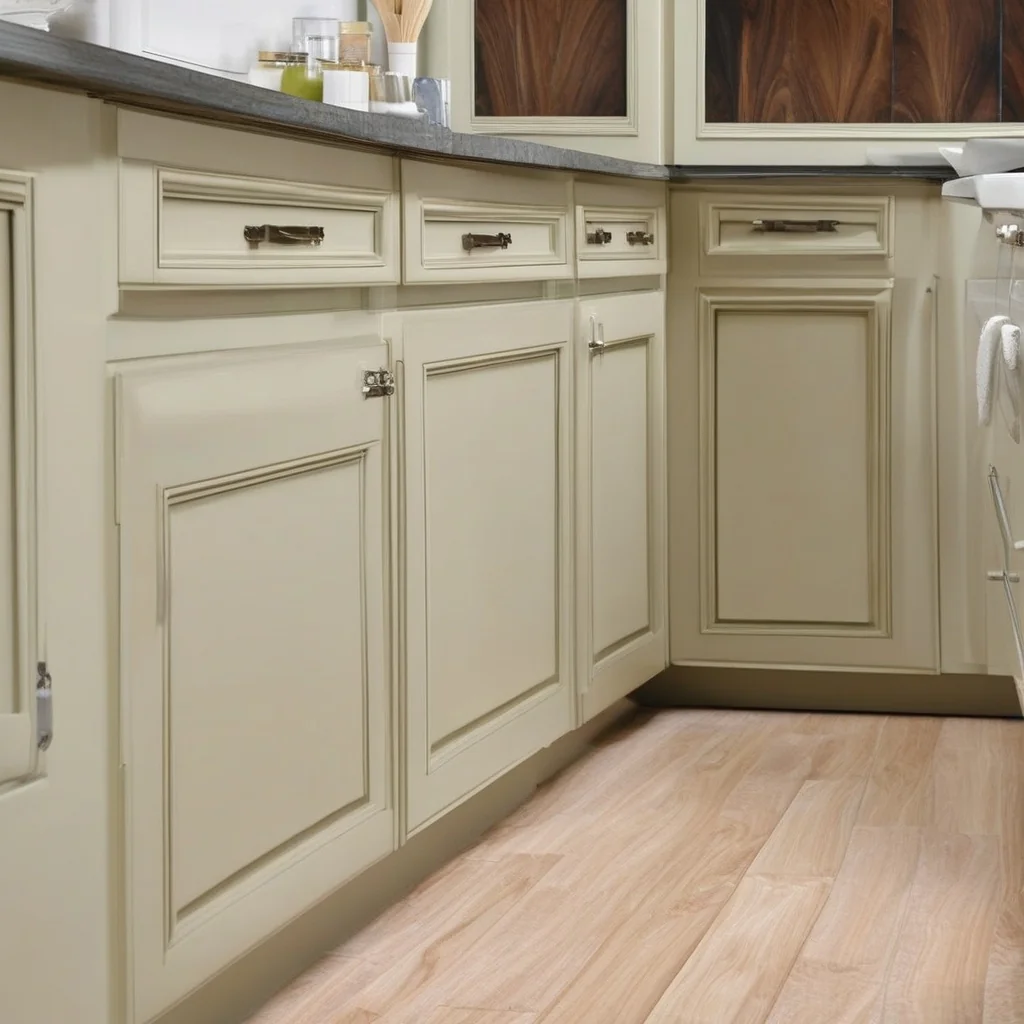
In many remodels, the better route is to think of cabinets and walls as separate performance zones. Cabinet doors and frames usually benefit from a tougher enamel finish designed for smoother substrates and frequent touch. Wall areas near sinks, ranges, and breakfast zones may also need a more washable coating than the rest of the home. Anyone planning a broader kitchen remodeling project should treat paint selection as part of the room’s long-term maintenance strategy, not a final decorative afterthought.
Existing conditions and project planning matter more than color chips
Before choosing a product, it helps to understand what is already on the walls and cabinets. Previously painted wood, laminate-faced doors, factory-applied finishes, patched drywall, and areas with cooking residue all behave differently. A homeowner may assume a new coat will solve visible wear, but if the existing coating is loose, glossy, contaminated, or softened by moisture, the new paint may never bond correctly. Appearance alone cannot confirm whether the substrate is suitable.
Planning also means accounting for dimensions, access, and intended use. A tight galley kitchen may demand more careful site protection and sequencing because painted cabinet doors need space to cure without contact damage. In a kitchen with weak ventilation or persistent condensation, moisture testing or inspection may be appropriate before finishes are selected. When layout changes, appliance moves, or broader renovation decisions are involved, reviewing LA kitchen codes early can help keep paint decisions aligned with the rest of the project.
Choose the finish only after understanding the surface, the use pattern, and the room conditions.
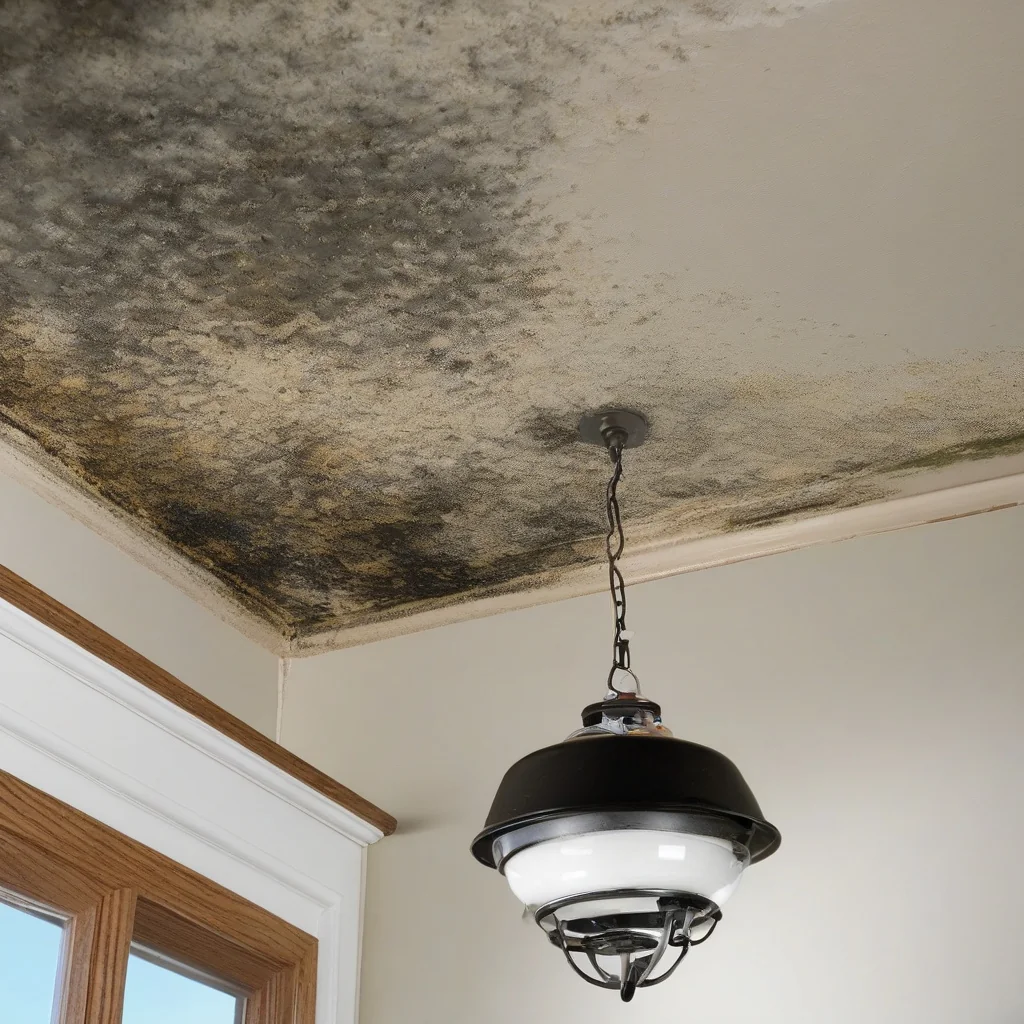
Existing conditions can also affect preparation scope. Grease film around cooking zones, hairline cracks at drywall joints, old caulk lines, and cabinet edges worn smooth by repeated cleaning all change how much prep is needed. If there is swelling, soft substrate, mold-like staining, or water intrusion around sinks or windows, the underlying cause should be identified first. Paint can hide a problem briefly, but it cannot correct failed material below the surface.
How to choose durable paint for walls and cabinets
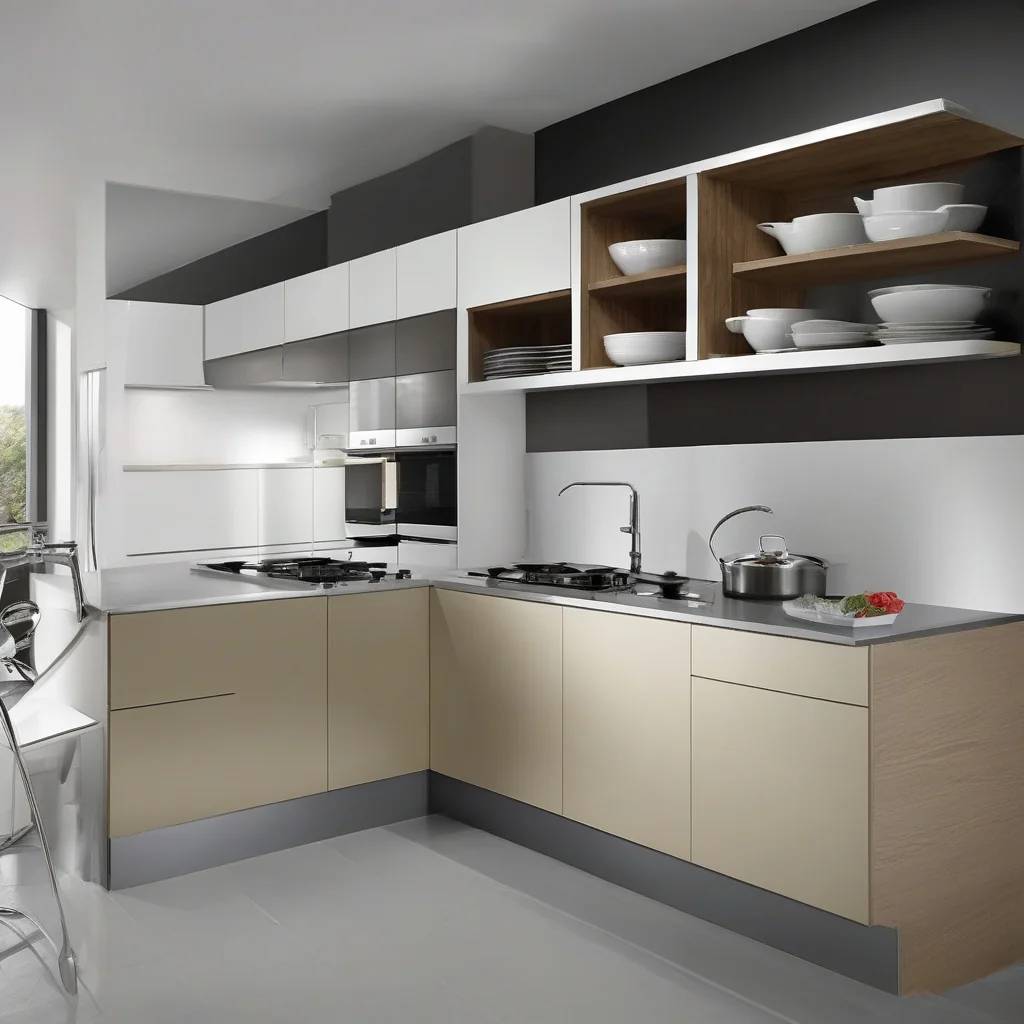
High-quality enamel finishes are usually the leading option where durability is the priority. For cabinets, enamel coatings are valued because they cure into a harder, smoother film that better resists handling and cleaning. For kitchen walls, a washable eggshell, satin, or similar mid-sheen finish is often more practical than very flat paint, especially near food prep areas. The right choice depends on the substrate and expected wear, but the common thread is scrub resistance and reliable adhesion.
Primer compatibility is just as important as the topcoat. Bare wood, patched areas, glossy existing paint, and some manufactured cabinet surfaces may need different primers to create a stable base. Skipping that step can save time upfront yet increase the risk of peeling, uneven sheen, or visible repair marks later. When comparing products and scope details, homeowners often benefit from reviewing how to compare remodel quotes so preparation, primer, and finish coats are not hidden behind vague descriptions.
Walls versus cabinets
Walls generally need stain resistance and wipeability, while cabinets need impact resistance and a harder cured surface. A wall paint that performs well on drywall may still be a poor choice for cabinet doors. Likewise, a cabinet enamel can be appropriate for trim and millwork yet unnecessary for low-contact wall areas where another washable finish will perform adequately.
Sheen and maintenance
Higher sheen often improves cleanability, but it can also highlight texture, patching, and surface flaws. Satin or semi-gloss can make practical sense in kitchens, though the best sheen depends on how smooth the substrate is and how much visual reflection the homeowner wants. In a bright Southern California kitchen with strong daylight, an overly shiny surface may emphasize imperfections more than expected.
There is a clear trade-off here. A tougher and glossier finish can be easier to clean and more resistant to stains, yet it may show brush marks, unevenness, and substrate defects more readily. A softer-looking finish can be visually forgiving, but if it cannot tolerate routine scrubbing, the lower-maintenance appearance may prove temporary.
| Surface | Typical durable option | Main advantage | Main limitation |
|---|---|---|---|
| Cabinet doors and drawers | High-quality enamel finish | Better wear and cleaning resistance | Preparation and curing matter greatly |
| Cabinet frames and trim | Matched enamel system | Consistent finish across touch points | Can reveal surface flaws |
| General kitchen walls | Washable eggshell or satin | Balance of appearance and cleanability | Less suitable for heavy cabinet wear |
| Sink and cooktop wall zones | More washable mid-sheen finish | Handles splashes and wiping better | May highlight patching if prep is weak |
How the painting project should be organised
Even a strong product can fail if the work is loosely organized. Kitchen painting works best when the goal is defined first: refreshing appearance, improving cleanability, updating cabinet color, or supporting a larger renovation plan. Once the objective is clear, the rest of the decisions become more consistent, from sheen level to surface prep and scheduling.
- Define whether the priority is cabinet durability, washable walls, a color update, or a full kitchen refresh.
- Assess existing walls and cabinets for grease, moisture, loose coatings, repairs, and unknown finish layers.
- Take accurate measurements of wall areas, cabinet faces, trim, and access constraints that affect scope.
- Compare suitable primers, enamels, and wall finishes based on substrate type and expected cleaning needs.
- Confirm the scope, including prep work, removed hardware, repaired areas, and any adjoining surfaces to be painted.
- Prepare the site by protecting adjacent finishes, clearing work zones, and staging doors or drawers safely.
- Complete the work in sequence, allowing proper preparation, coating application, and curing between stages.
- Inspect the result under normal lighting and close-range use conditions before considering the project finished.
That process reduces confusion later, especially when homeowners are deciding whether cabinets, walls, trim, and ceiling areas should all be addressed together. It also helps prevent one of the most common frustrations: a good-looking finish that was never set up to last under actual kitchen use.
Common mistakes and project risks
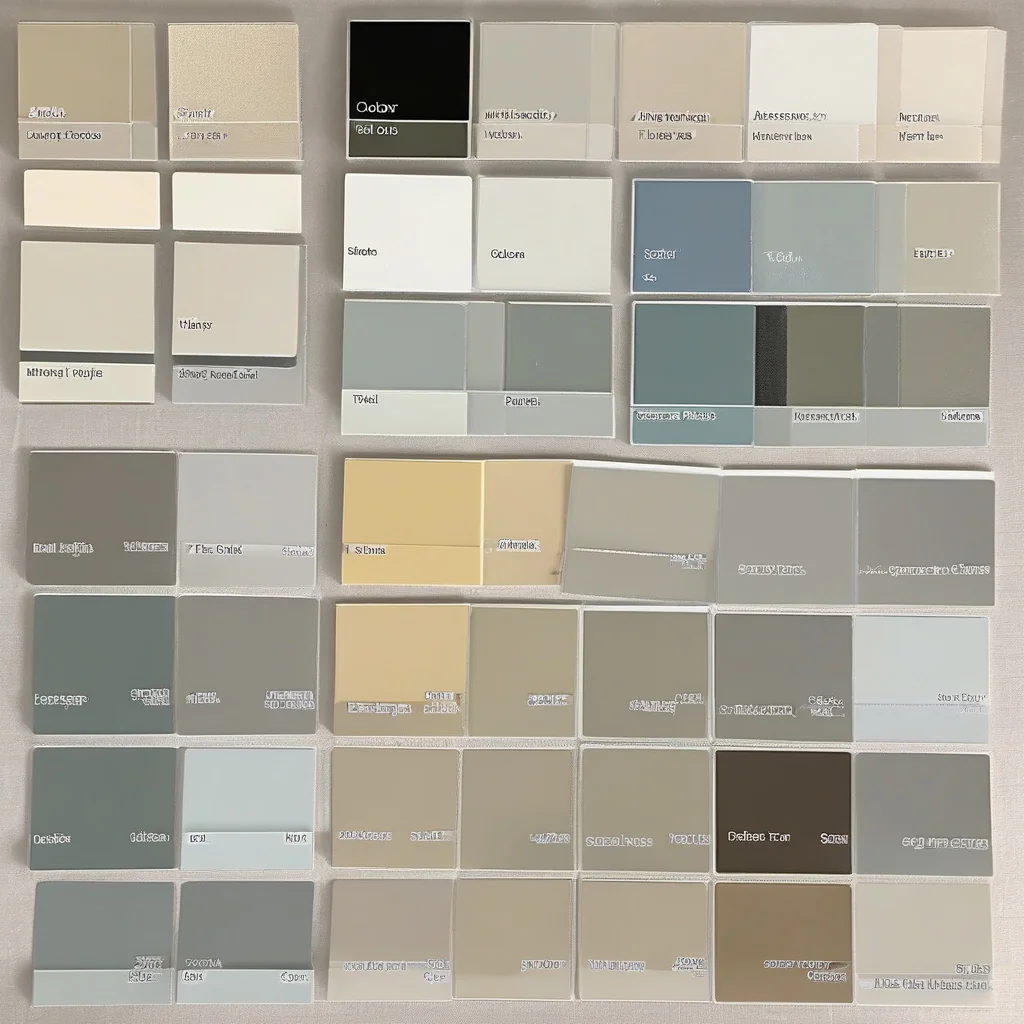
The biggest mistake is choosing paint by color card alone. A homeowner may fall in love with a finish sample without asking whether it can handle steam, splatter, and repeated wiping. Another frequent problem is underestimating preparation. Cabinets that are not cleaned thoroughly, sanded appropriately, or primed for compatibility may chip around handles or peel at edges even if the topcoat itself is marketed as durable.
Ignored moisture is another serious risk. If a cabinet side near the sink is swelling, or if wall paint around a window keeps bubbling, the issue may not be the paint type at all. In those situations, a site-specific inspection can make sense before more coating is applied. The same applies when older finishes are failing unevenly or when substrate damage is suspected beneath visible surface wear.
Long-lasting paint depends less on the final coat than on the condition and preparation underneath it.
Unrealistic expectations also create trouble. No kitchen paint is immune to damage from sharp impacts, standing water, or harsh cleaning methods. A very dark or very bright cabinet color may show fingerprints, chips, or touch-up variation more readily than expected. Mid-project scope changes can also undermine results, particularly when some surfaces are upgraded to a higher-performance finish while adjacent areas are left with incompatible or worn coatings.
What affects scope, cost, and when professional assessment makes sense
Kitchen painting costs vary with dimensions, cabinet count, access, existing finish condition, repair needs, and the amount of preparation required before any finish coat is applied. Scope can expand quickly when old coatings fail adhesion tests, hardware removal becomes more involved, or hidden water-related damage appears during preparation. Materials matter too: premium enamels, specialized primers, and a multi-stage cabinet system generally demand more care than a simple wall repaint.
Professional involvement may be appropriate when the correct solution depends on moisture evaluation, substrate identification, or broader renovation coordination. A designer may help align sheen, color, and finish transitions with the kitchen’s overall visual plan. A contractor or specialized painter may be useful when cabinets have complex profiles, unknown existing coatings, or a failure history. If the project includes layout changes or other construction work beyond new finishes, reviewing potential missteps through kitchen regrets to avoid can help clarify decisions before work begins.
Spend effort where wear is highest first, because correction after failure usually means more disruption than better planning upfront.
For homeowners, the practical takeaway is straightforward. Durable kitchen paint is usually less about chasing a trend and more about choosing a finish system that matches the room’s abuse level. High-quality enamel is often the strongest answer for cabinets and other high-contact surfaces, while washable wall paints suited to humidity and cleaning are the sensible choice for surrounding areas. If the existing condition is uncertain, assessment should come before application.
When paint is selected with performance in mind, the kitchen stays easier to clean, more consistent in appearance, and less likely to need premature touch-ups. The best result comes from matching product, preparation, and site conditions rather than relying on color alone.
- Cabinets usually benefit most from a high-quality enamel finish.
- Surface condition should be checked before primer and sheen are chosen.
- Preparation, repairs, and hidden moisture can expand scope and cost.
- Seek professional assessment when adhesion, substrate, or moisture problems are unclear.
FAQ
What paint finish works best for kitchen walls?
A washable satin or eggshell finish usually works well for kitchen walls. It resists everyday splashes better than flat paint, but very glossy finishes can show wall flaws more easily.
Which paint is most durable for kitchen cabinets?
A cabinet-grade enamel or other hard-wearing interior paint is typically the best choice. It gives a tougher surface, but cabinet prep matters more than the label if you want lasting results.
How do I choose a paint finish for a busy kitchen?
Choose a finish based on cleaning needs, light levels, and surface condition. Higher-sheen paints are easier to wipe, while lower-sheen options hide imperfections better but may need gentler cleaning.
What mistakes should I avoid when painting kitchen walls and cabinets?
Avoid skipping cleaning, sanding, and primer on cabinets. Also, don’t pick a finish only for appearance; poor prep or the wrong sheen can lead to peeling, staining, or harder upkeep.
What else should homeowners consider before making a final decision?
Consider the cabinet material, existing damage, ventilation, and how often the kitchen gets cleaned. If surfaces are uneven, stained, or previously coated with unknown products, a professional assessment can help identify the safest paint system.